> ## Documentation Index
> Fetch the complete documentation index at: https://docs.neynar.com/llms.txt
> Use this file to discover all available pages before exploring further.

# Cast From Inside a Frame

> In this guide, we'll look at how to build a frame using which people can create casts and perform other actions on the Farcaster app.

For this guide, I will be using Next.js and frames.js but feel free to refer to this guide for any other framework with the necessary changes.

For this guide, we'll go over:

<CardGroup>
  <Card title="Adding sign-in with neynar" href="/docs/casting-from-a-frame#adding-sign-in-with-neynar" icon="square-1" iconType="solid" horizontal />

  <Card title="Storing signers in a DB" icon="square-2" iconType="solid" horizontal />

  <Card title="Using the signer to create casts" icon="square-3" iconType="solid" horizontal />
</CardGroup>

Before we begin, you can access the [complete source code](https://github.com/avneesh0612/frame-cast) for this guide on GitHub.

Let's get started!

## Setting up

### App

We're going to use next.js so that we can have everything from our login page to our frame in the same project. So, create a new project using the following command:

<CodeGroup>
  ```powershell PowerShell theme={"system"}
  npx create-next-app@latest cast-frame-signer
  ```
</CodeGroup>

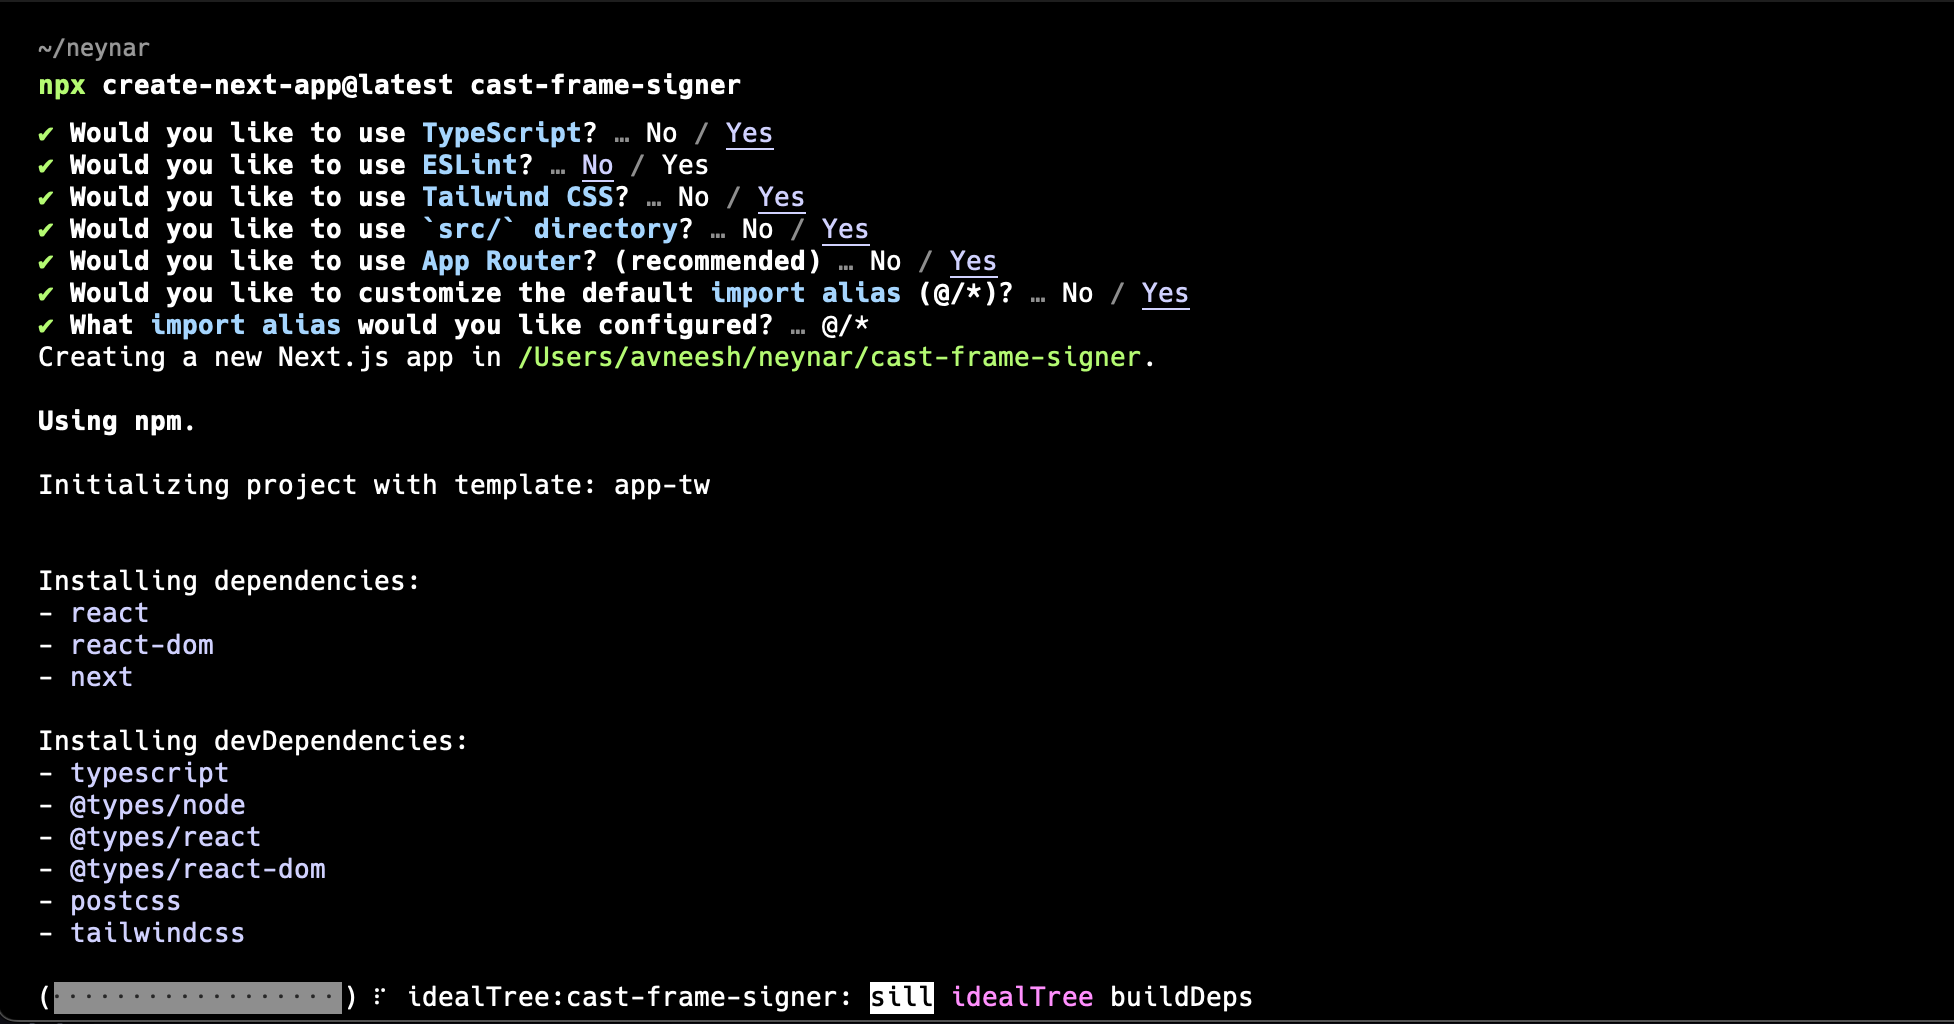
You can choose the configuration based on your personal preference, I am using this config for the guide:

<Frame>
  <img src="https://mintcdn.com/neynar/4PNY113y9N9T-r9z/images/docs/af167c6-image.png?fit=max&auto=format&n=4PNY113y9N9T-r9z&q=85&s=8d1834082b510b821830dcd6a7c5eeb3" alt="Frame creation" width="1954" height="1024" data-path="images/docs/af167c6-image.png" />
</Frame>

Once the app is created, install the packages that we are going to need for the command:
<CodeGroup>
  ```powershell npm theme={"system"}
  npm i @neynar/react @neynar/nodejs-sdk axios @prisma/client prisma frames.js
  ```

  ```powershell yarn theme={"system"}
  yarn add @neynar/react @neynar/nodejs-sdk axios
  ```

  ```powershell bash theme={"system"}
  bun add @neynar/react @neynar/nodejs-sdk axios
  ```
</CodeGroup>

### Database

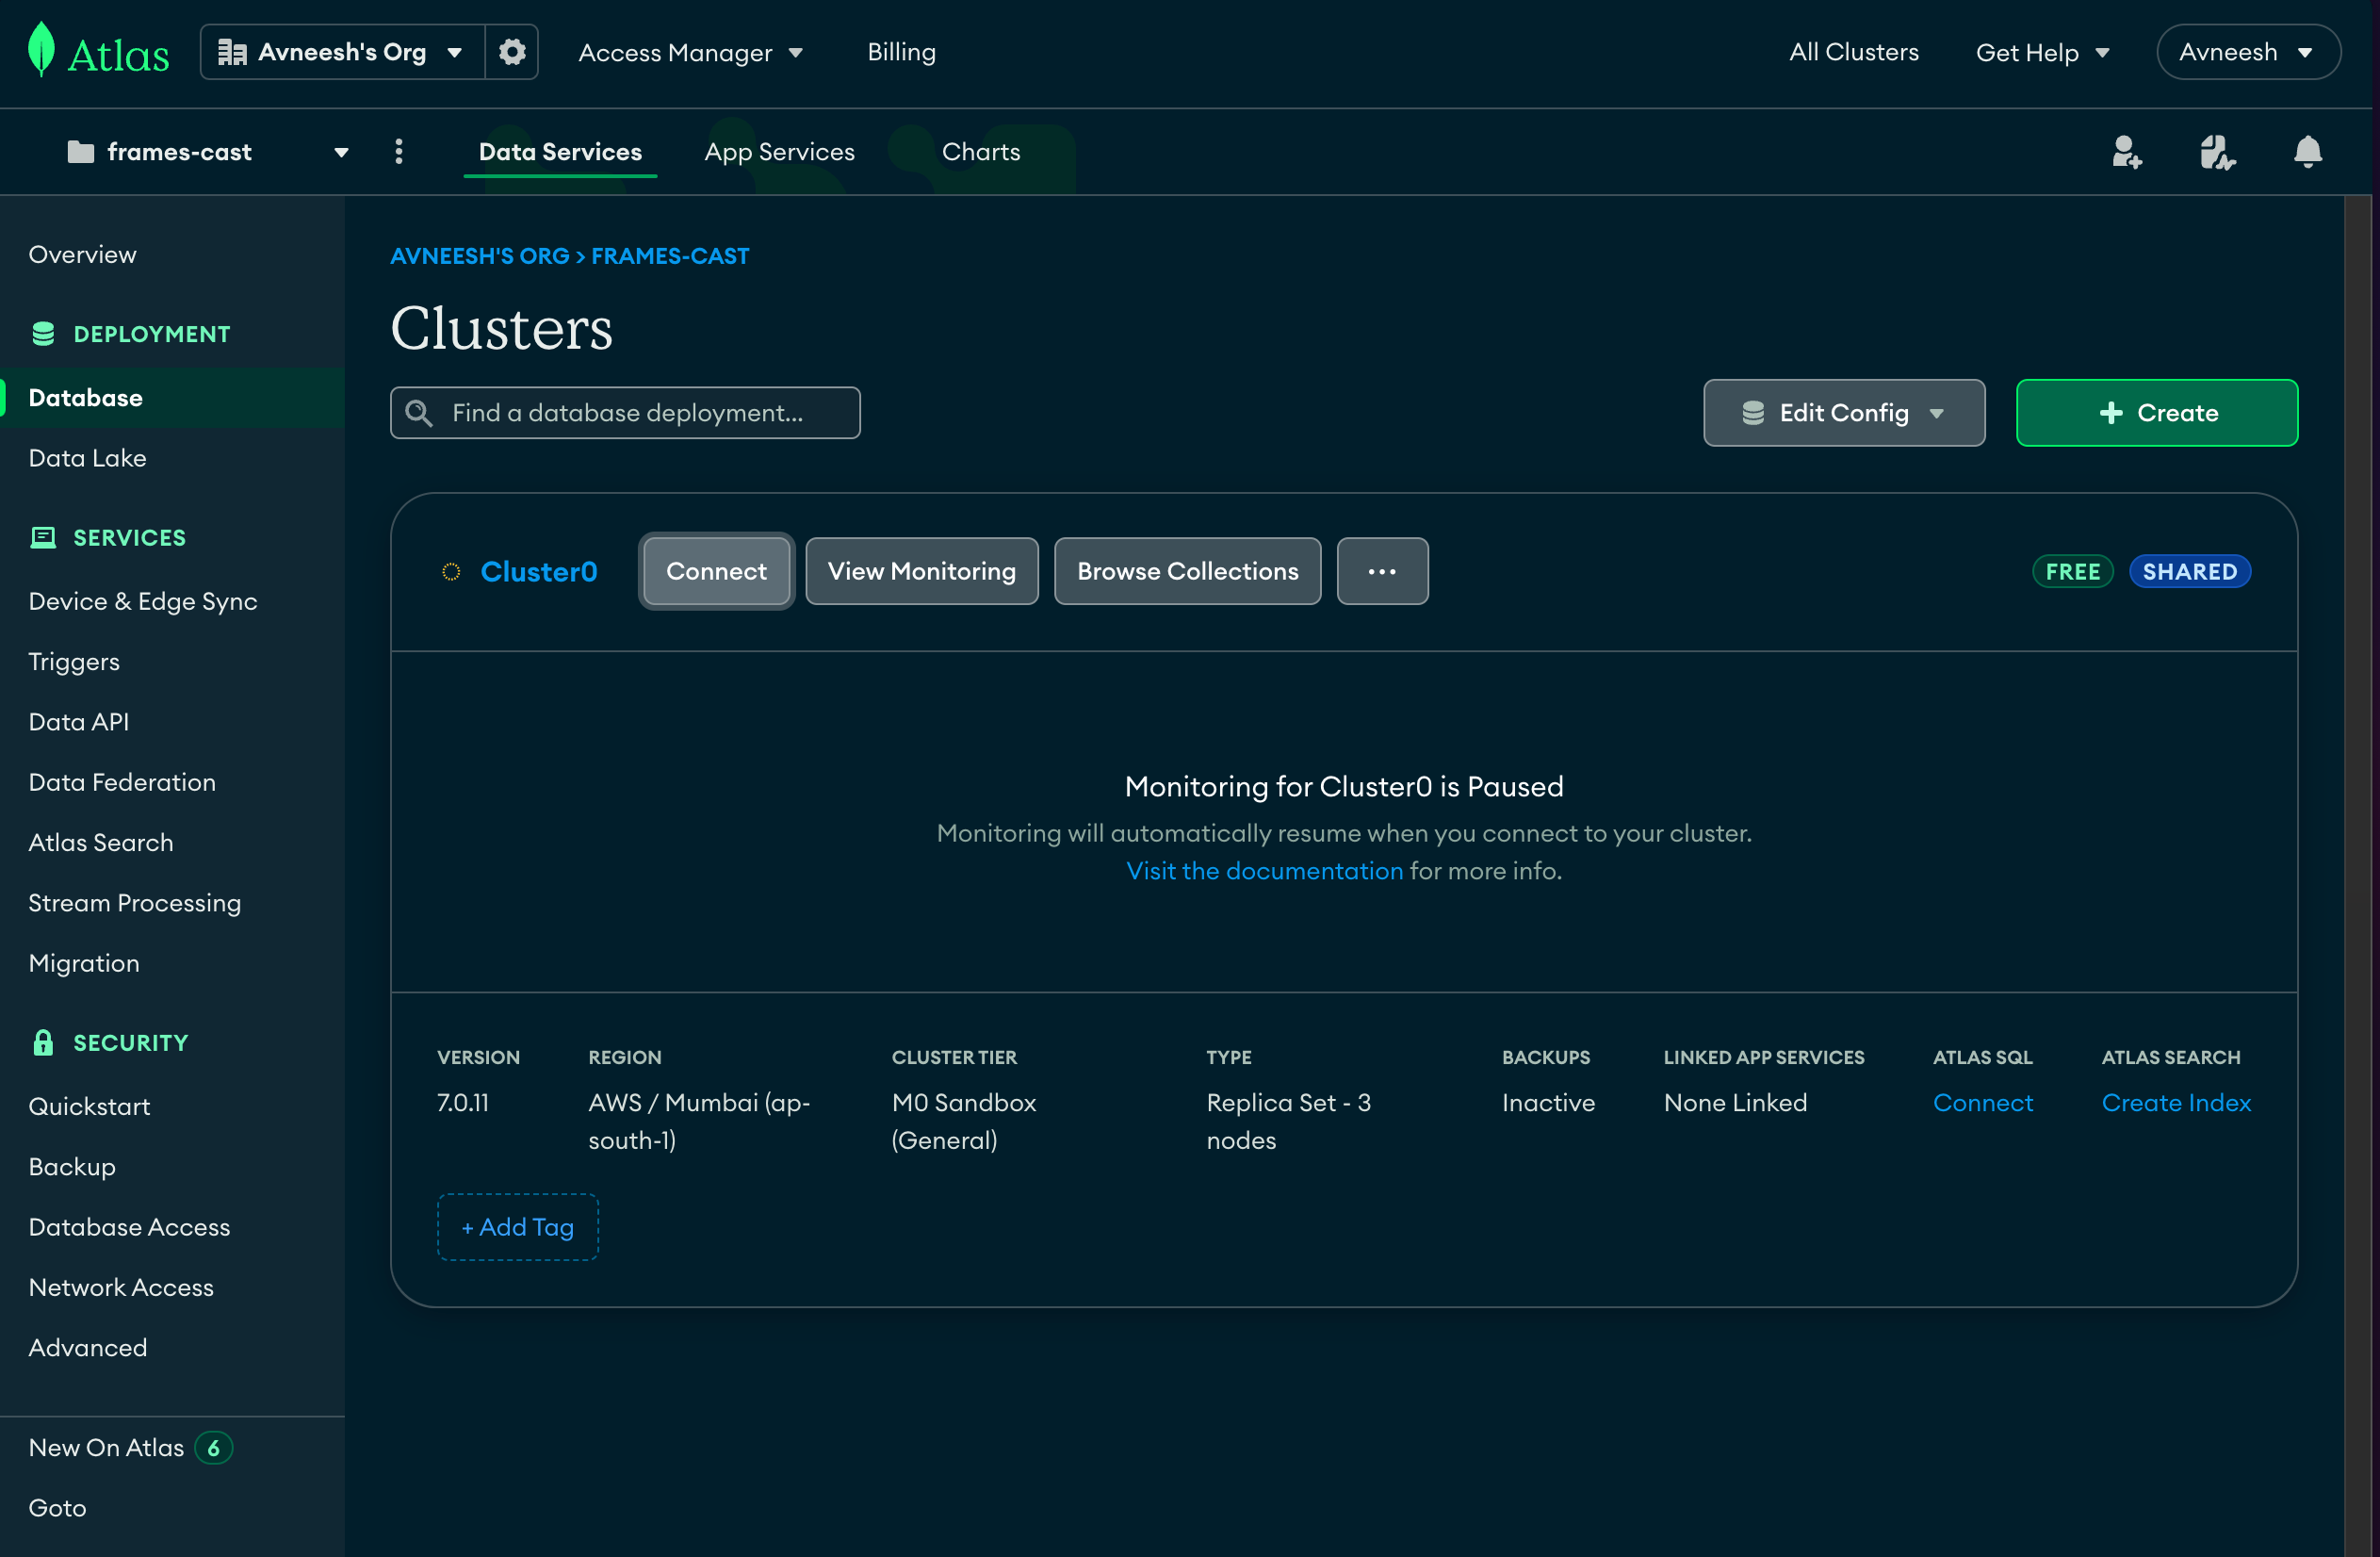
We're also going to need a database to store all the signers so that we can later access it to create casts and perform other actions on the user's behalf. I am going to use MongoDB as the database, and prisma as an ORM. So, go ahead and create an account/sign into your MongoDB account here. Once you've signed up go ahead and setup a new cluster on Mongodb. You can follow this [guide](https://www.mongodb.com/resources/products/fundamentals/mongodb-cluster-setup) to do it. Once you've setup your cluster follow these steps to get your connection URL:

<Steps>
  <Step title="Click on Connect in the dashboard tab">
    <Frame>
      <img src="https://mintcdn.com/neynar/4PNY113y9N9T-r9z/images/docs/d19671c-SCR-20240608-blkb.png?fit=max&auto=format&n=4PNY113y9N9T-r9z&q=85&s=fe803d1635d5f2c12a82cf5f8d0d2968" alt="Frame creation" width="2526" height="1652" data-path="images/docs/d19671c-SCR-20240608-blkb.png" />
    </Frame>
  </Step>

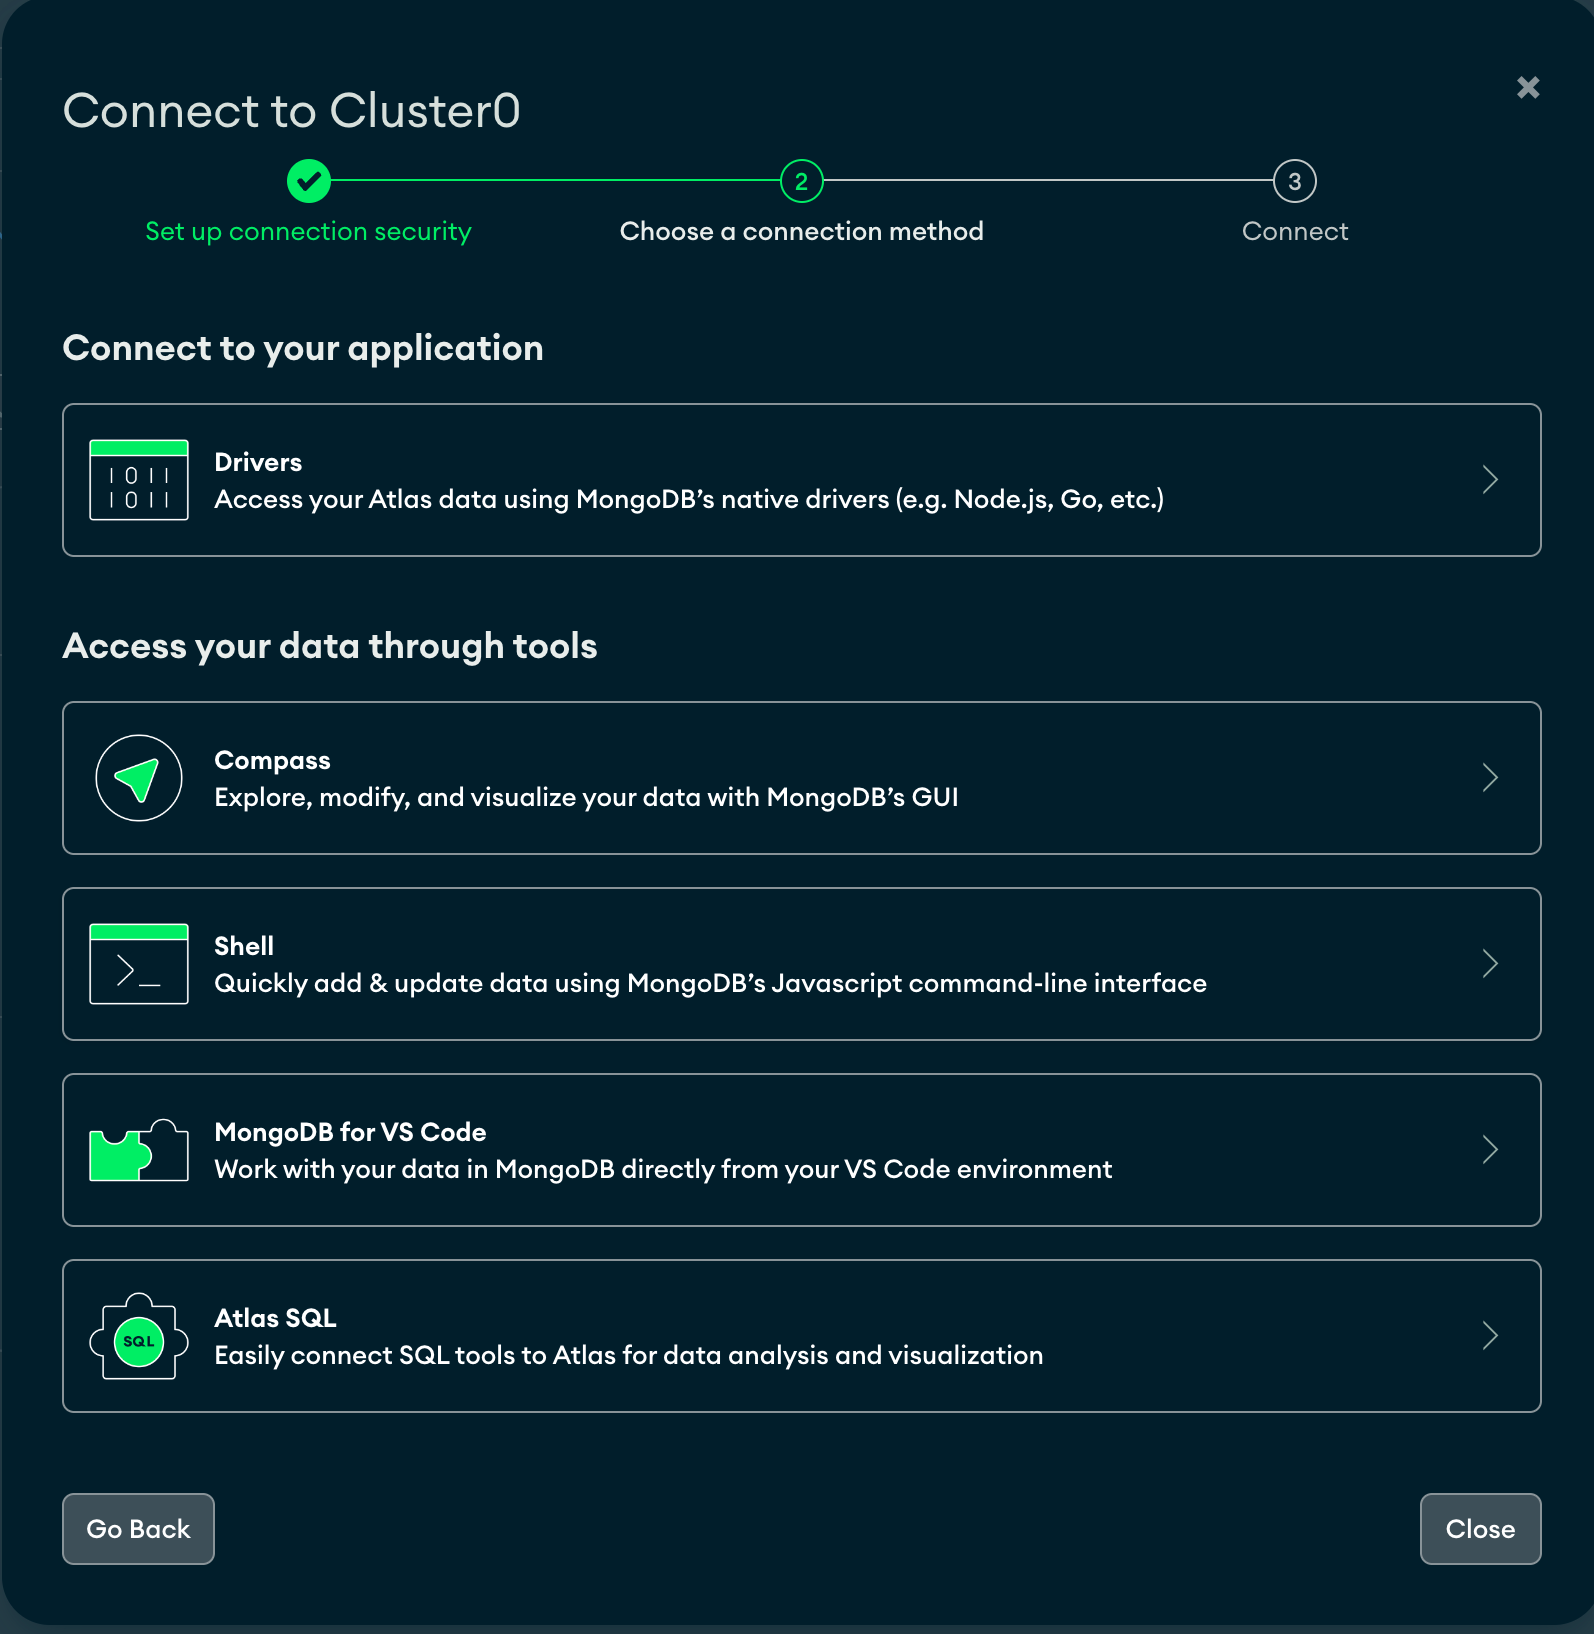
  <Step title="In the modal select drivers as the connection method">
    <Frame>
      <img src="https://mintcdn.com/neynar/aGwjtKmNewHJXSzO/images/docs/1fd4064-SCR-20240608-bllr.png?fit=max&auto=format&n=aGwjtKmNewHJXSzO&q=85&s=9858a4d203f58e3564d7d2b934cca09a" alt="Frame creation" width="1594" height="1634" data-path="images/docs/1fd4064-SCR-20240608-bllr.png" />
    </Frame>
  </Step>

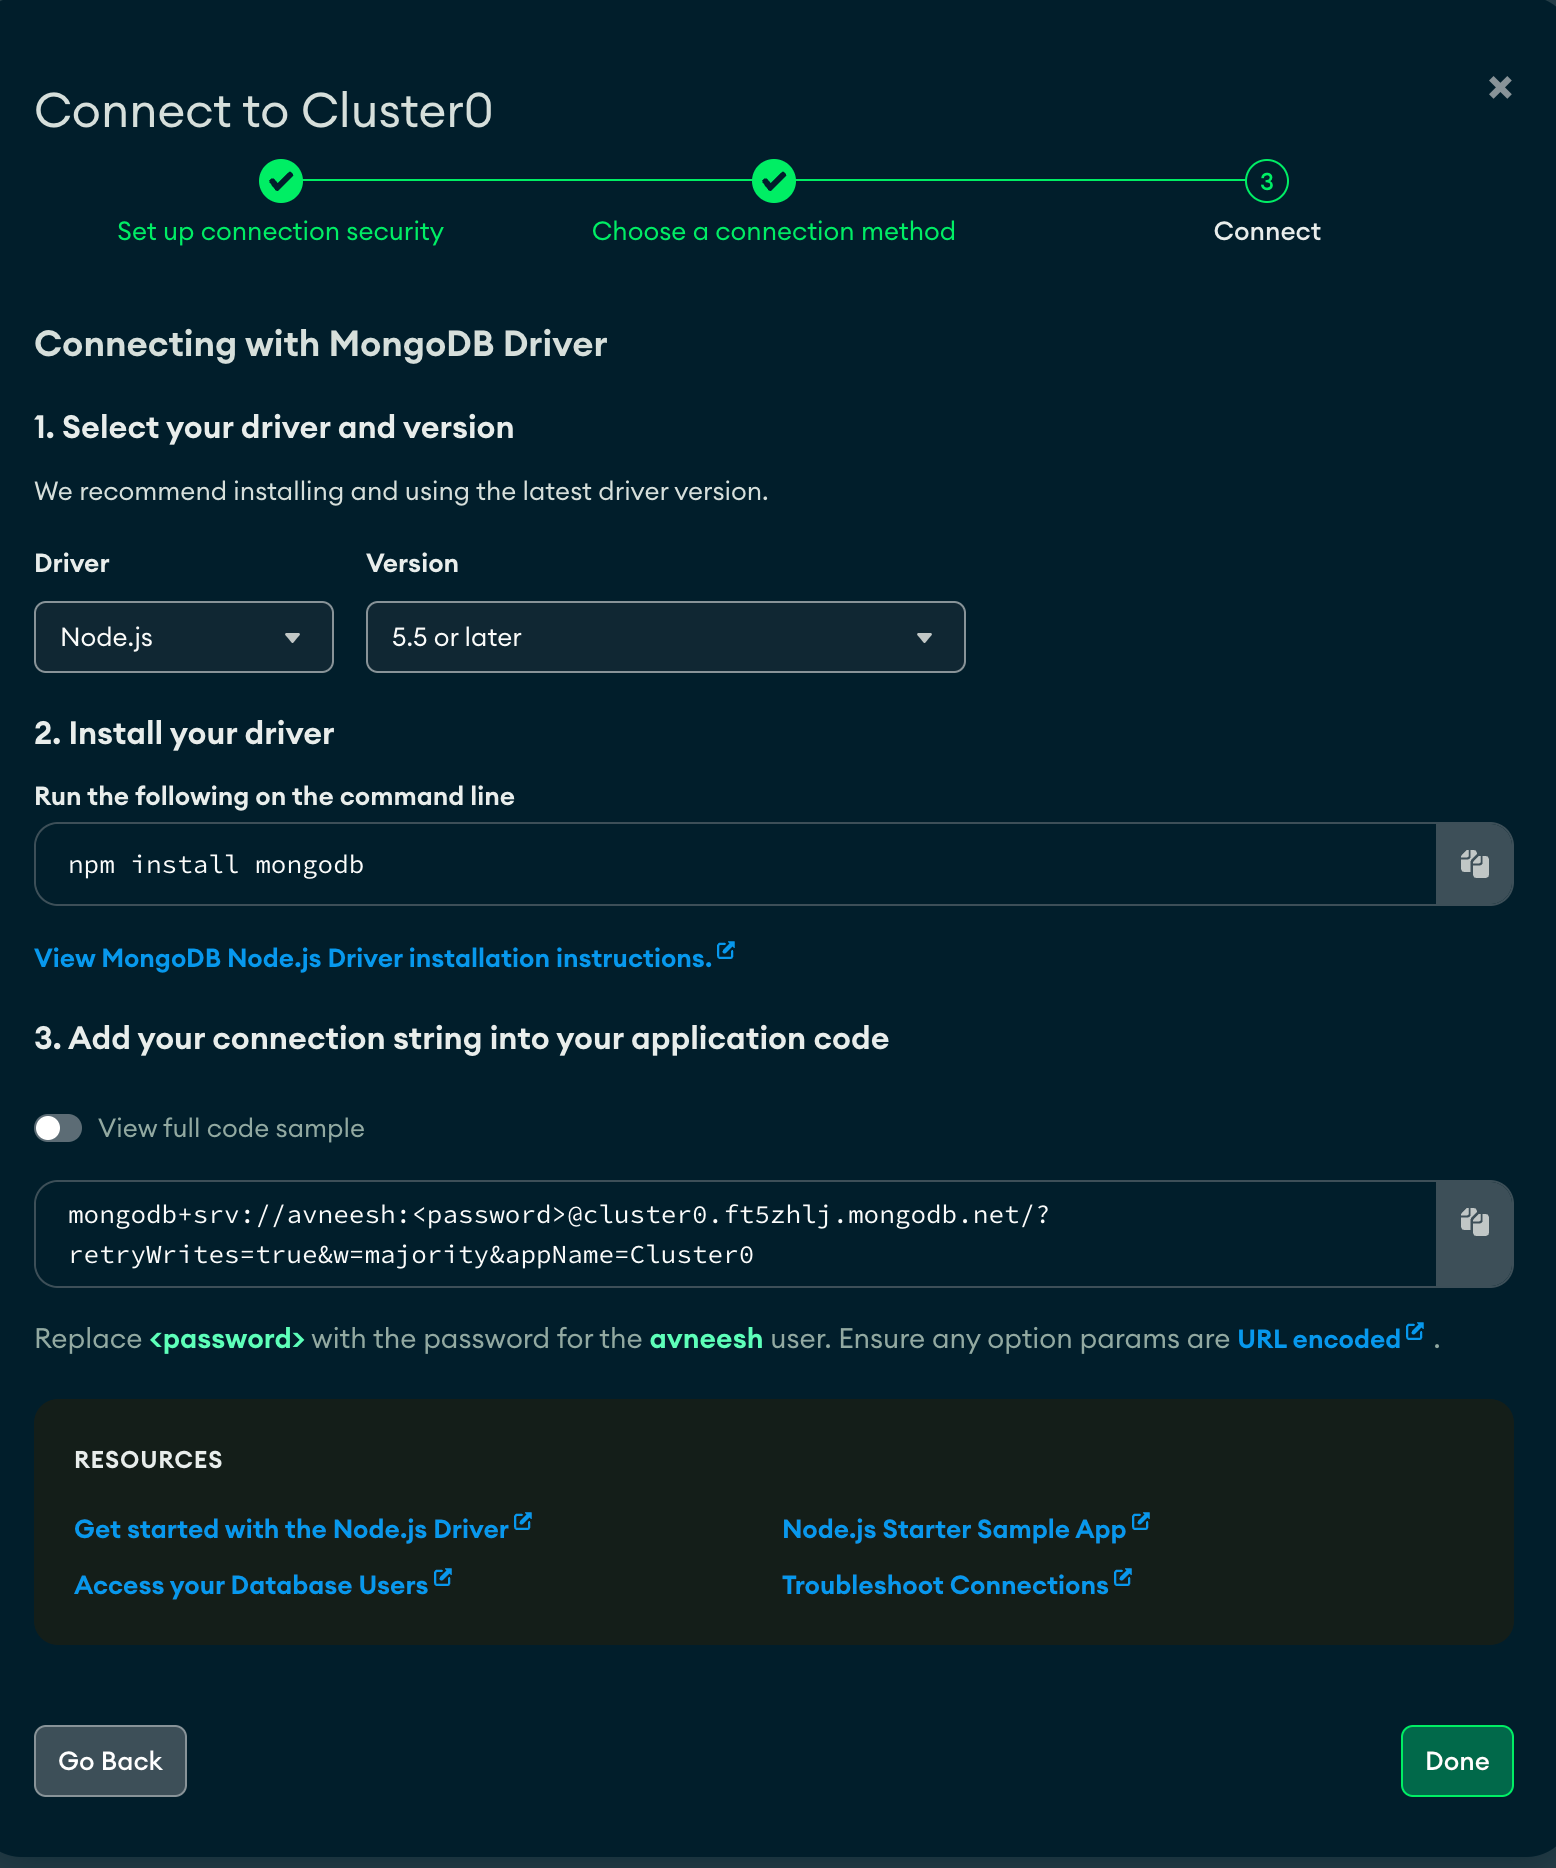
  <Step title="Copy the connection string from here and replace `<password>` with your user password">
    <Frame>
      <img src="https://mintcdn.com/neynar/V7Un5QUQSGJFAZfS/images/docs/fcd5358-SCR-20240608-blmy.png?fit=max&auto=format&n=V7Un5QUQSGJFAZfS&q=85&s=97817176a1de8cc7a51b6dac479a65fc" alt="Frame creation" width="1556" height="1868" data-path="images/docs/fcd5358-SCR-20240608-blmy.png" />
    </Frame>
  </Step>
</Steps>

Now, let's go ahead and set up Prisma in our project. Run the following command to initialise:

<CodeGroup>
  ```powershell PowerShell theme={"system"}
  npx prisma init --datasource-provider MongoDB
  ```
</CodeGroup>

Once the initialisation is complete head over to the `.env` file and add the connection url that you just copied and replace the part after `.mongodb.net/` with `/db?retryWrites=true&w=majority`.

<Warning>
  ### Make sure to add .env into .gitignore
</Warning>

Firstly, let's first define our database schema. Head over to `prisma/schema.prisma` and add a user model like this:

<CodeGroup>
  ```Text schema.prisma theme={"system"}
  model User {
    fid        String @id @default(cuid()) @map("_id")
    signerUUID String @unique
  }
  ```
</CodeGroup>

Once you have added the model, run these two commands:

<CodeGroup>
  ```powershell PowerShell theme={"system"}
  npx prisma db push
  npx prisma generate
  ```
</CodeGroup>

Now, we can add the Prisma client which we'll use to interact with our database. To do that, create a new `lib/prisma.ts` file in the `src` folder and add the following:

<CodeGroup>
  ```typescript prisma.ts theme={"system"}
  import { PrismaClient } from "@prisma/client";

  let prisma: PrismaClient;

  if (process.env.NODE_ENV === "production") {
    prisma = new PrismaClient();
  } else {
    const globalWithPrisma = global as typeof globalThis & {
      prisma: PrismaClient;
    };
    if (!globalWithPrisma.prisma) {
      globalWithPrisma.prisma = new PrismaClient();
    }
    prisma = globalWithPrisma.prisma;
  }

  export default prisma;
  ```
</CodeGroup>

## Adding sign-in with neynar

Now that we've setup all the boilerplate let's start coding the actual part. We'll first go ahead and add sign in with neynar.

To do that we need to wrap our app in a provider, so, head over to the `layout.tsx` file and wrap your app in a `NeynarContextProvider` like this:

<CodeGroup>
  ```typescript layout.tsx theme={"system"}
  "use client";

  import { NeynarContextProvider, Theme } from "@neynar/react";
  import "@neynar/react/dist/style.css";
  import { Inter } from "next/font/google";
  import "./globals.css";

  const inter = Inter({ subsets: ["latin"] });

  export default function RootLayout({
    children,
  }: Readonly<{
    children: React.ReactNode;
  }>) {
    return (
      <html lang="en">
        <NeynarContextProvider
          settings={{
            clientId: process.env.NEXT_PUBLIC_NEYNAR_CLIENT_ID || "",
            defaultTheme: Theme.Light,
            eventsCallbacks: {
              onAuthSuccess: () => {},
              onSignout() {},
            },
          }}
        >
          <body className={inter.className}>{children}</body>
        </NeynarContextProvider>
      </html>
    );
  }
  ```
</CodeGroup>

We are passing some settings here like `clientId`, `defaultTheme` and `eventsCallbacks`.

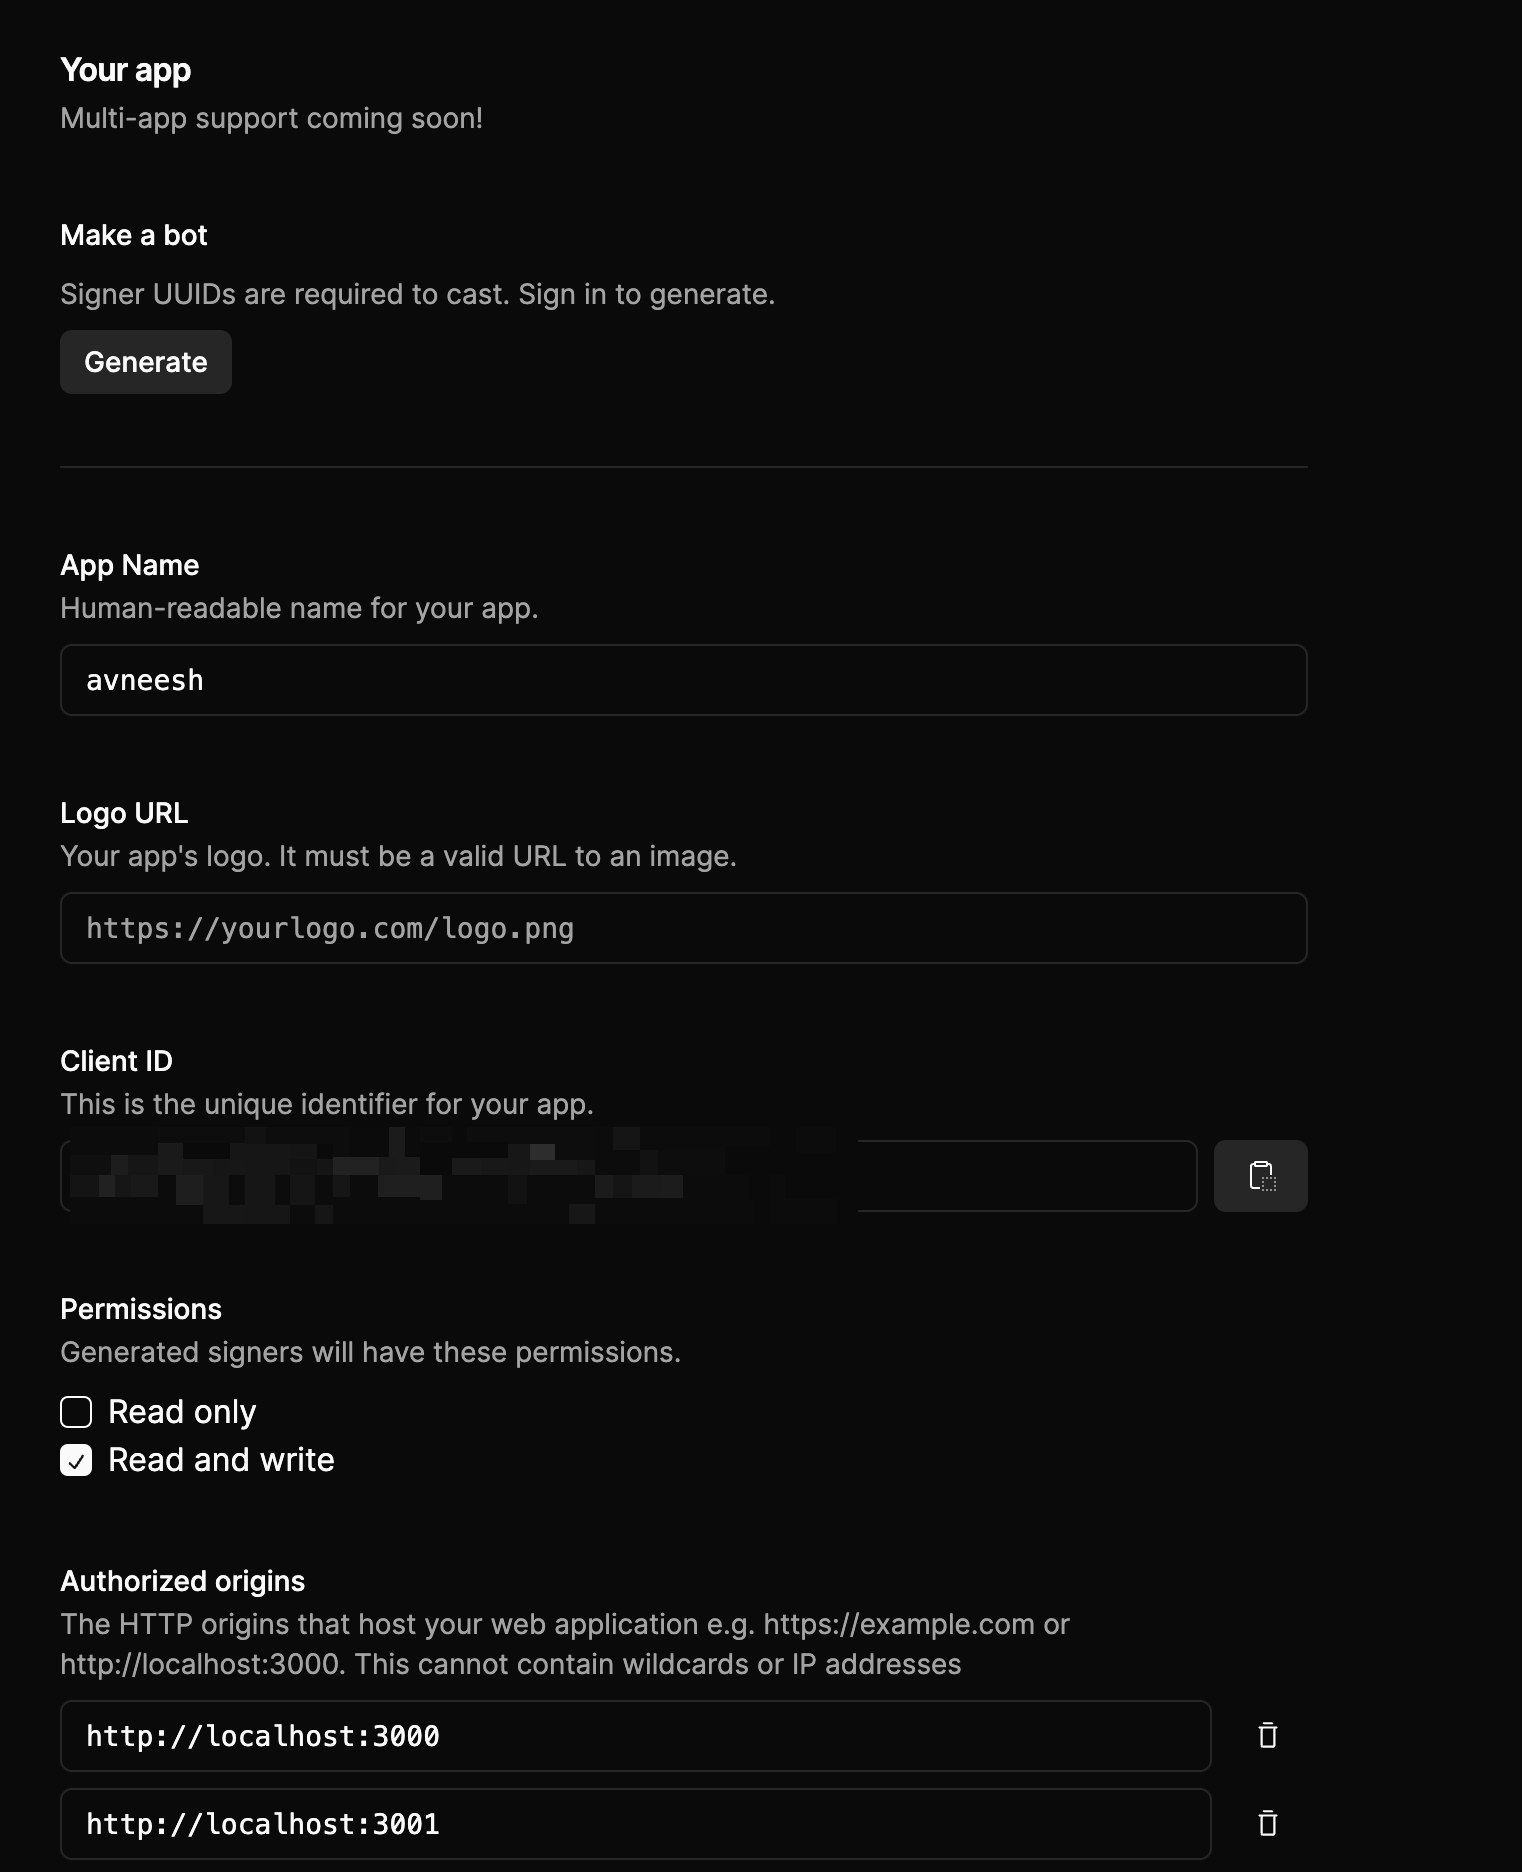
* `clientId`: This is going to be the client ID you get from your neynar, add it to your `.env.local` file as `NEXT_PUBLIC_NEYNAR_CLIENT_ID`.

<Frame>
  <img src="https://mintcdn.com/neynar/4PNY113y9N9T-r9z/images/docs/bde5490-image.png?fit=max&auto=format&n=4PNY113y9N9T-r9z&q=85&s=c44bb9404a8361f45b82f97d08e9feb8" alt="Frame creation" width="1522" height="1872" data-path="images/docs/bde5490-image.png" />
</Frame>

<Info>
  ### Make sure to add localhost to the authorized origins
</Info>

* `defaultTheme`: default theme lets you change the theme of your sign-in button, currently, we have only light mode but dark mode is going to be live soon.
* `eventsCallbacks`: This allows you to perform certain actions when the user signs out or auth is successful.

I've also added a styles import from the neynar react package here which is needed for the styles of the sign-in button.

Finally, let's add the sign-in button in the `page.tsx` file like this:

<CodeGroup>
  ```typescript page.tsx theme={"system"}
  "use client";

  import { NeynarAuthButton } from "@neynar/react";

  export default function Login() {
    return (
      <div tw="flex items-center gap-4">
        <NeynarAuthButton />
      </div>
    );
  }
  ```
</CodeGroup>

If you head over to your app you'll be able to see a sign-in button on the screen. Go ahead and try signing in!

<Frame>
  <img src="https://mintcdn.com/neynar/aGwjtKmNewHJXSzO/images/docs/4813dc2-image.png?fit=max&auto=format&n=aGwjtKmNewHJXSzO&q=85&s=2aefa20261f34feab92e7275ff564047" alt="Frame creation" width="396" height="196" data-path="images/docs/4813dc2-image.png" />
</Frame>

Now that our sign-in button is working let's add a call to add the users' signers to the database.

In `layout.tsx` add this to the `onAuthSuccess` function in `NeynarContextProvider`'s settings:

<CodeGroup>
  ```typescript layout.tsx theme={"system"}
  eventsCallbacks: {
              onAuthSuccess: ({ user }) => {
                axios.post("/api/add-user", {
                  signerUuid: user?.signer_uuid,
                  fid: user?.fid,
                });
              },
              onSignout() {},
            },
  ```
</CodeGroup>

This will call an `/api/add-user`API route which we are yet to create with the user's signer and fid every time a user successfully signs in.

Now, create a new `/api/add-user/route.ts` file in the `app` folder and add the following:

<CodeGroup>
  ```typescript add-user/route.ts theme={"system"}
  import { NextRequest, NextResponse } from "next/server";
  import { isApiErrorResponse } from "@neynar/nodejs-sdk";
  import neynarClient from "@/lib/neynarClient";
  import prisma from "@/lib/prisma";

  export async function POST(request: NextRequest) {
    const { signerUuid, fid } = (await request.json()) as {
      signerUuid: string;
      fid: string;
    };

    try {
      const { fid: userFid } = await neynarClient.lookupSigner({ signerUuid });

      if (!userFid) {
        return NextResponse.json({ message: "User not found" }, { status: 404 });
      }

      if (fid !== String(userFid)) {
        return NextResponse.json(
          { message: "Invalid user data" },
          { status: 400 }
        );
      }

      const user = await prisma.user.findUnique({
        where: {
          fid: String(userFid),
        },
      });

      if (!user) {
        await prisma.user.create({
          data: {
            signerUUID: signerUuid,
            fid: String(userFid),
          },
        });
      }

      return NextResponse.json({ message: "User added" }, { status: 200 });
    } catch (err) {
      if (isApiErrorResponse(err)) {
        return NextResponse.json(
          { ...err.response.data },
          { status: err.response.status }
        );
      } else
        return NextResponse.json(
          { message: "Something went wrong" },
          { status: 500 }
        );
    }
  }
  ```
</CodeGroup>

Here we are verifying the signer is valid and if it's valid we add it to the database.

As you can see we are importing a `neynarClient` function which we have not yet created so we have to do that. Create a new `lib/neynarClient.ts` file and add the following:

<CodeGroup>
  ```Text neynarClient.ts theme={"system"}
  import { NeynarAPIClient, Configuration } from "@neynar/nodejs-sdk";

  // make sure to set your NEYNAR_API_KEY .env
  // don't have an API key yet? get one at neynar.com
  const config = new Configuration({
    apiKey: process.env.NEYNAR_API_KEY,
  });

  const neynarClient = new NeynarAPIClient(config);
  export default neynarClient;
  ```
</CodeGroup>

## Creating the frame

Firstly, let's create the homescreen of the frame which will be a simple frame with a few buttons and a simple text.

So, create a new file `frame/route.tsx` file in the `app` folder and add the following:

```js theme={"system"}
import { createFrames, Button } from "frames.js/next";

const frames = createFrames({});

const HOST = process.env.HOST || "http://localhost:3000";

const handleRequest = frames(async () => {
  return {
    image: (
      <div tw="flex items-center justify-center h-full w-full bg-black">
        <p tw="text-white text-6xl flex">Cast from a frame!</p>
      </div>
    ),
    buttons: [
      <Button action="post" key="start" target={`${HOST}/frame/start`}>
        Start
      </Button>,
    ],
  };
});

export const GET = handleRequest;
export const POST = handleRequest;
```

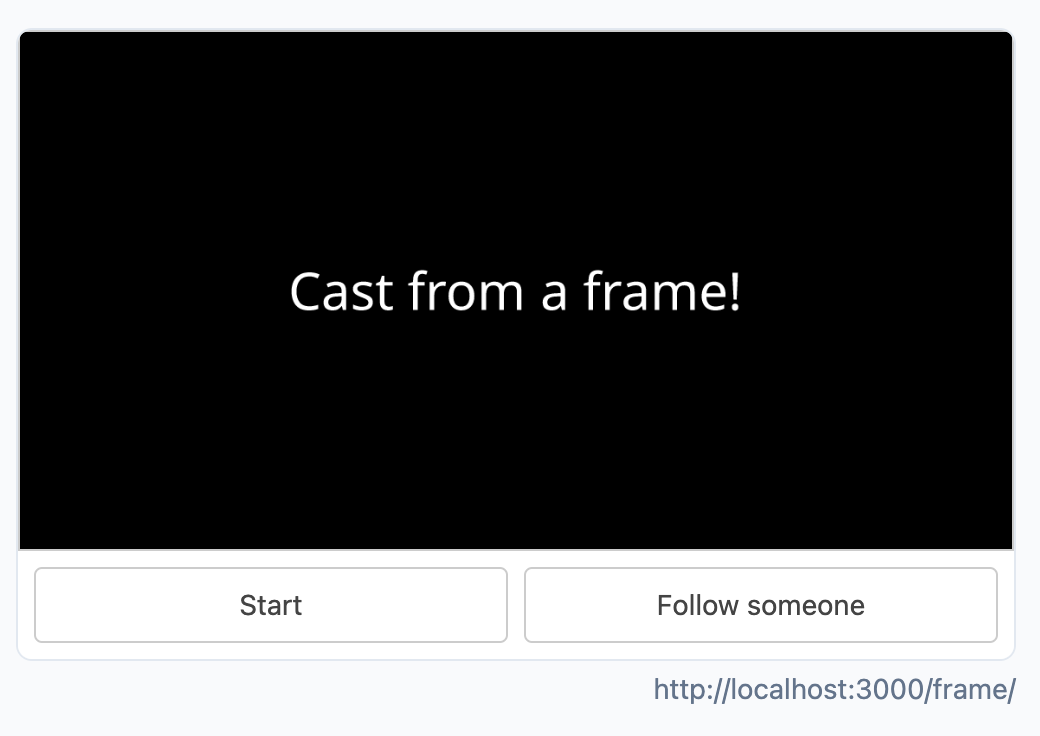
If you open it up in a debugger it will show you a frame like this:

<Frame>
  <img src="https://mintcdn.com/neynar/4PNY113y9N9T-r9z/images/docs/cf3bf1e-image.png?fit=max&auto=format&n=4PNY113y9N9T-r9z&q=85&s=a8ef776ab642323059109398dac2fd78" alt="Frame creation" width="1040" height="736" data-path="images/docs/cf3bf1e-image.png" />
</Frame>

Now, create a new file `start/route.tsx` in the `frame` folder and add the following:

<CodeGroup>
  ```typescript start/route.tsx theme={"system"}
  import prisma from "@/lib/prisma";
  import { createFrames, Button } from "frames.js/next";

  const frames = createFrames({});

  const HOST = process.env.HOST || "http://localhost:3000";

  const handleRequest = frames(async (payload) => {
    const fid = payload.message?.requesterFid;
    const user = await prisma.user.findUnique({
      where: {
        fid: String(fid),
      },
    });

    if (!user) {
      return {
        image: (
          <div tw="flex items-center justify-center h-full w-full bg-black">
            <p tw="text-white text-6xl">User not found!</p>
          </div>
        ),
        buttons: [
          <Button action="link" key="login" target={`${HOST}`}>
            Sign in
          </Button>,
        ],
      };
    }

    return {
      image: (
        <div tw="flex items-center justify-center h-full w-full bg-black">
          <p tw="text-white text-6xl">Cast from a frame!</p>
        </div>
      ),
      buttons: [
        <Button action="post" key="login" target={`${HOST}/frame/publish`}>
          Cast
        </Button>,
      ],
      textInput: "Text to cast...",
    };
  });

  export const GET = handleRequest;
  export const POST = handleRequest;
  ```
</CodeGroup>

This is just the home page for the frame that we are creating let's create a new `/frame/publish` route where the cast is made using the text that the user entered on the home screen.

Create a new file `route.tsx` in the `frame/publish/` folder and add the following:

<CodeGroup>
  ```typescript publish/route.tsx theme={"system"}
  import neynarClient from "@/lib/neynarClient";
  import prisma from "@/lib/prisma";
  import { createFrames, Button } from "frames.js/next";

  const frames = createFrames({});

  const HOST = process.env.HOST || "http://localhost:3000";

  const handleRequest = frames(async (payload) => {
    const text = payload.message?.inputText;
    const fid = payload.message?.requesterFid;

    const user = await prisma.user.findUnique({
      where: {
        fid: String(fid),
      },
    });

    if (!user) {
      return {
        image: (
          <div style={{ color: "white", display: "flex", fontSize: 60 }}>
            User not found!
          </div>
        ),
        buttons: [
          <Button action="link" key="login" target={HOST}>
            Sign in
          </Button>,
        ],
      };
    }

    const cast = await neynarClient.publishCast({signerUuid:user?.signerUUID,text:text || "gm"});

    return {
      image: (
        <div tw="flex items-center justify-center h-full w-full bg-black">
          <div tw="text-white text-6xl flex">
            Casted successfully! 🎉
            {cast?.hash}
          </div>
        </div>
      ),
    };
  });

  export const GET = handleRequest;
  export const POST = handleRequest;
  ```
</CodeGroup>

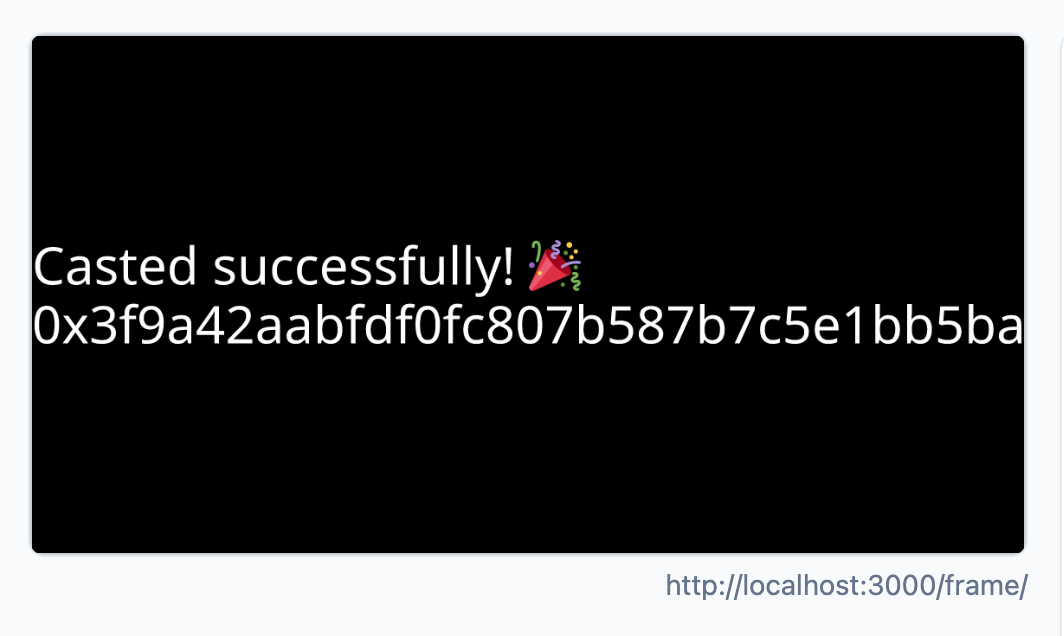
Here, we are first confirming that the user's signer exists. And if it does we use it to create a new cast using the `publishCast` function from the client we initialised. If you try publishing a new cast on the frame it will create the cast and show you something like this.

<Frame>
  <img src="https://mintcdn.com/neynar/aGwjtKmNewHJXSzO/images/docs/55e260d-image.png?fit=max&auto=format&n=aGwjtKmNewHJXSzO&q=85&s=1ccc59c4154be3772ce3b7990d44e0aa" alt="Frame creation" width="1064" height="636" data-path="images/docs/55e260d-image.png" />
</Frame>

## Conclusion

This guide taught us how to create a frame from which the users can create casts, check out the [GitHub repository](https://github.com/avneesh0612/frame-cast) if you want to look at the full code.

Lastly, make sure to share what you built with us on Farcaster by tagging [@neynar](https://warpcast.com/neynar) and if you have any questions, reach out to us on [warpcast](https://warpcast.com/~/channel/neynar) or [Slack](https://neynar.com/slack)!