> ## Documentation Index
> Fetch the complete documentation index at: https://docs.neynar.com/llms.txt
> Use this file to discover all available pages before exploring further.

# Create Multi Step Cast Action

> In this guide, we’ll make a multi-step cast action, within a few minutes! The cast action will go ahead and return a frame which will show the cast hash.

Let's get started!

## Creating a new frames project

We will use [bun](https://bun.sh/) and [frog](https://frog.fm/) for building the cast action in this guide, but feel free to use [framejs](https://framesjs.org/), [onchainkit](https://onchainkit.xyz/), or anything else as well!

Enter this command in your terminal to create a new app:

<CodeGroup>
  ```powershell PowerShell theme={"system"}
  bunx create-frog -t bun
  ```
</CodeGroup>

Enter a name for your project and it will spin up a new project for you. Once the project is created install the dependencies:

<CodeGroup>
  ```powershell PowerShell theme={"system"}
  cd <project_name>
  bun install
  ```
</CodeGroup>

Once everything is done, open up `index.tsx` and update the Frog instance to use neynar hubs and make sure to update the api key so that you can get analytics for your frame and cast action!

<CodeGroup>
  ```typescript index.tsx theme={"system"}
  import { neynar } from "frog/hubs";

  export const app = new Frog({
    hub: neynar({ apiKey: "NEYNAR_FROG_FM" }),
  });
  ```
</CodeGroup>

## Creating the add cast action frame

Firstly, let's create the home screen frame that will link to adding the cast action. So, head over to the `index.tsx` file and update the `/` frame to this:

<CodeGroup>
  ```typescript index.tsx theme={"system"}
  app.frame("/", (c) => {
    return c.res({
      image: (
        <div
          style={{
            alignItems: "center",
            background: "black",
            backgroundSize: "100% 100%",
            height: "100%",
            textAlign: "center",
            width: "100%",
            display: "flex",
          }}
        >
          <div
            style={{
              color: "white",
              fontSize: 60,
              padding: "0 120px",
              whiteSpace: "pre-wrap",
            }}
          >
            Create a multi step cast action
          </div>
        </div>
      ),
      intents: [
        <Button.AddCastAction action="/get-cast-hash">Add</Button.AddCastAction>,
      ],
    });
  });
  ```
</CodeGroup>

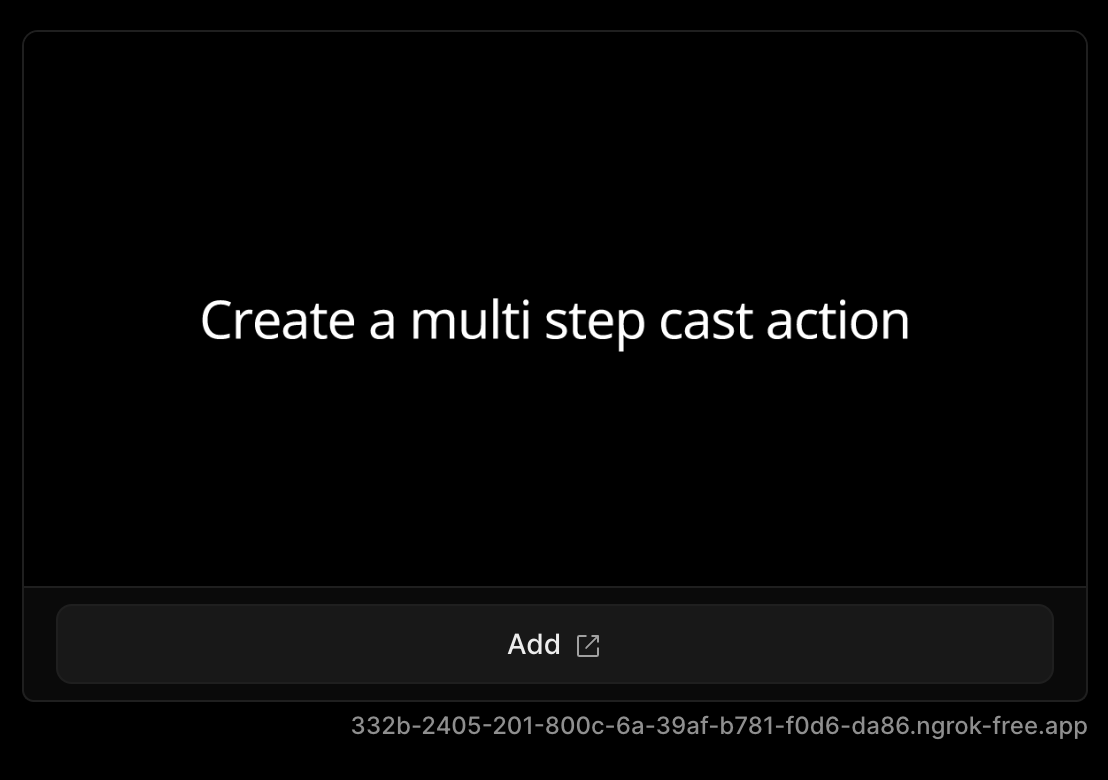
This should render a pretty simple frame like this:

<Frame>
  <img src="https://mintcdn.com/neynar/4PNY113y9N9T-r9z/images/docs/79ef4e0-image.png?fit=max&auto=format&n=4PNY113y9N9T-r9z&q=85&s=2654b459f21b7d496335932a847d95d2" alt="Add cast action frame" width="1108" height="780" data-path="images/docs/79ef4e0-image.png" />
</Frame>

Let's now build the actual cast action.

## Creating the cast action

The frog instance provides us with a `.castAction` which can be used to create new cast actions like this:
<CodeGroup>
  ```typescript index.tsx theme={"system"}

  app.castAction(
    "/get-cast-hash",
    (c) => {
      return c.frame({ path: "/cast-hash" });
    },
    { name: "Get cast hash", icon: "hash" }
  );
  ```
</CodeGroup>

This creates a new cast action on the `/get-cast-hash` route which will return a new frame linking to `/cast-hash`. In the last object, you can change the name and icon of your cast action and add a description as well!

Now, let's create the frame that the cast action will return.

## Creating the cast hash frame

Create a new frame on the `/cast-hash` route like this:

<CodeGroup>
  ```typescript index.tsx theme={"system"}
  app.frame("/cast-hash", (c) => {
    return c.res({
      image: (
        <div
          style={{
            alignItems: "center",
            background: "black",
            backgroundSize: "100% 100%",
            display: "flex",
            flexDirection: "column",
            height: "100%",
            justifyContent: "center",
            textAlign: "center",
            width: "100%",
          }}
        >
          <div
            style={{
              color: "white",
              fontSize: 48,
              marginTop: 30,
              padding: "0 120px",
            }}
          >
            Cast hash is:
          </div>
          <div
            style={{
              color: "white",
              fontSize: 48,
              marginTop: 30,
              padding: "0 120px",
            }}
          >
            {c.frameData?.castId.hash}
          </div>
        </div>
      ),
    });
  });
  ```
</CodeGroup>

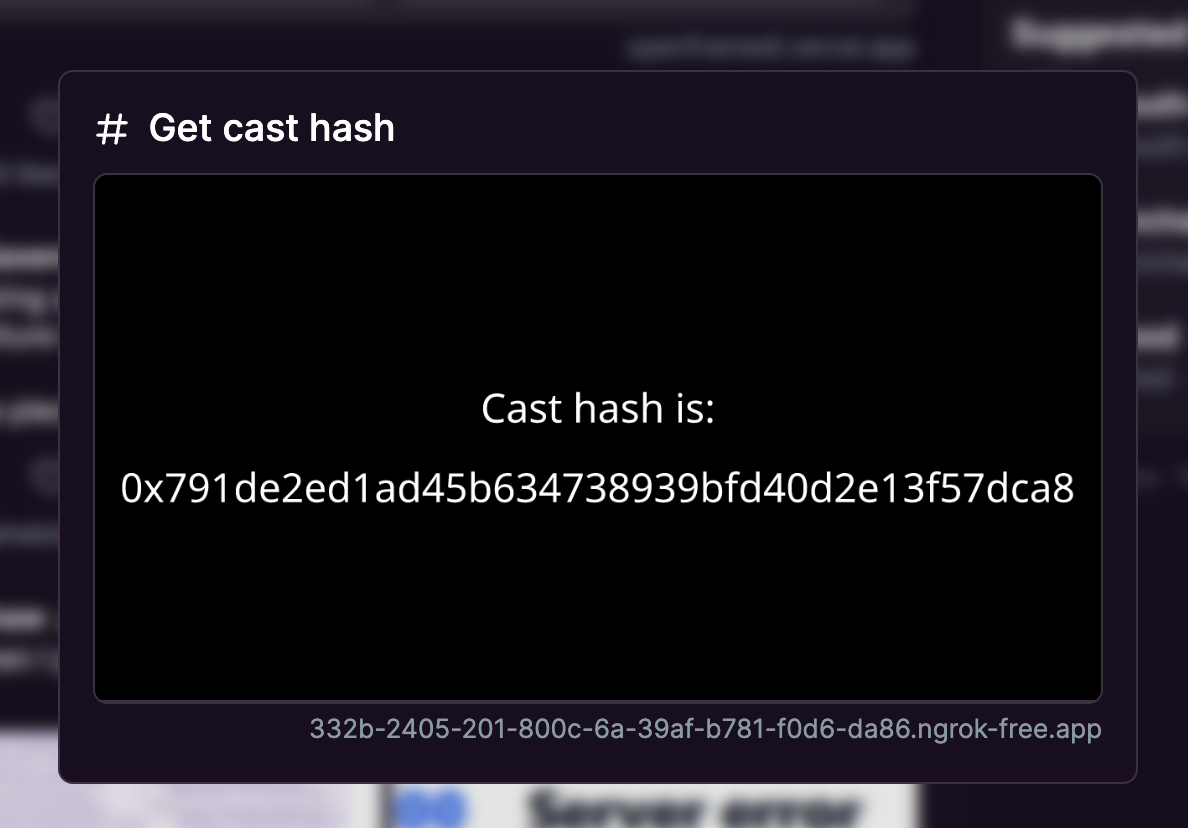
This frame gets the cast hash from the `frameData` object and displays it.

Now we can go ahead and test our cast action. But for that, you need to host your server somewhere, for local development you can use ngrok.

If you don’t already have it installed, install it from [here](https://ngrok.com/download). Once it’s installed authenticate using your auth token and serve your app using this command:

<CodeGroup>
  ```powershell PowerShell theme={"system"}
  ngrok http http://localhost:5173/
  ```
</CodeGroup>

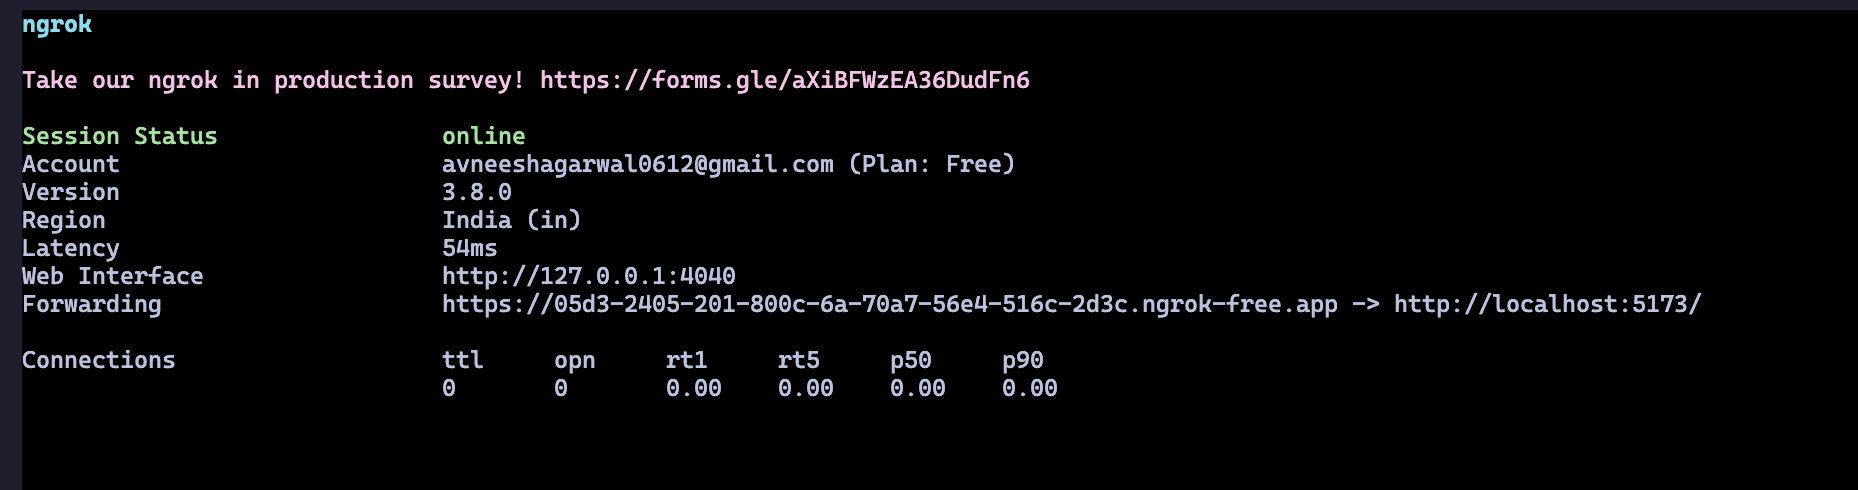
This command will give you a URL which will forward the requests to your localhost:

<Frame>
  <img src="https://mintcdn.com/neynar/4PNY113y9N9T-r9z/images/docs/9e1852c-image.png?fit=max&auto=format&n=4PNY113y9N9T-r9z&q=85&s=3d75166dbbca1cf95e9335970e56a699" alt="Ngrok URL" width="1858" height="490" data-path="images/docs/9e1852c-image.png" />
</Frame>

If you go ahead and try out your action you'll see a frame like this
<Frame>
  <img src="https://mintcdn.com/neynar/aGwjtKmNewHJXSzO/images/docs/5e486b4-image.png?fit=max&auto=format&n=aGwjtKmNewHJXSzO&q=85&s=599add55ee036e344d910ad79f79c378" alt="Multi step cast action" width="1188" height="828" data-path="images/docs/5e486b4-image.png" />
</Frame>

## Conclusion

This guide taught us how to create a multi-step cast action, which returns a frame! If you want to look at the completed code, check out the [GitHub Gist](https://gist.github.com/avneesh0612/69a9f0dd373a1709d2435304959b02f5).

Lastly, make sure to sure what you built with us on Farcaster by tagging [@neynar](https://warpcast.com/neynar) and if you have any questions, reach out to us on [warpcast](https://warpcast.com/~/channel/neynar) or [Slack](https://neynar.com/slack)!
