 Once the app is created, install the packages that we are going to need for the command:
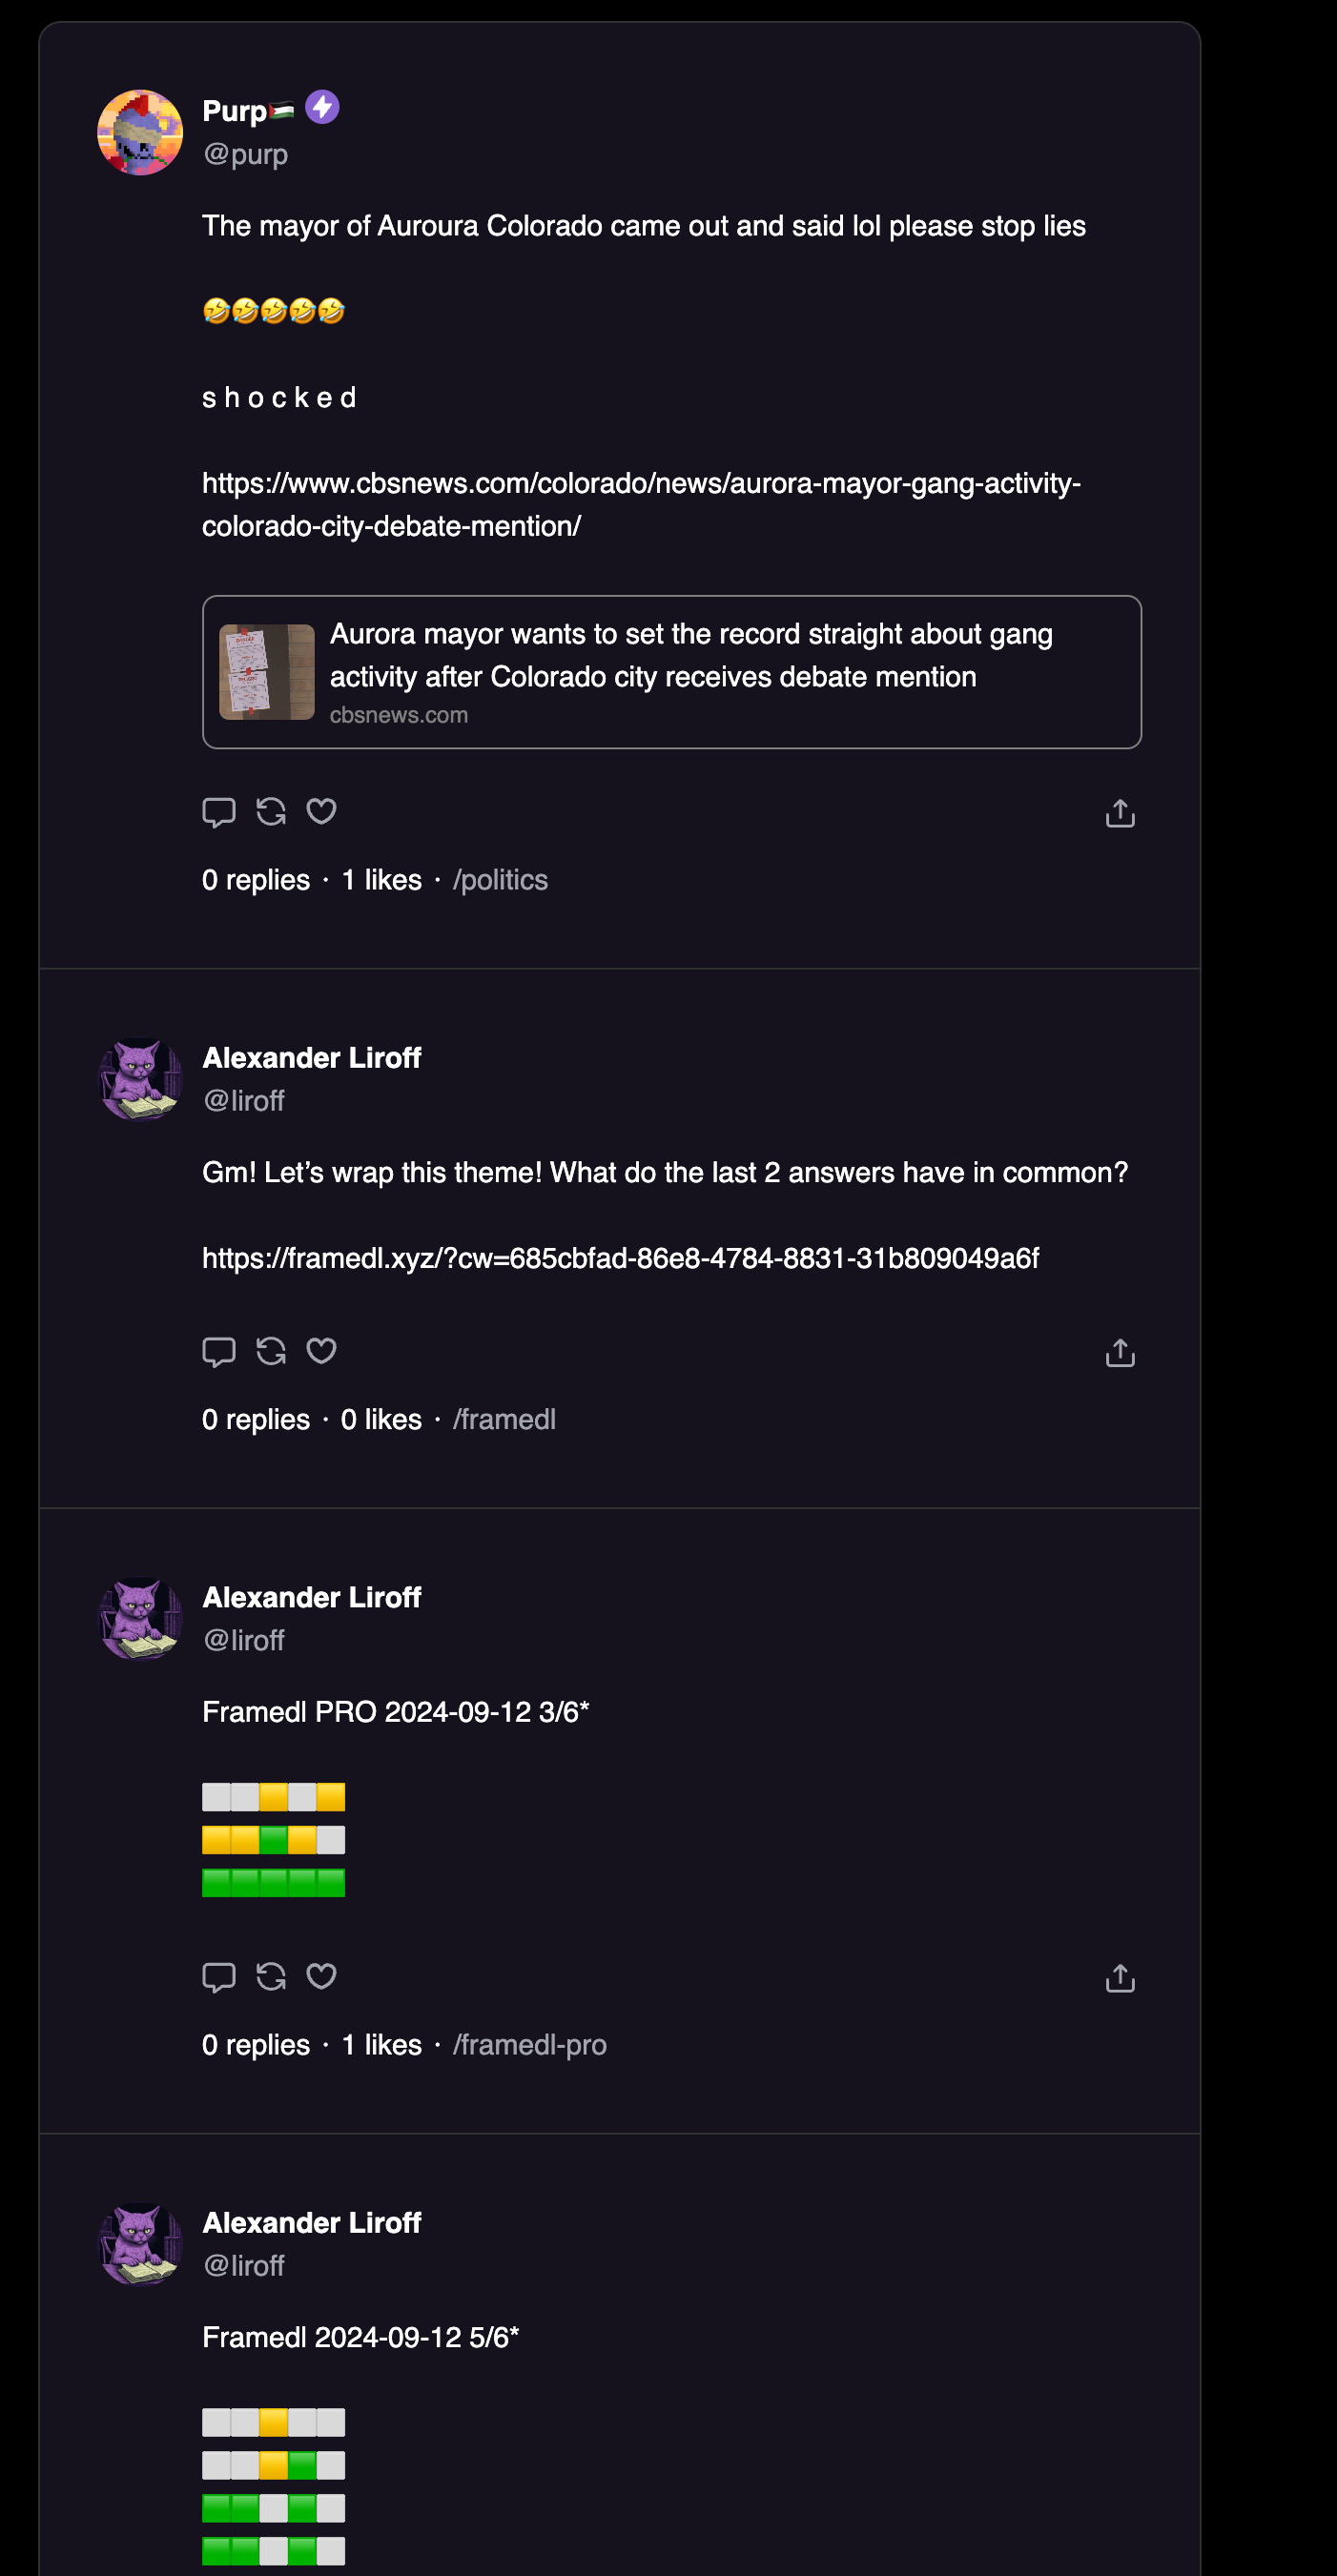
 Now that our sign-in button is working let's start working on showing the feed!
### Building the feed
In the `page.tsx` file add the following:
Now that our sign-in button is working let's start working on showing the feed!
### Building the feed
In the `page.tsx` file add the following:
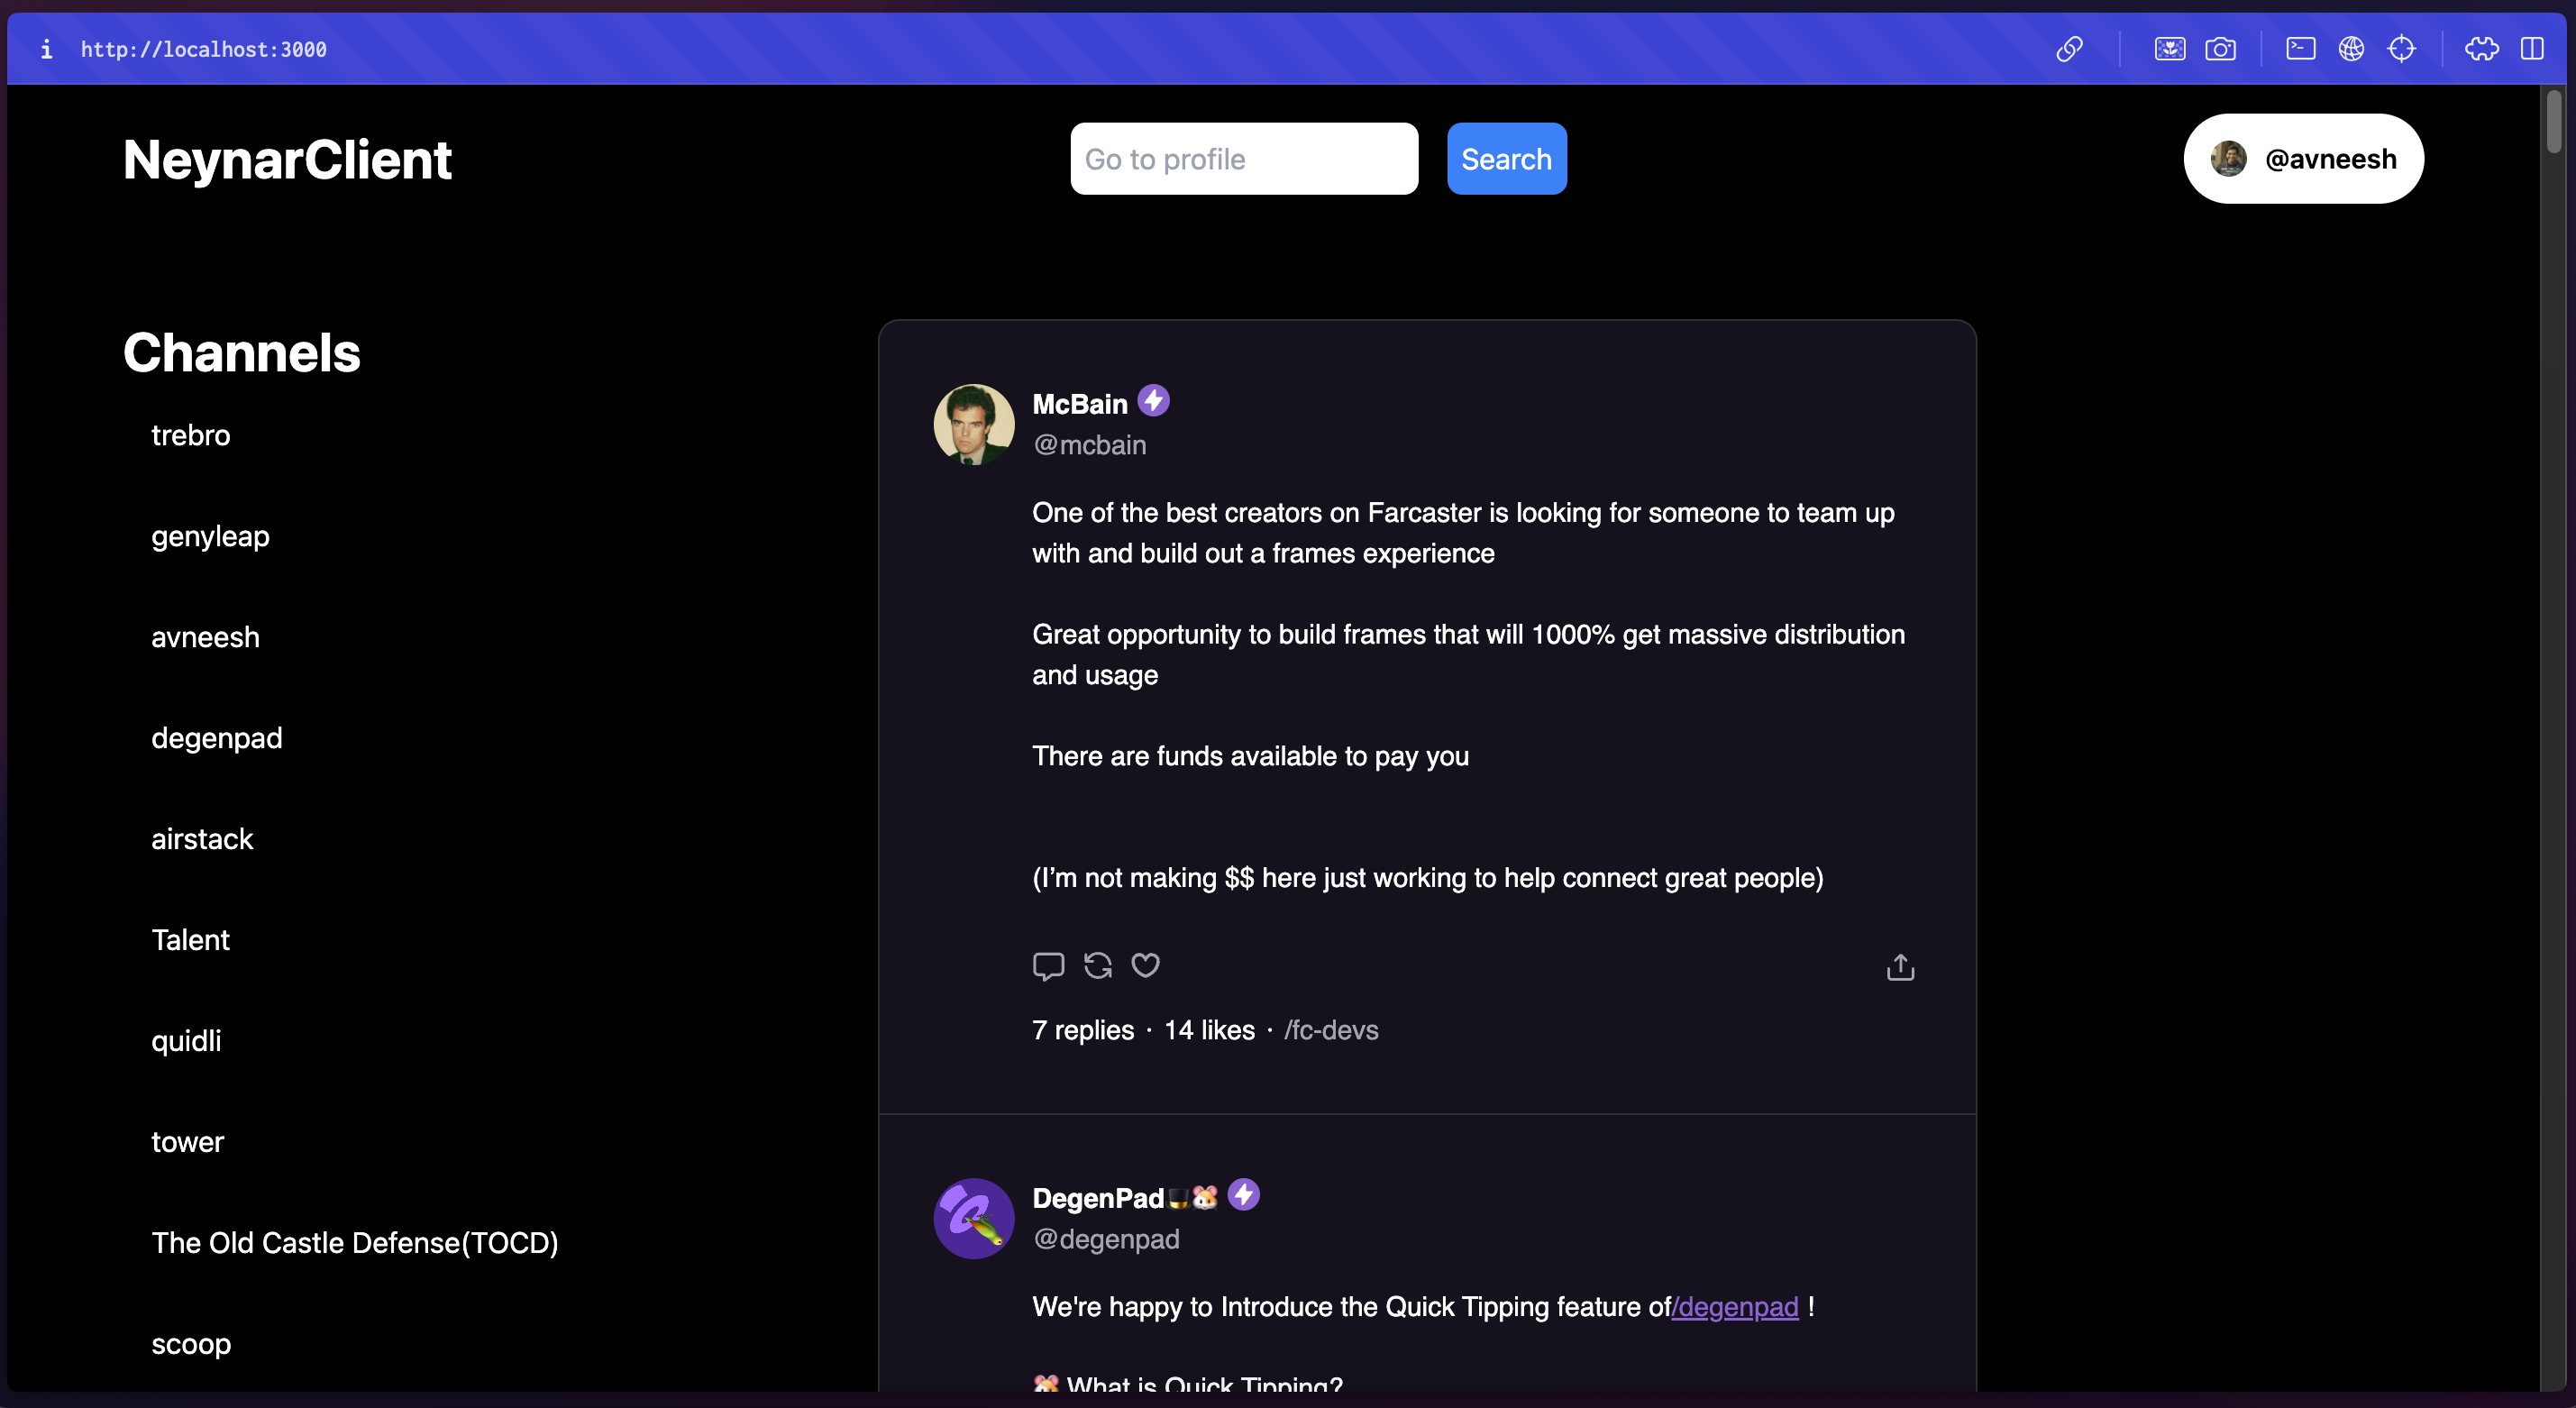
 Now, let's also show the list of channels that the user is following.
### Building the channels list and channel feed
To get the list of channels that a user is following we'll use the neynar APIs. So, let's first initialise the client in a new `lib/neynarClient.ts` file like this:
Now, let's also show the list of channels that the user is following.
### Building the channels list and channel feed
To get the list of channels that a user is following we'll use the neynar APIs. So, let's first initialise the client in a new `lib/neynarClient.ts` file like this:
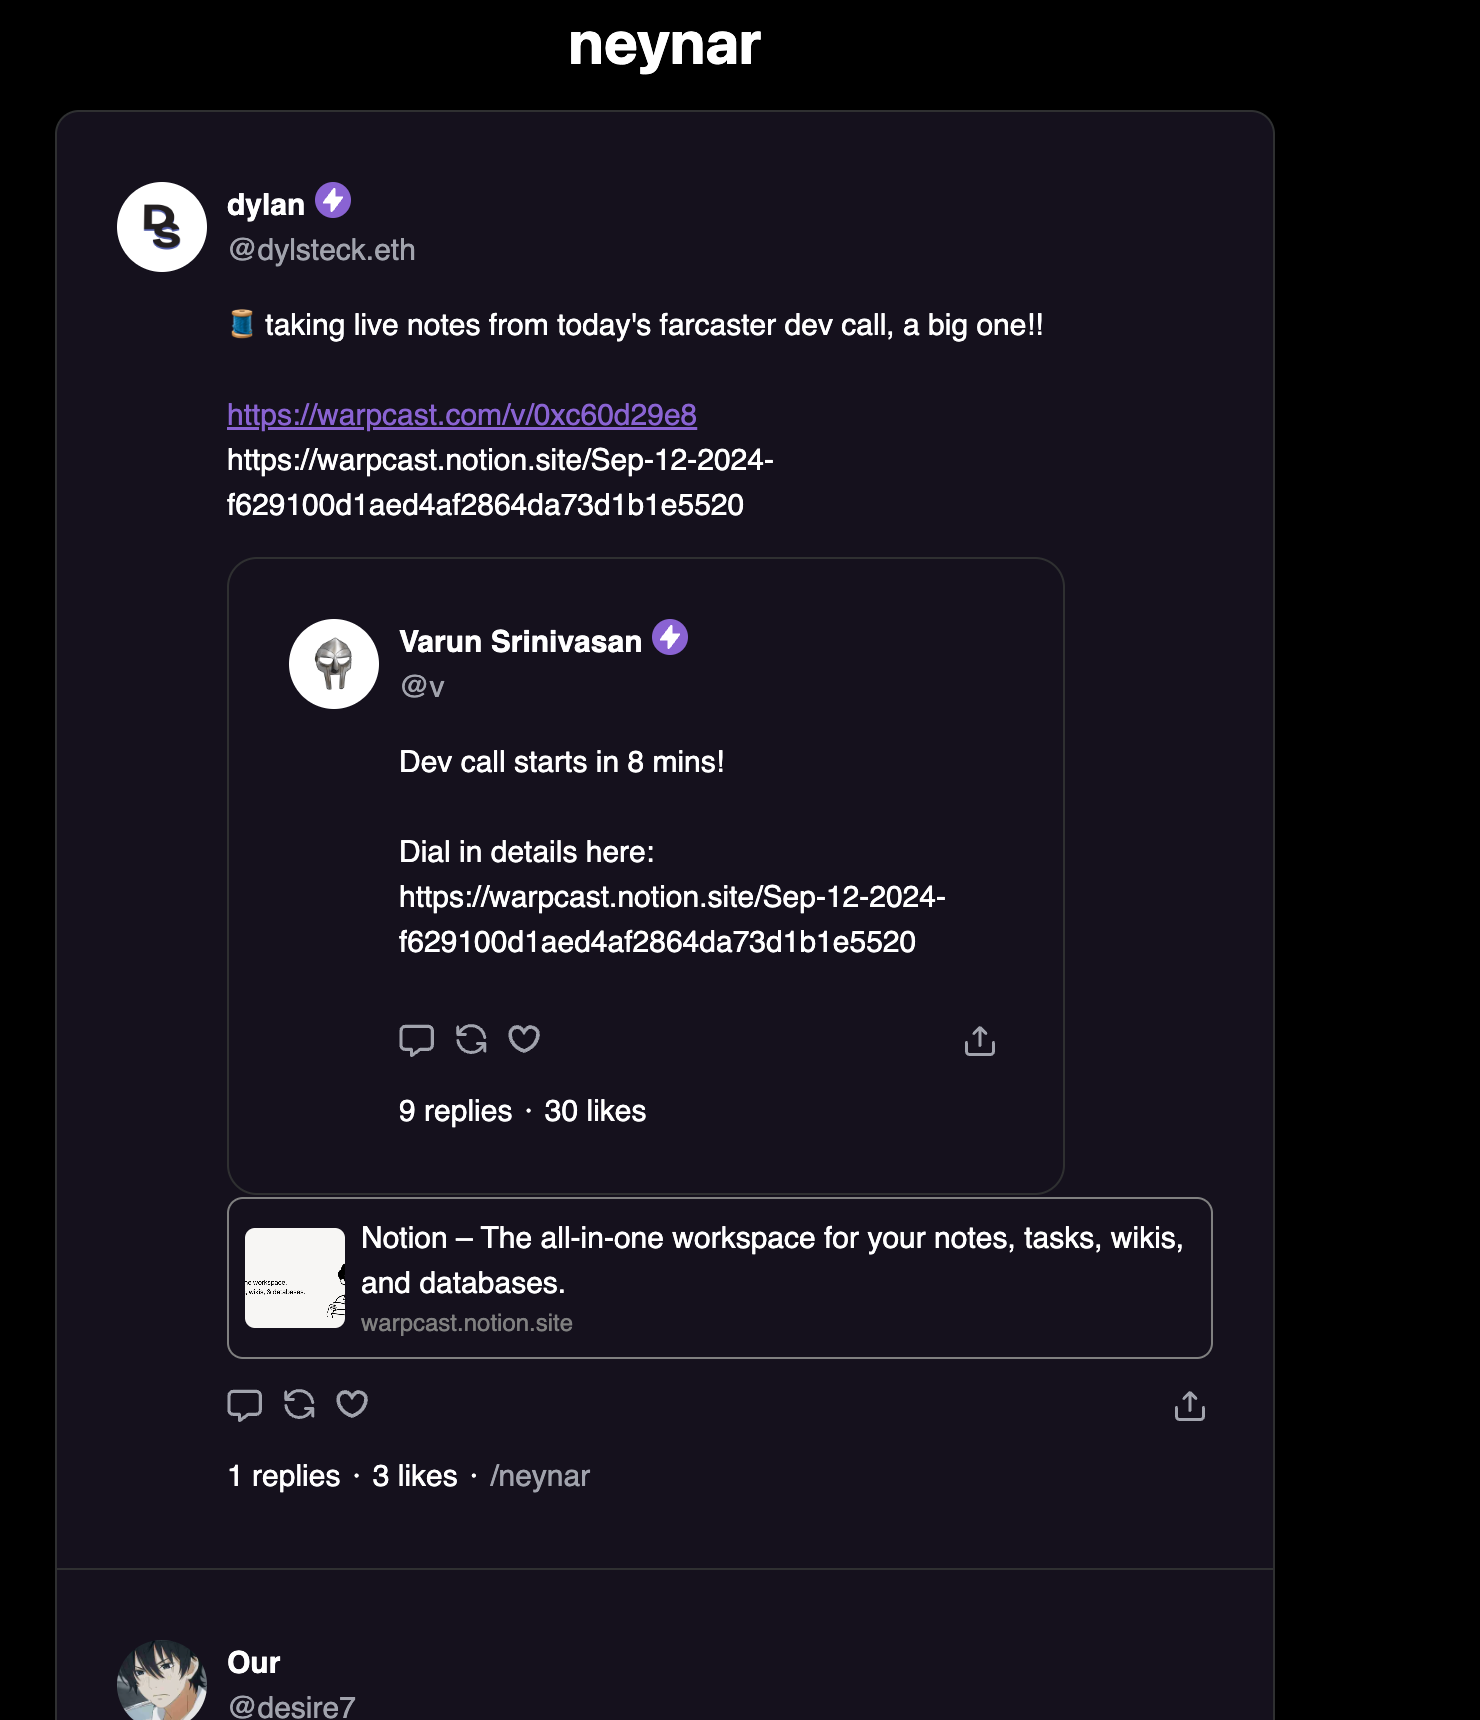
 Now, let's build out the channel page as well which will show the feed of a specific channel.
Create a new `channel/[channelId]/page.tsx` file in the `app` folder and add the following:
Now, let's build out the channel page as well which will show the feed of a specific channel.
Create a new `channel/[channelId]/page.tsx` file in the `app` folder and add the following:
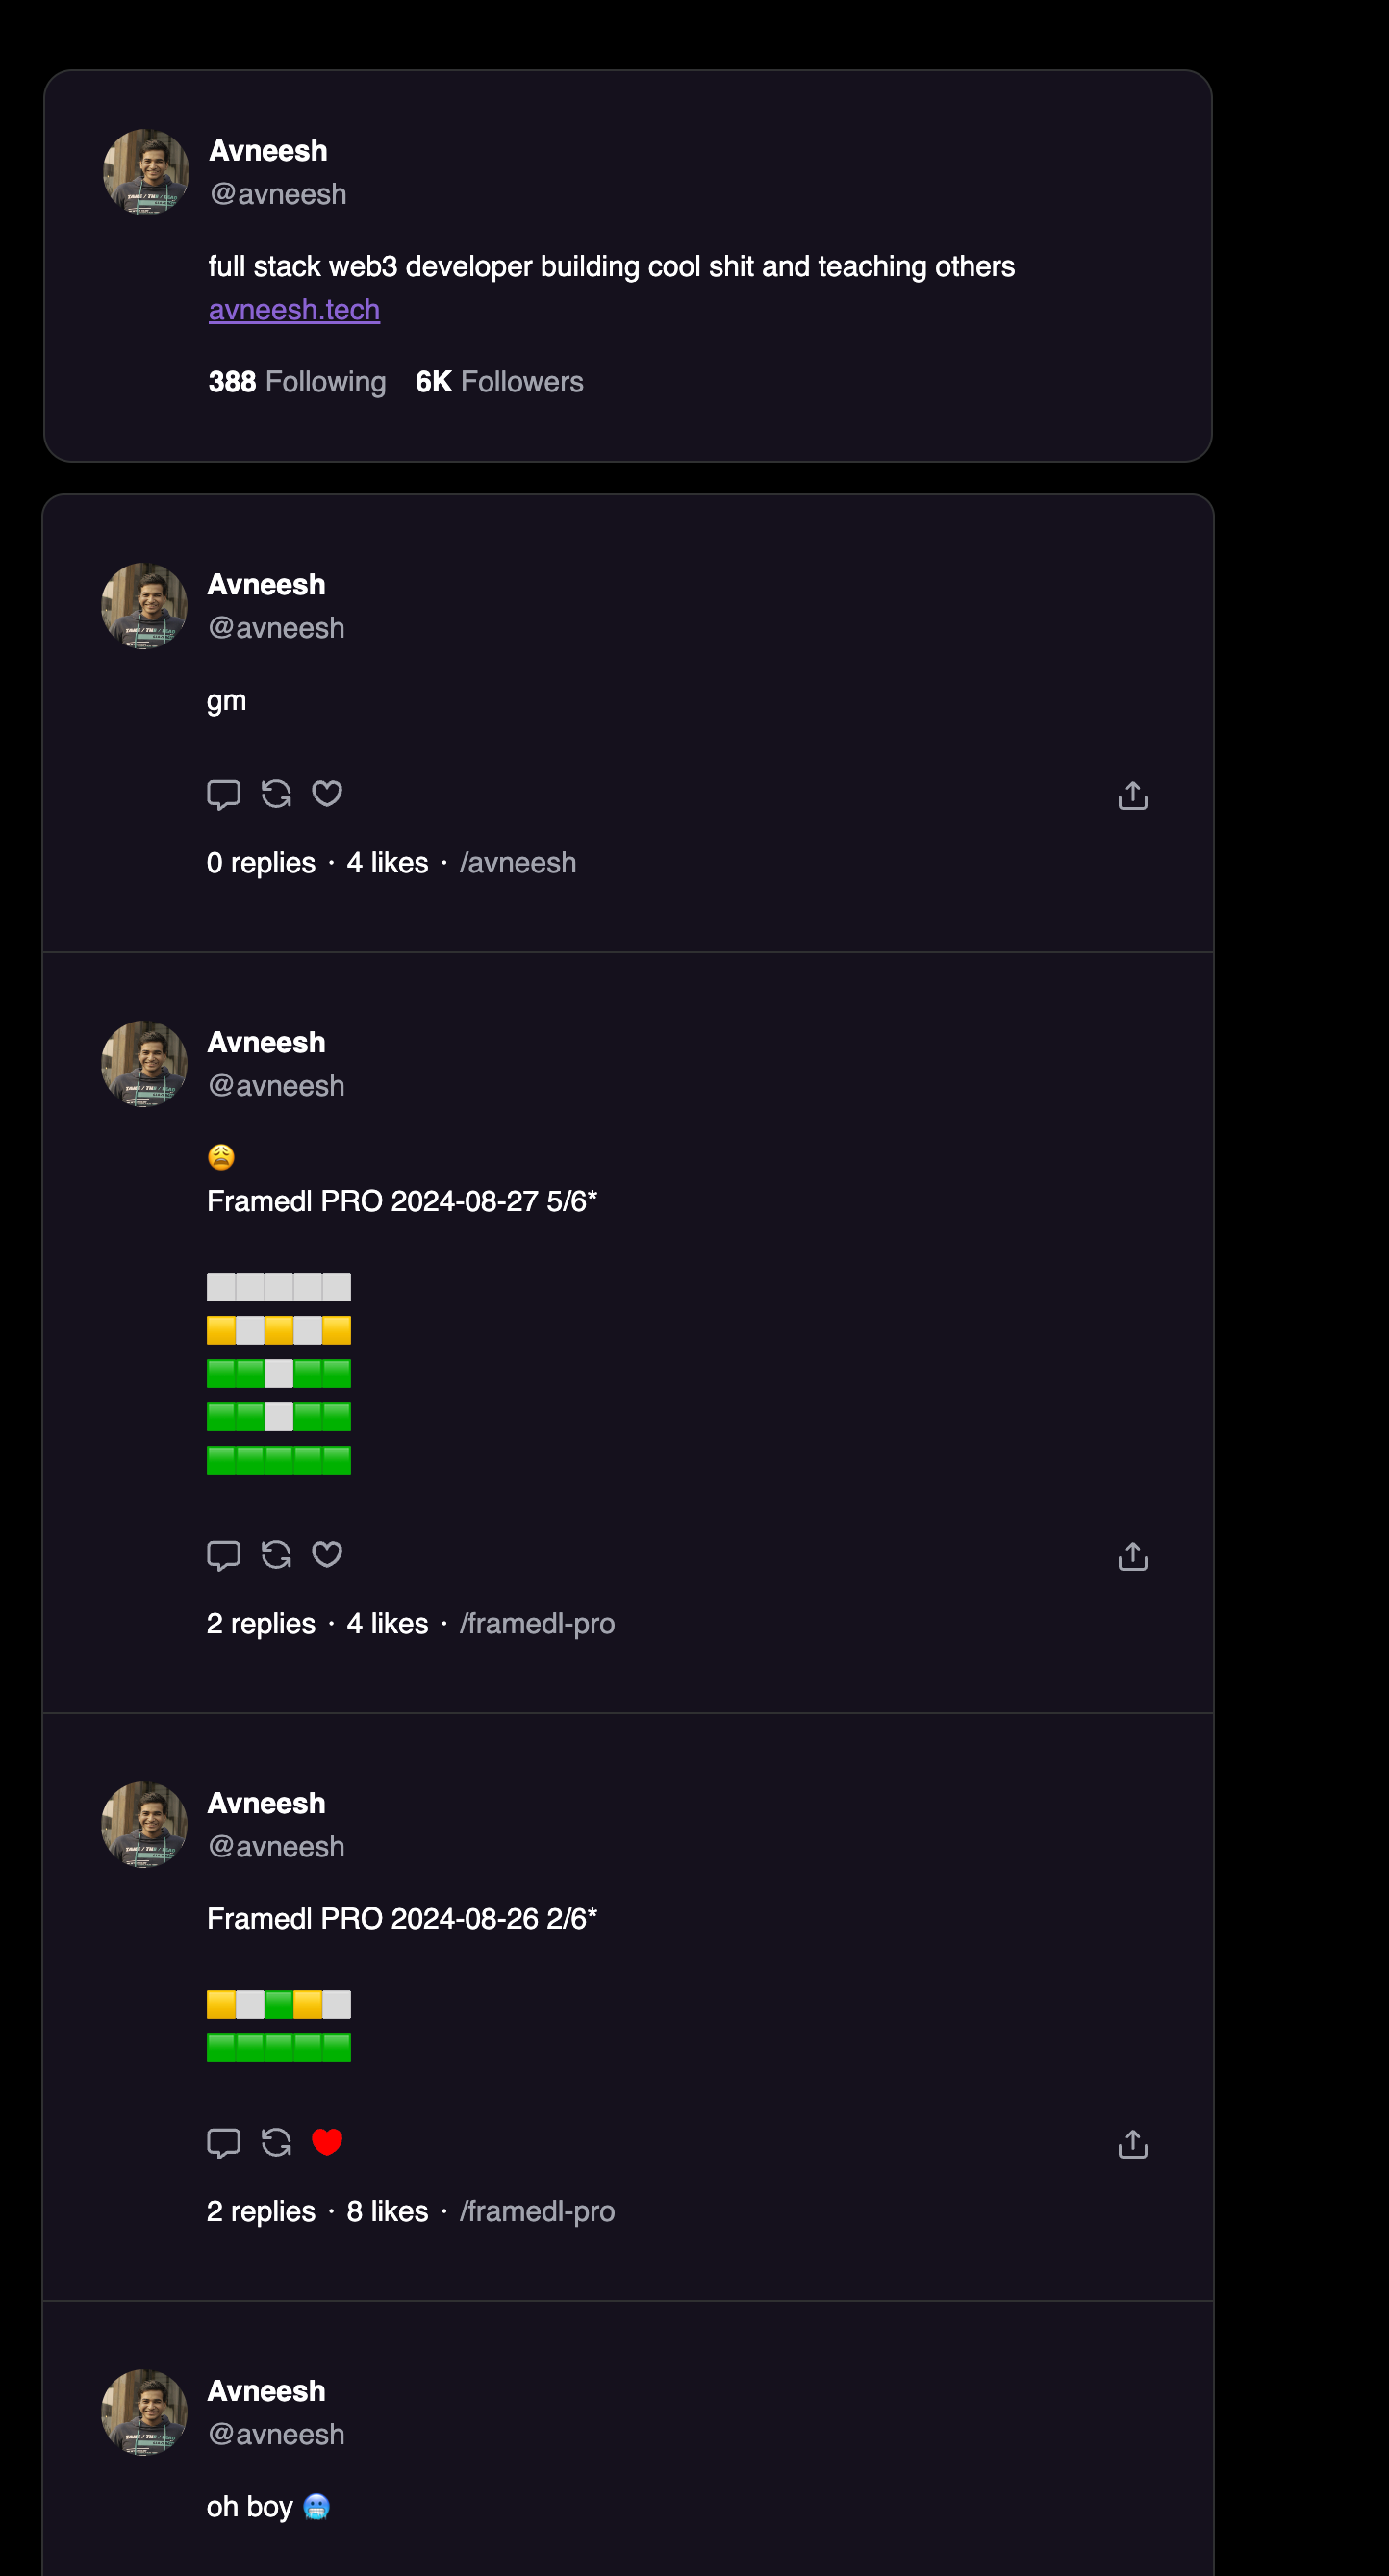
 ### Building user profiles
Let's also build a profile page for every user which shows their profile card and the casts they have created.
Create a new file `profile/[username]/page.tsx` in the `app` folder and add the following:
### Building user profiles
Let's also build a profile page for every user which shows their profile card and the casts they have created.
Create a new file `profile/[username]/page.tsx` in the `app` folder and add the following:
 ## Conclusion
In this tutorial, we successfully built a Farcaster client with Next.js and the Neynar React SDK. Along the way, we covered essential features such as user authentication, creating feeds, fetching channels, and building user profiles. These steps give you a solid foundation to further enhance your client by adding more advanced features or customizing it to meet your specific needs.
To explore the full implementation, visit the [GitHub repository](https://github.com/avneesh0612/neynar-client). If you have any questions or want to share your progress, reach out to us on [warpcast](https://warpcast.com/~/channel/neynar) or [Slack](https://neynar.com/slack).
## Conclusion
In this tutorial, we successfully built a Farcaster client with Next.js and the Neynar React SDK. Along the way, we covered essential features such as user authentication, creating feeds, fetching channels, and building user profiles. These steps give you a solid foundation to further enhance your client by adding more advanced features or customizing it to meet your specific needs.
To explore the full implementation, visit the [GitHub repository](https://github.com/avneesh0612/neynar-client). If you have any questions or want to share your progress, reach out to us on [warpcast](https://warpcast.com/~/channel/neynar) or [Slack](https://neynar.com/slack).