> ## Documentation Index
> Fetch the complete documentation index at: https://docs.neynar.com/llms.txt
> Use this file to discover all available pages before exploring further.
# Set up Neynar with Cursor and MCP server
> Start developing on Farcaster with Neynar and AI enabled Cursor
### llms.txt
* Full file [LLM Documentation - Complete Version](https://docs.neynar.com/llms-full.txt). FYI this file can be too large for LLMs on free plan, you might need to upgrade.
* Abridged version [LLM Documentation - Compact Version](https://docs.neynar.com/llms.txt).
### MCP server
Available at [`https://docs.neynar.com/mcp`](https://docs.neynar.com/mcp). See Step #3 below on how to add.
The steps below will help you get started with Farcaster development in a few simple clicks:
Create an empty folder on your computer e.g. `rish/Code/farcaster`. *This tutorial assumes you're starting from scratch. If you already have a build environment, your steps might vary.*
Download Cursor from [cursor.com](https://www.cursor.com/) . This tutorial uses `Version: 0.43.5`, it's possible that future versions behave slightly differently.
Add Neynar MCP server to your IDE as per instructions below. This tutorial follows Cursor.
To connect the Neynar MCP server to Cursor, click the **Install in Cursor** button in the contextual menu on the top right of any docs page. Or to manually connect the MCP server, follow these steps:
1. Use `Command` + `Shift` + `P` (`Ctrl` + `Shift` + `P` on Windows) to open the command palette.
2. Search for "Open MCP settings".
3. Select **Add custom MCP**. This will open the `mcp.json` file.
In `mcp.json`, add:
```json theme={null} theme={"system"}
{
"mcpServers": {
"Neynar": {
"url": "https://docs.neynar.com/mcp"
}
}
}
```
In Cursor's chat, ask "What tools do you have available?" Cursor should show the Neynar MCP server as an available tool.
See [Installing MCP servers](https://docs.cursor.com/en/context/mcp#installing-mcp-servers) in the Cursor documentation for more details.
To connect the Neynar MCP server to Cursor, click the **Install in Cursor** button in the contextual menu on the top right of any docs page. Or to manually connect the MCP server, follow these steps:
1. Create a `.vscode/mcp.json` file.
2. In `mcp.json`, configure your server:
```json theme={null} theme={"system"}
{
"servers": {
"Neynar": {
"type": "http",
"url": "https://docs.neynar.com/mcp"
}
}
}
```
See the [VS Code documentation](https://code.visualstudio.com/docs/copilot/chat/mcp-servers) for more details.
```bash theme={null} theme={"system"}
claude mcp add --transport http Neynar https://docs.neynar.com/mcp
```
Test the connection by running:
```bash theme={null} theme={"system"}
claude mcp list
```
See the [Claude Code documentation](https://docs.anthropic.com/en/docs/claude-code/mcp#installing-mcp-servers) for more details.
1. Navigate to the [Connectors](https://claude.ai/settings/connectors) page in the Claude settings.
2. Select **Add custom connector**.
3. Add the Neynar MCP server:
* Name: `Neynar`
* URL: `https://docs.neynar.com/mcp`
4. Select **Add**.
1. When using Claude, select the attachments button (the plus icon).
2. Select the Neynar MCP server.
3. Ask Claude a question about Neynar.
See the [Model Context Protocol documentation](https://modelcontextprotocol.io/docs/tutorials/use-remote-mcp-server#connecting-to-a-remote-mcp-server) for more details.
You can open the MCP server from the dropdown contextual menu on the top right of any page on the Neynar docs site.
| Option | Description |
| :---------------------- | :-------------------------------------------------- |
| **Copy MCP server URL** | Copies your MCP server URL to the user's clipboard. |
| **Connect to Cursor** | Installs your MCP server in Cursor. |
| **Connect to VS Code** | Installs your MCP server in VS Code. |
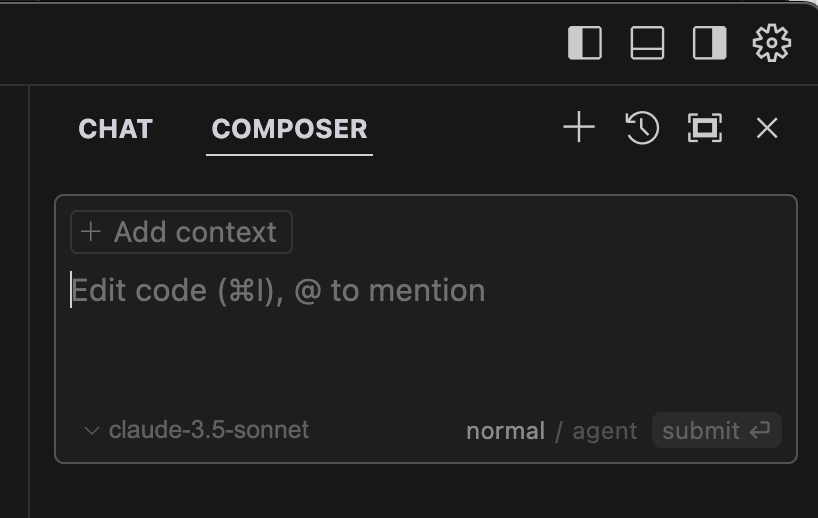
Open the `farcaster` folder you created in Cursor and then open the right chat pane. That's the icon next to the icon in the screenshot below. *This tutorial assumes you're using `claude-3.5-sonnet` as your AI model. With a different model, your results might differ.*
 Give it the following prompt.
> I want to build a Farcaster app with Neynar.
>
> Neynar's openapi spec is here: @[https://github.com/neynarxyz/OAS/](https://github.com/neynarxyz/OAS/)
>
> Neynar's nodejs sdk is here: @[https://github.com/neynarxyz/nodejs-sdk](https://github.com/neynarxyz/nodejs-sdk)
>
> can you help set up the repo for me? we will use the latest version of neynar's sdk. No need to build a frontend for now, we will focus on backend only to start.
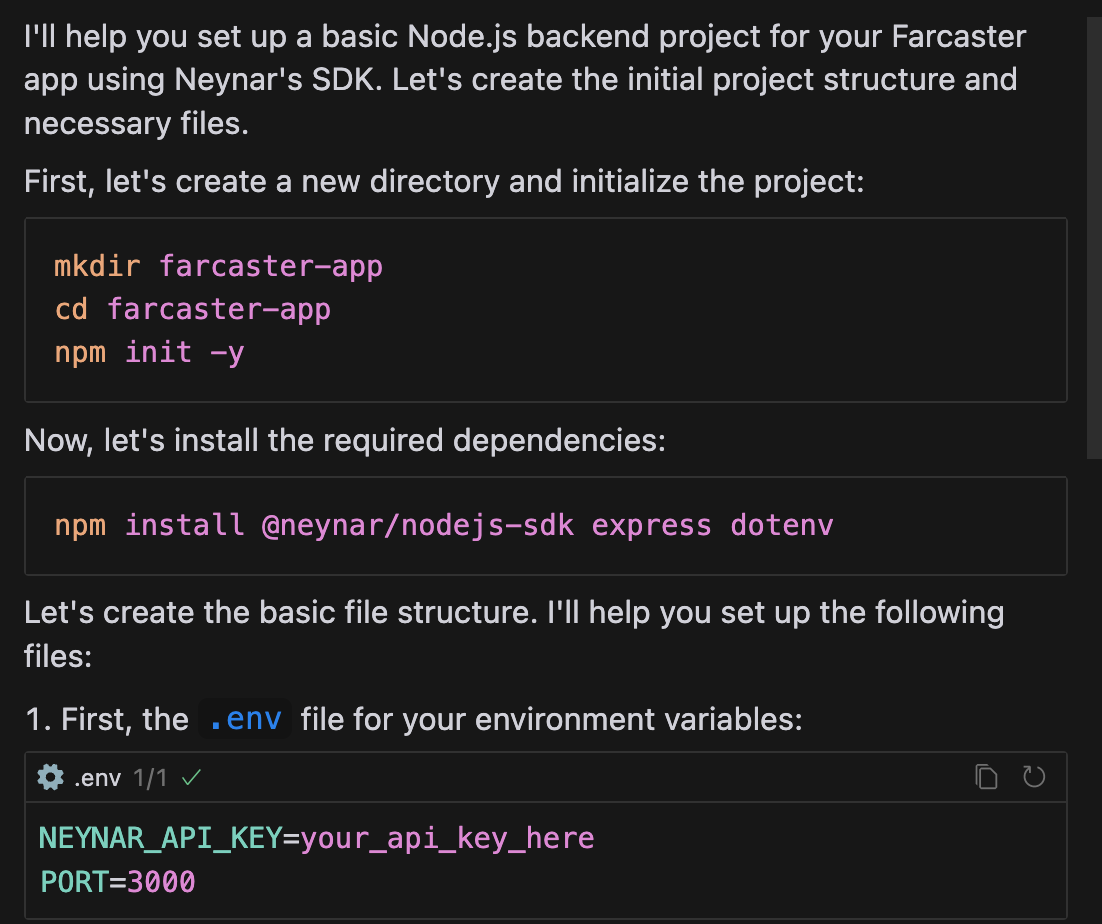
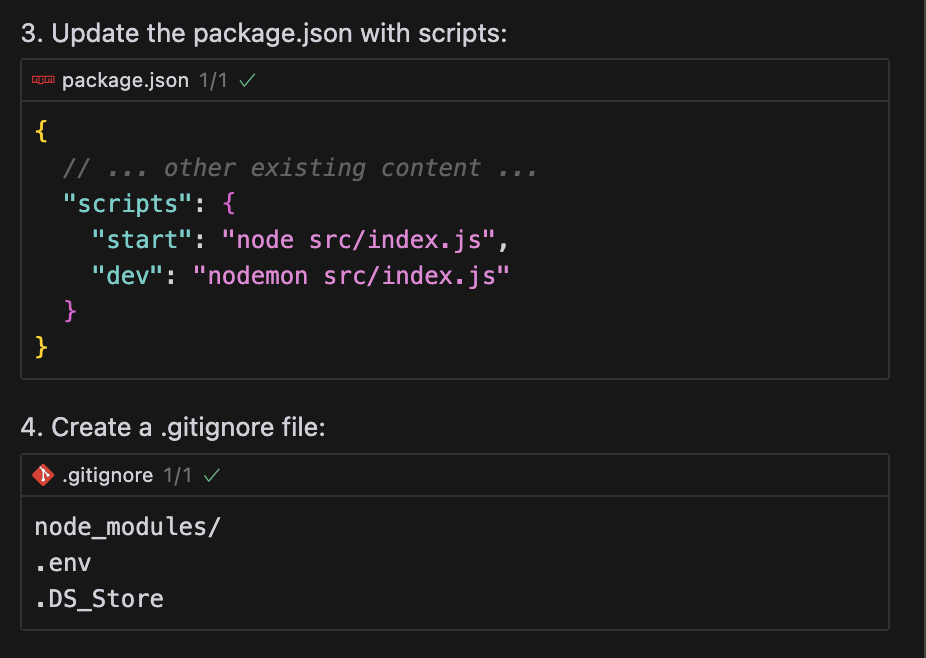
Cursor should run a bunch of commands based on the above prompt and set up the directory for you already. The right pane will look something like the one below (it slightly differs on each run, so don't worry if it's different for you).
Give it the following prompt.
> I want to build a Farcaster app with Neynar.
>
> Neynar's openapi spec is here: @[https://github.com/neynarxyz/OAS/](https://github.com/neynarxyz/OAS/)
>
> Neynar's nodejs sdk is here: @[https://github.com/neynarxyz/nodejs-sdk](https://github.com/neynarxyz/nodejs-sdk)
>
> can you help set up the repo for me? we will use the latest version of neynar's sdk. No need to build a frontend for now, we will focus on backend only to start.
Cursor should run a bunch of commands based on the above prompt and set up the directory for you already. The right pane will look something like the one below (it slightly differs on each run, so don't worry if it's different for you).
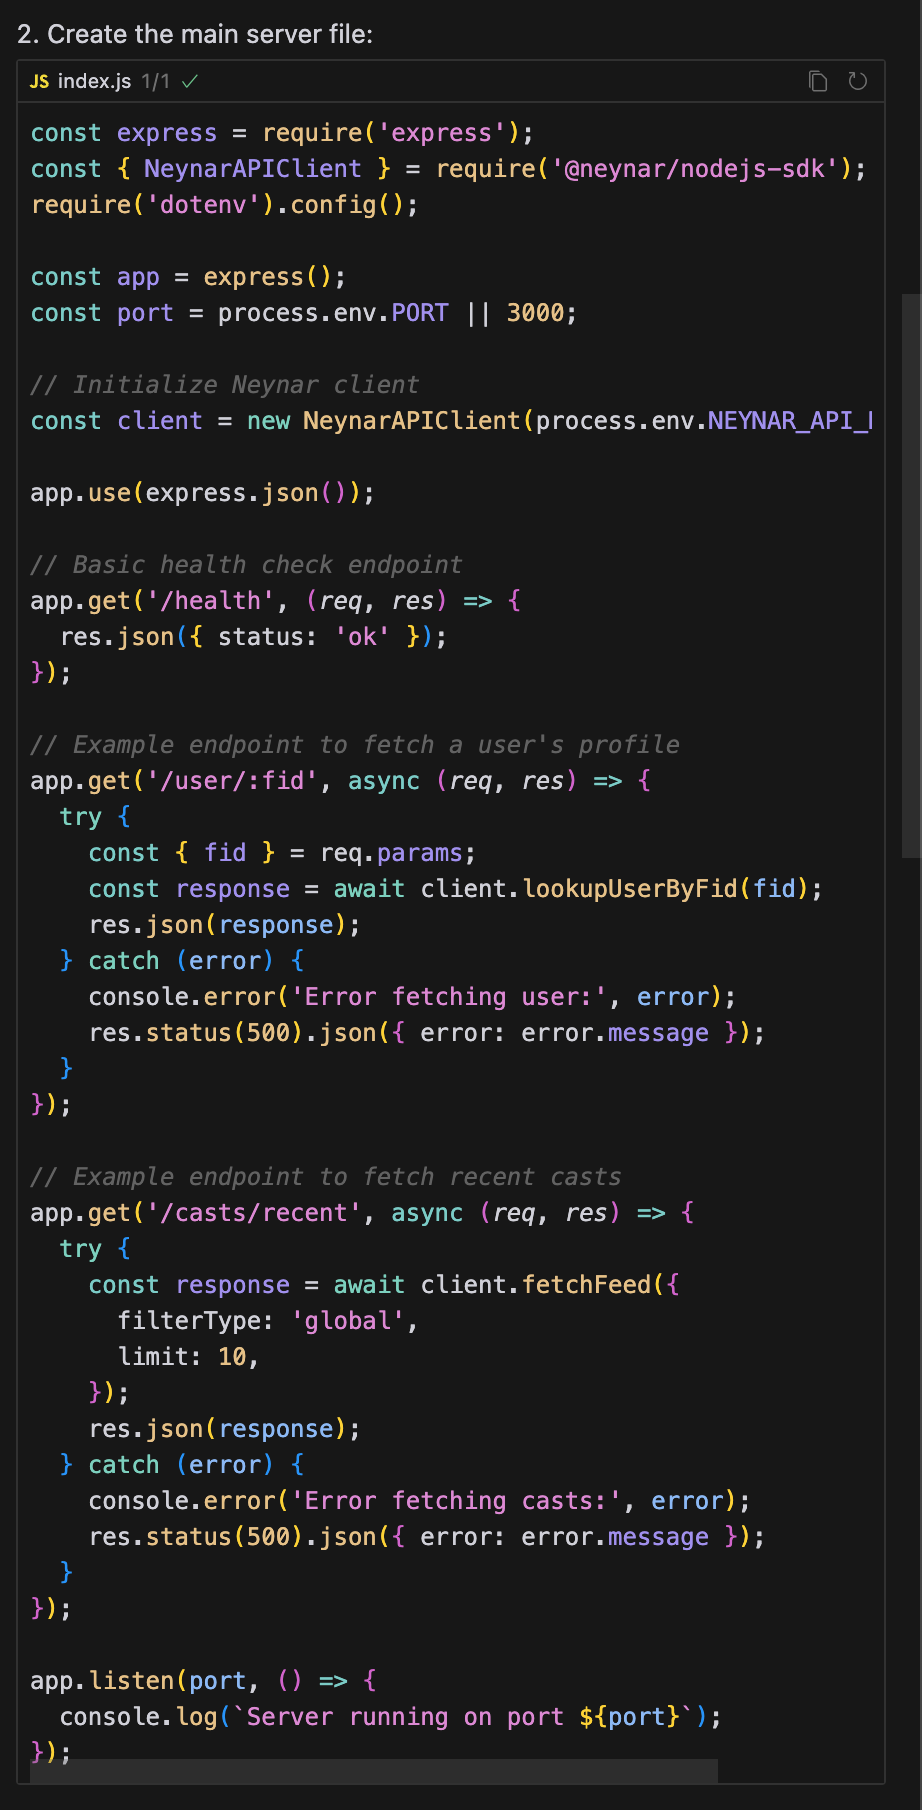
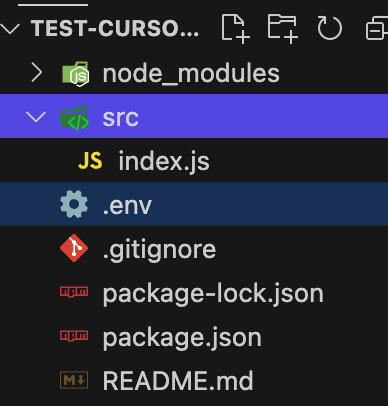
 At this point, your left pane should have the following directory structure (Cursor does something slightly different on each run, so don't worry if this isn't the same as this tutorial)
 To incorporate these changes into your repository, you can start by tapping "accept all" in the chat pane. You might need to troubleshoot this a bit, but accepting is a reasonable way to start.
 Insert your Neynar API key (subscribe at [neynar.com](https://neynar.com/#pricing) to get your key) in the `.env` file. Replace the placeholder with your API key directly, no quotes needed.
You will need to run the backend server on your local machine. So go ahead and ask Cursor how to do that.
> how do I run this?
Cursor should give you a set of commands you can run from the chat pane directly. Tap "run" on each command and wait for it to finish running before moving to the next one.
Insert your Neynar API key (subscribe at [neynar.com](https://neynar.com/#pricing) to get your key) in the `.env` file. Replace the placeholder with your API key directly, no quotes needed.
You will need to run the backend server on your local machine. So go ahead and ask Cursor how to do that.
> how do I run this?
Cursor should give you a set of commands you can run from the chat pane directly. Tap "run" on each command and wait for it to finish running before moving to the next one.
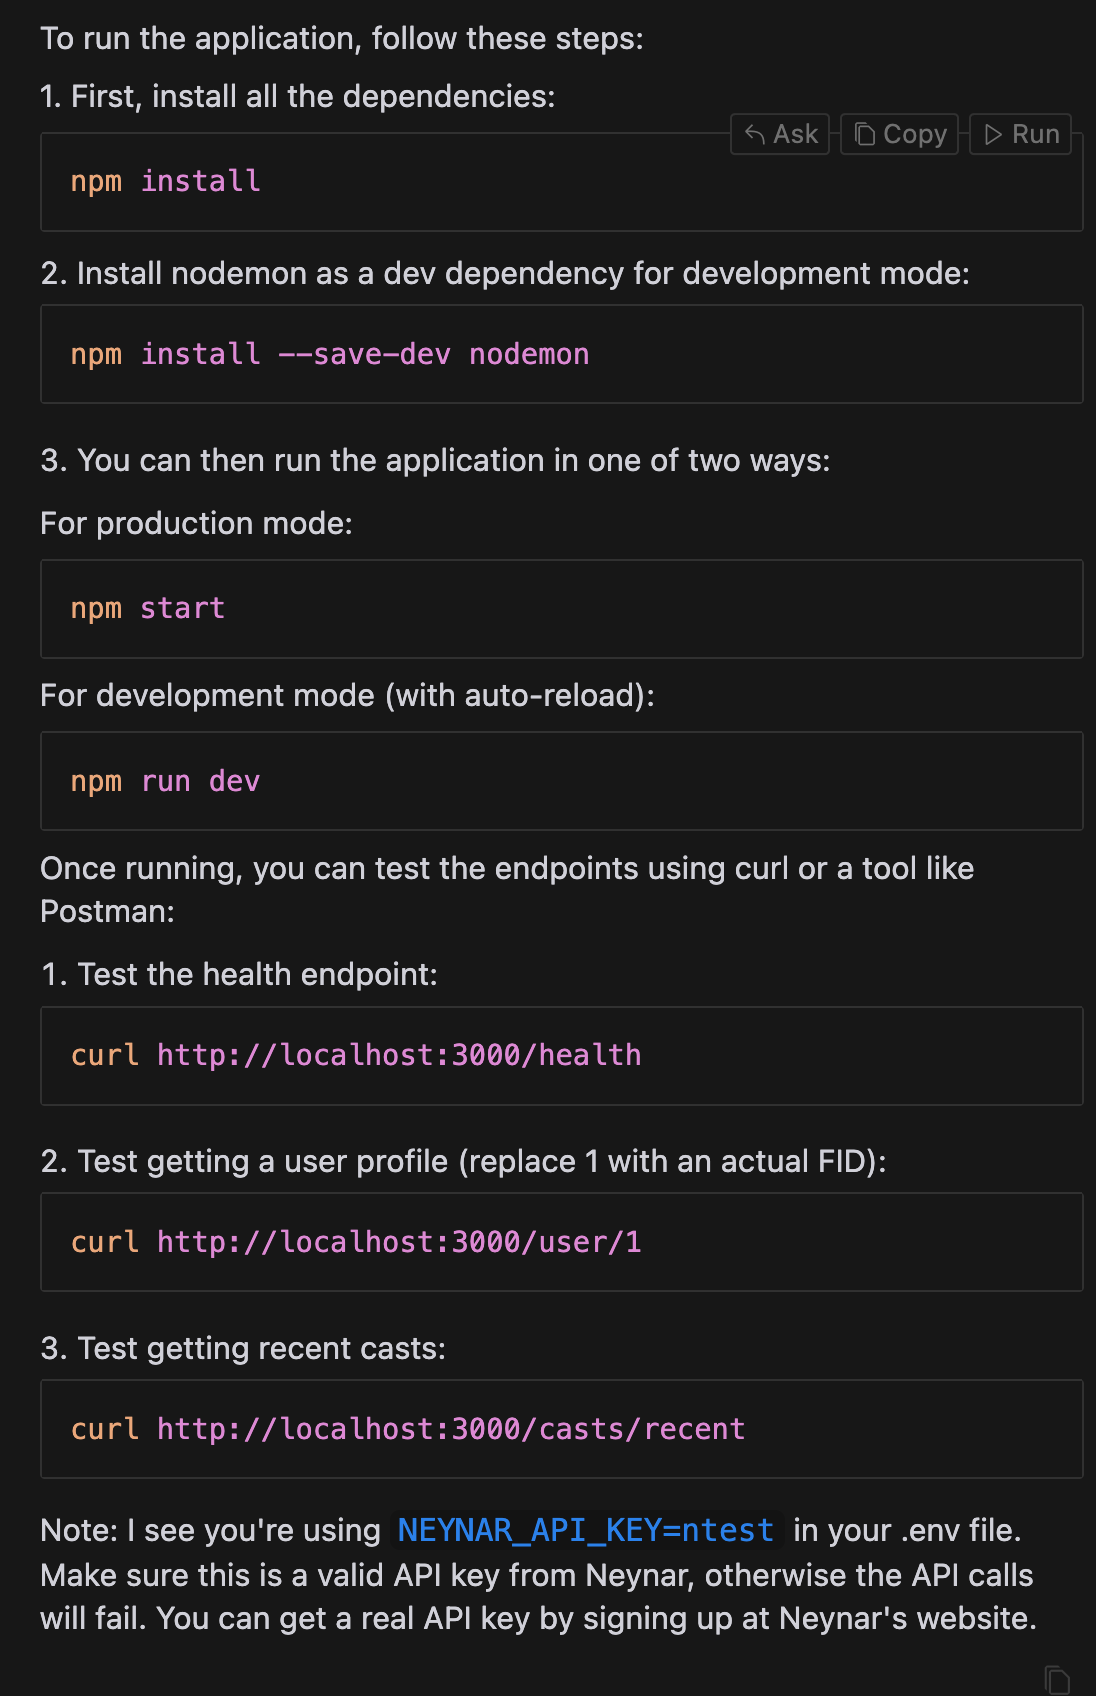 After running the `npm` commands above, if you run the curl commands, it should start printing results to your console!
 From here on, you can prompt Cursor as you need and continue to build on this foundation! If you have any questions, post them on the [/neynar](https://farcaster.xyz/~/channel/neynar) channel on Farcaster.
## Troubleshooting
After the above steps, you likely still have a few issues. Below, we describe the easiest way to debug with Cursor.
* If you're getting errors in the terminal, you can simply click "Debug with AI" to have Cursor generate the prompt and output a solution. Alternatively, click "add to chat" and put in a better prompt yourself
From here on, you can prompt Cursor as you need and continue to build on this foundation! If you have any questions, post them on the [/neynar](https://farcaster.xyz/~/channel/neynar) channel on Farcaster.
## Troubleshooting
After the above steps, you likely still have a few issues. Below, we describe the easiest way to debug with Cursor.
* If you're getting errors in the terminal, you can simply click "Debug with AI" to have Cursor generate the prompt and output a solution. Alternatively, click "add to chat" and put in a better prompt yourself
 * Ensure that it has the correct files as context. `neynar-api-client.d.ts` needs to be added to context to suggest suitable solutions (or else it will just make things up!). You can search for the filename to add it easily.
* For long files, it will remove them from context at each step and require you to re-add them.
* Ensure that it has the correct files as context. `neynar-api-client.d.ts` needs to be added to context to suggest suitable solutions (or else it will just make things up!). You can search for the filename to add it easily.
* For long files, it will remove them from context at each step and require you to re-add them.
 * When it outputs a solution, it will look like something below. You will notice that each code block has an "Apply" or "Run" action.
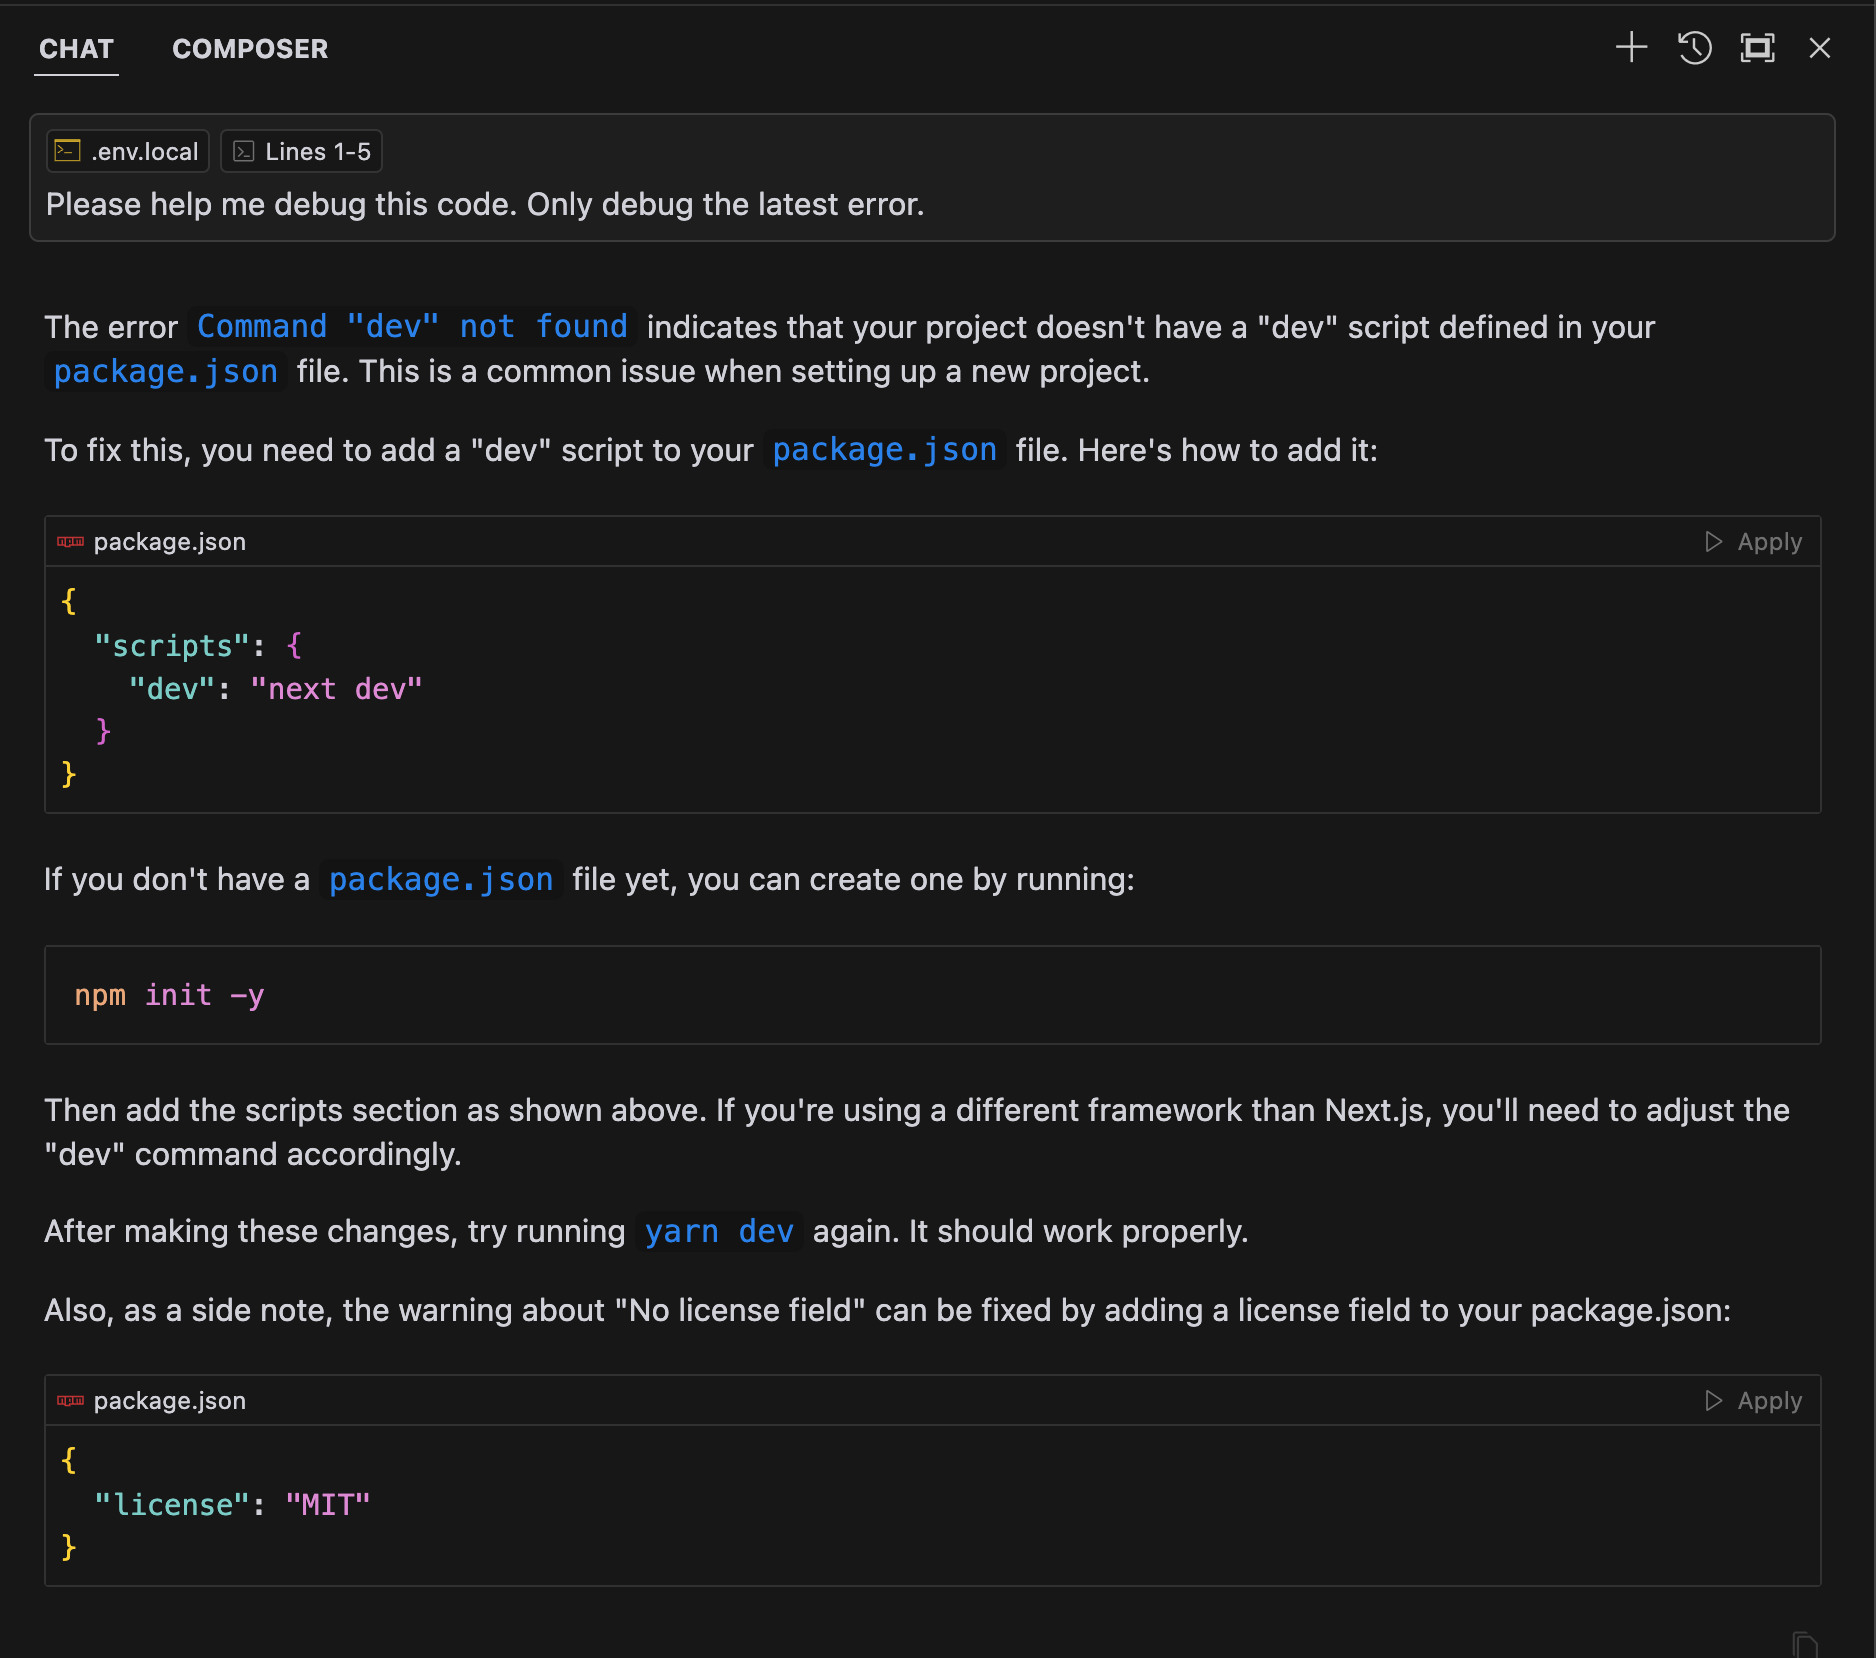 * You will need to apply/run each block separately. Each apply/run action might create file changes that show up like below. If two actions occur on the same file, "accept" the first change and save the file before taking the next action.
 * Sometimes they also show up in this manner. Accept each change and save before trying again.
 * You will likely need to go back and forth with Cursor as you work through your code. While AI agents are helpful at getting the project started, they are still bad at navigating through repositories and picking the proper functions.
# Tips
Each time you run a command from the chat pane, Cursor opens a new terminal. You can close extra terminal windows that are *not* running your server without any adverse effects on your project.
* You will likely need to go back and forth with Cursor as you work through your code. While AI agents are helpful at getting the project started, they are still bad at navigating through repositories and picking the proper functions.
# Tips
Each time you run a command from the chat pane, Cursor opens a new terminal. You can close extra terminal windows that are *not* running your server without any adverse effects on your project.