Cast Action
We’ll also validate the requests using Neynar’s frame validator which provides analytics as well! Before we begin, you can access the complete source code for this guide on GitHub. Let’s get started!Creating a new frames project
We will use bun and frog for building the cast action in this guide, but feel free to use framejs, onchainkit, or anything else as well! Enter this command in your terminal to create a new app:Creating the cast action route
Head over to thesrc/index.ts file. Here, you’ll be able to see a starter frame on the / route. But first, let’s change the Frog configuration to use /api as the base path and use neynar for hubs like this:
src/lib/neynarClient.ts file and add the following:

.env file with the name NEYNAR_API_KEY.
Head back to the src/index.tsx file and add the following in the followers route instead of the GM message:
fetchBulkUsers function. Finally, we return a message with the follower count!
Creating a frame with add cast action button
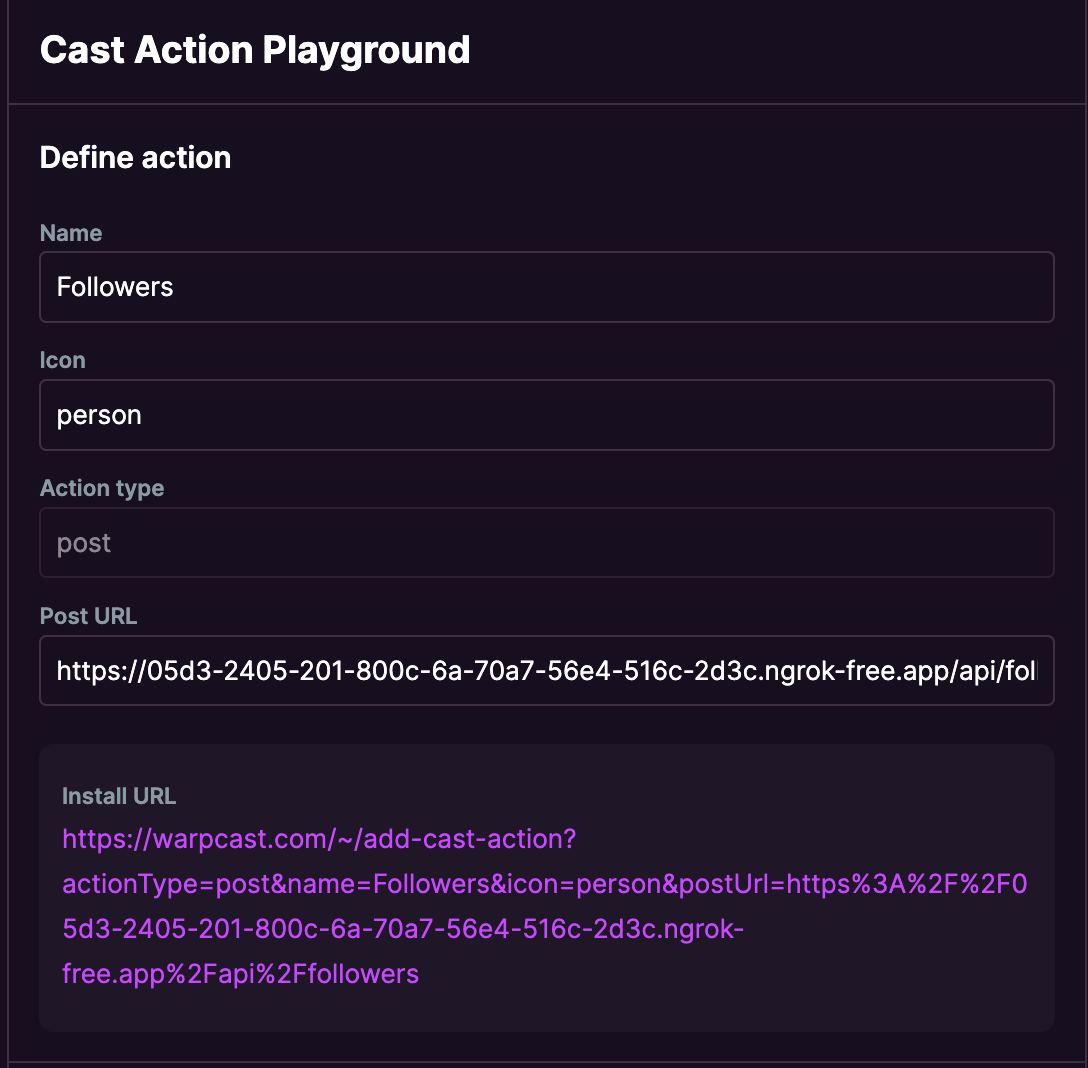
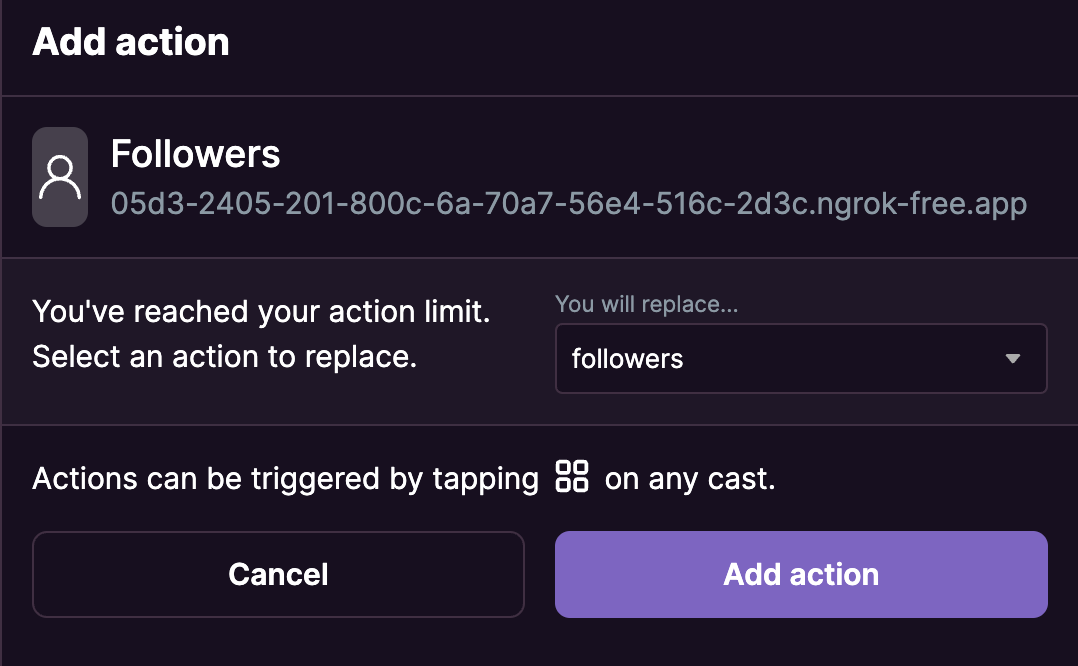
I am also adding a simple frame that allows anyone to install the action. But for that, you need to host your server somewhere, for local development you can use ngrok. If you don’t already have it installed, install it from here. Once it’s installed, authenticate using your auth token and serve your app using this command: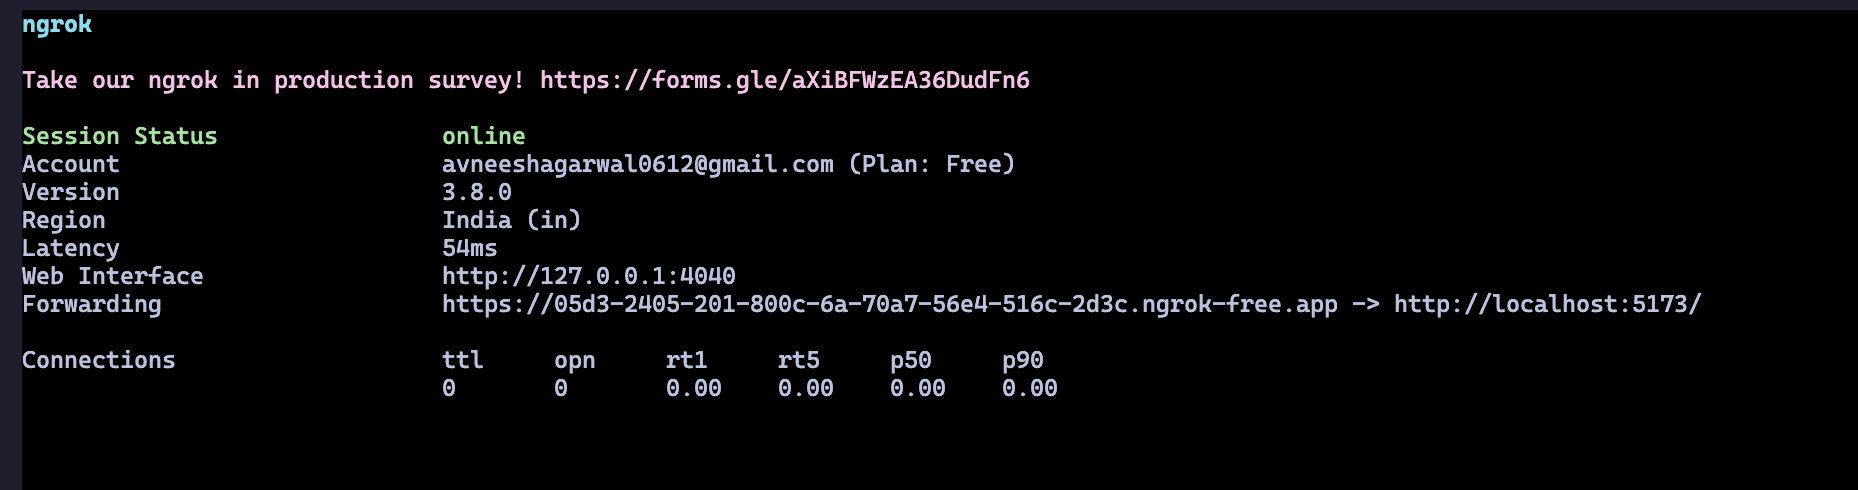
index.tsx like this:
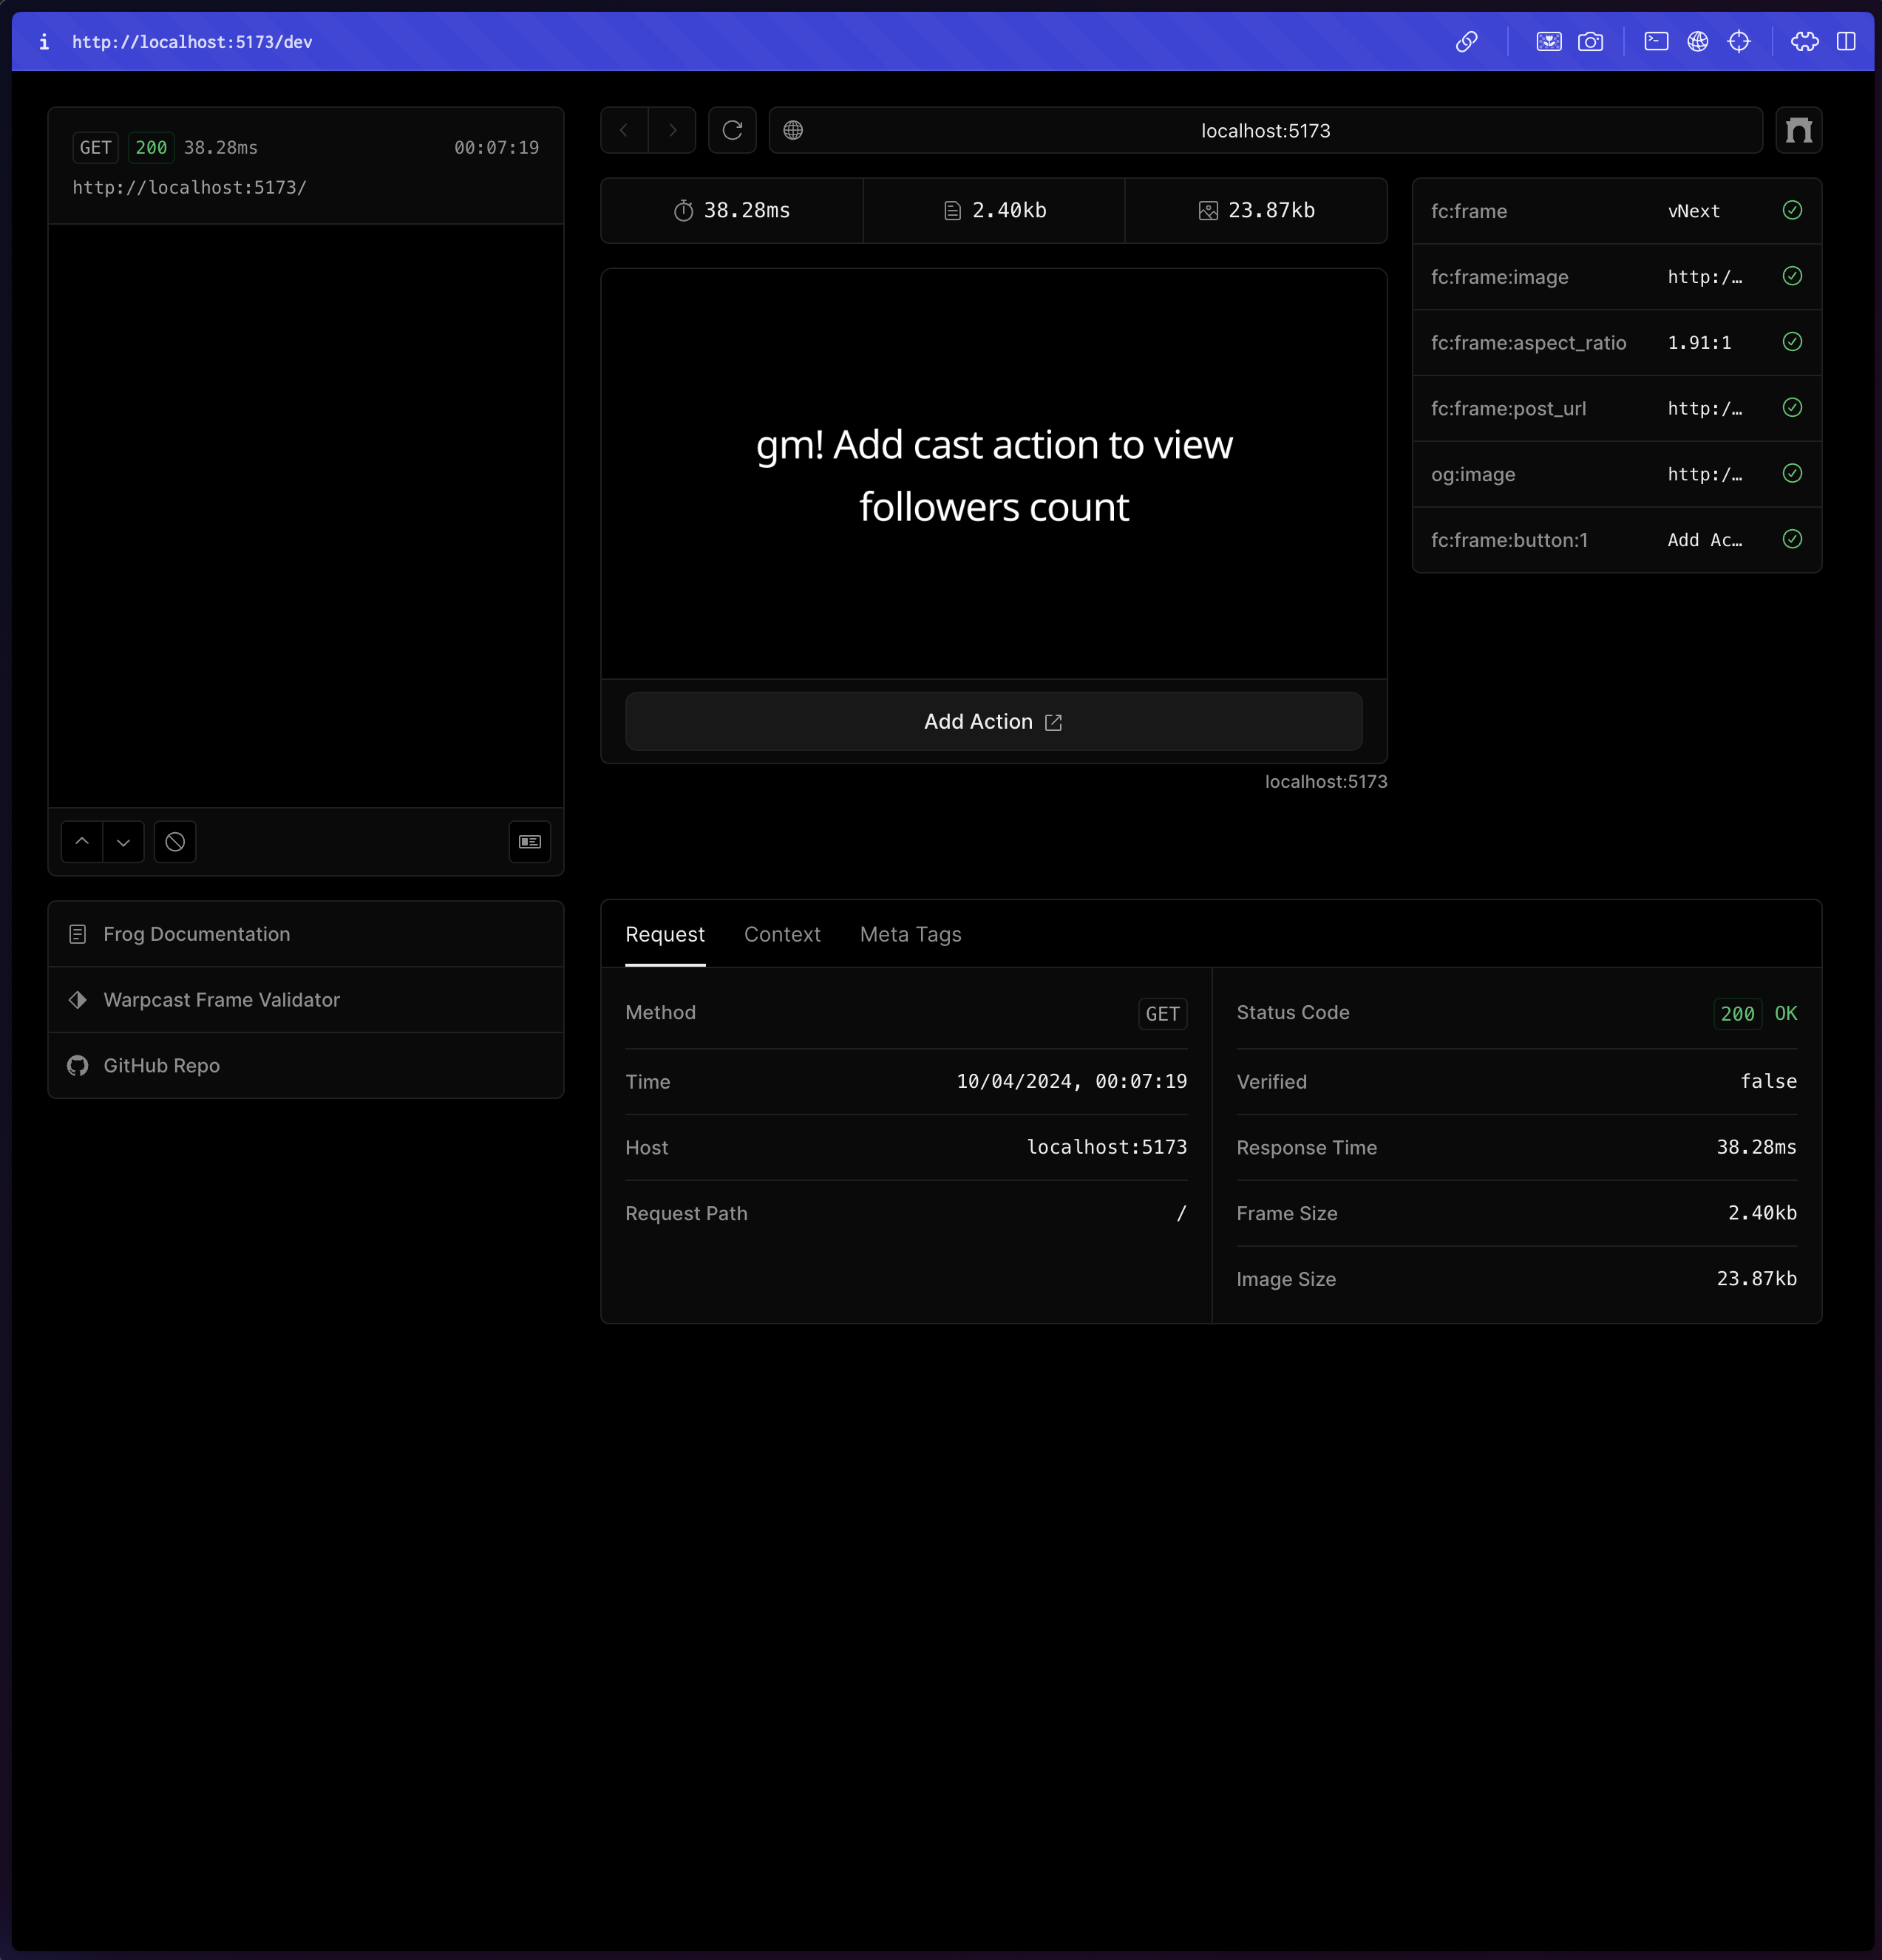
bun run dev and head over to http://localhost:5173/dev you’ll be able to see a frame somewhat like this:
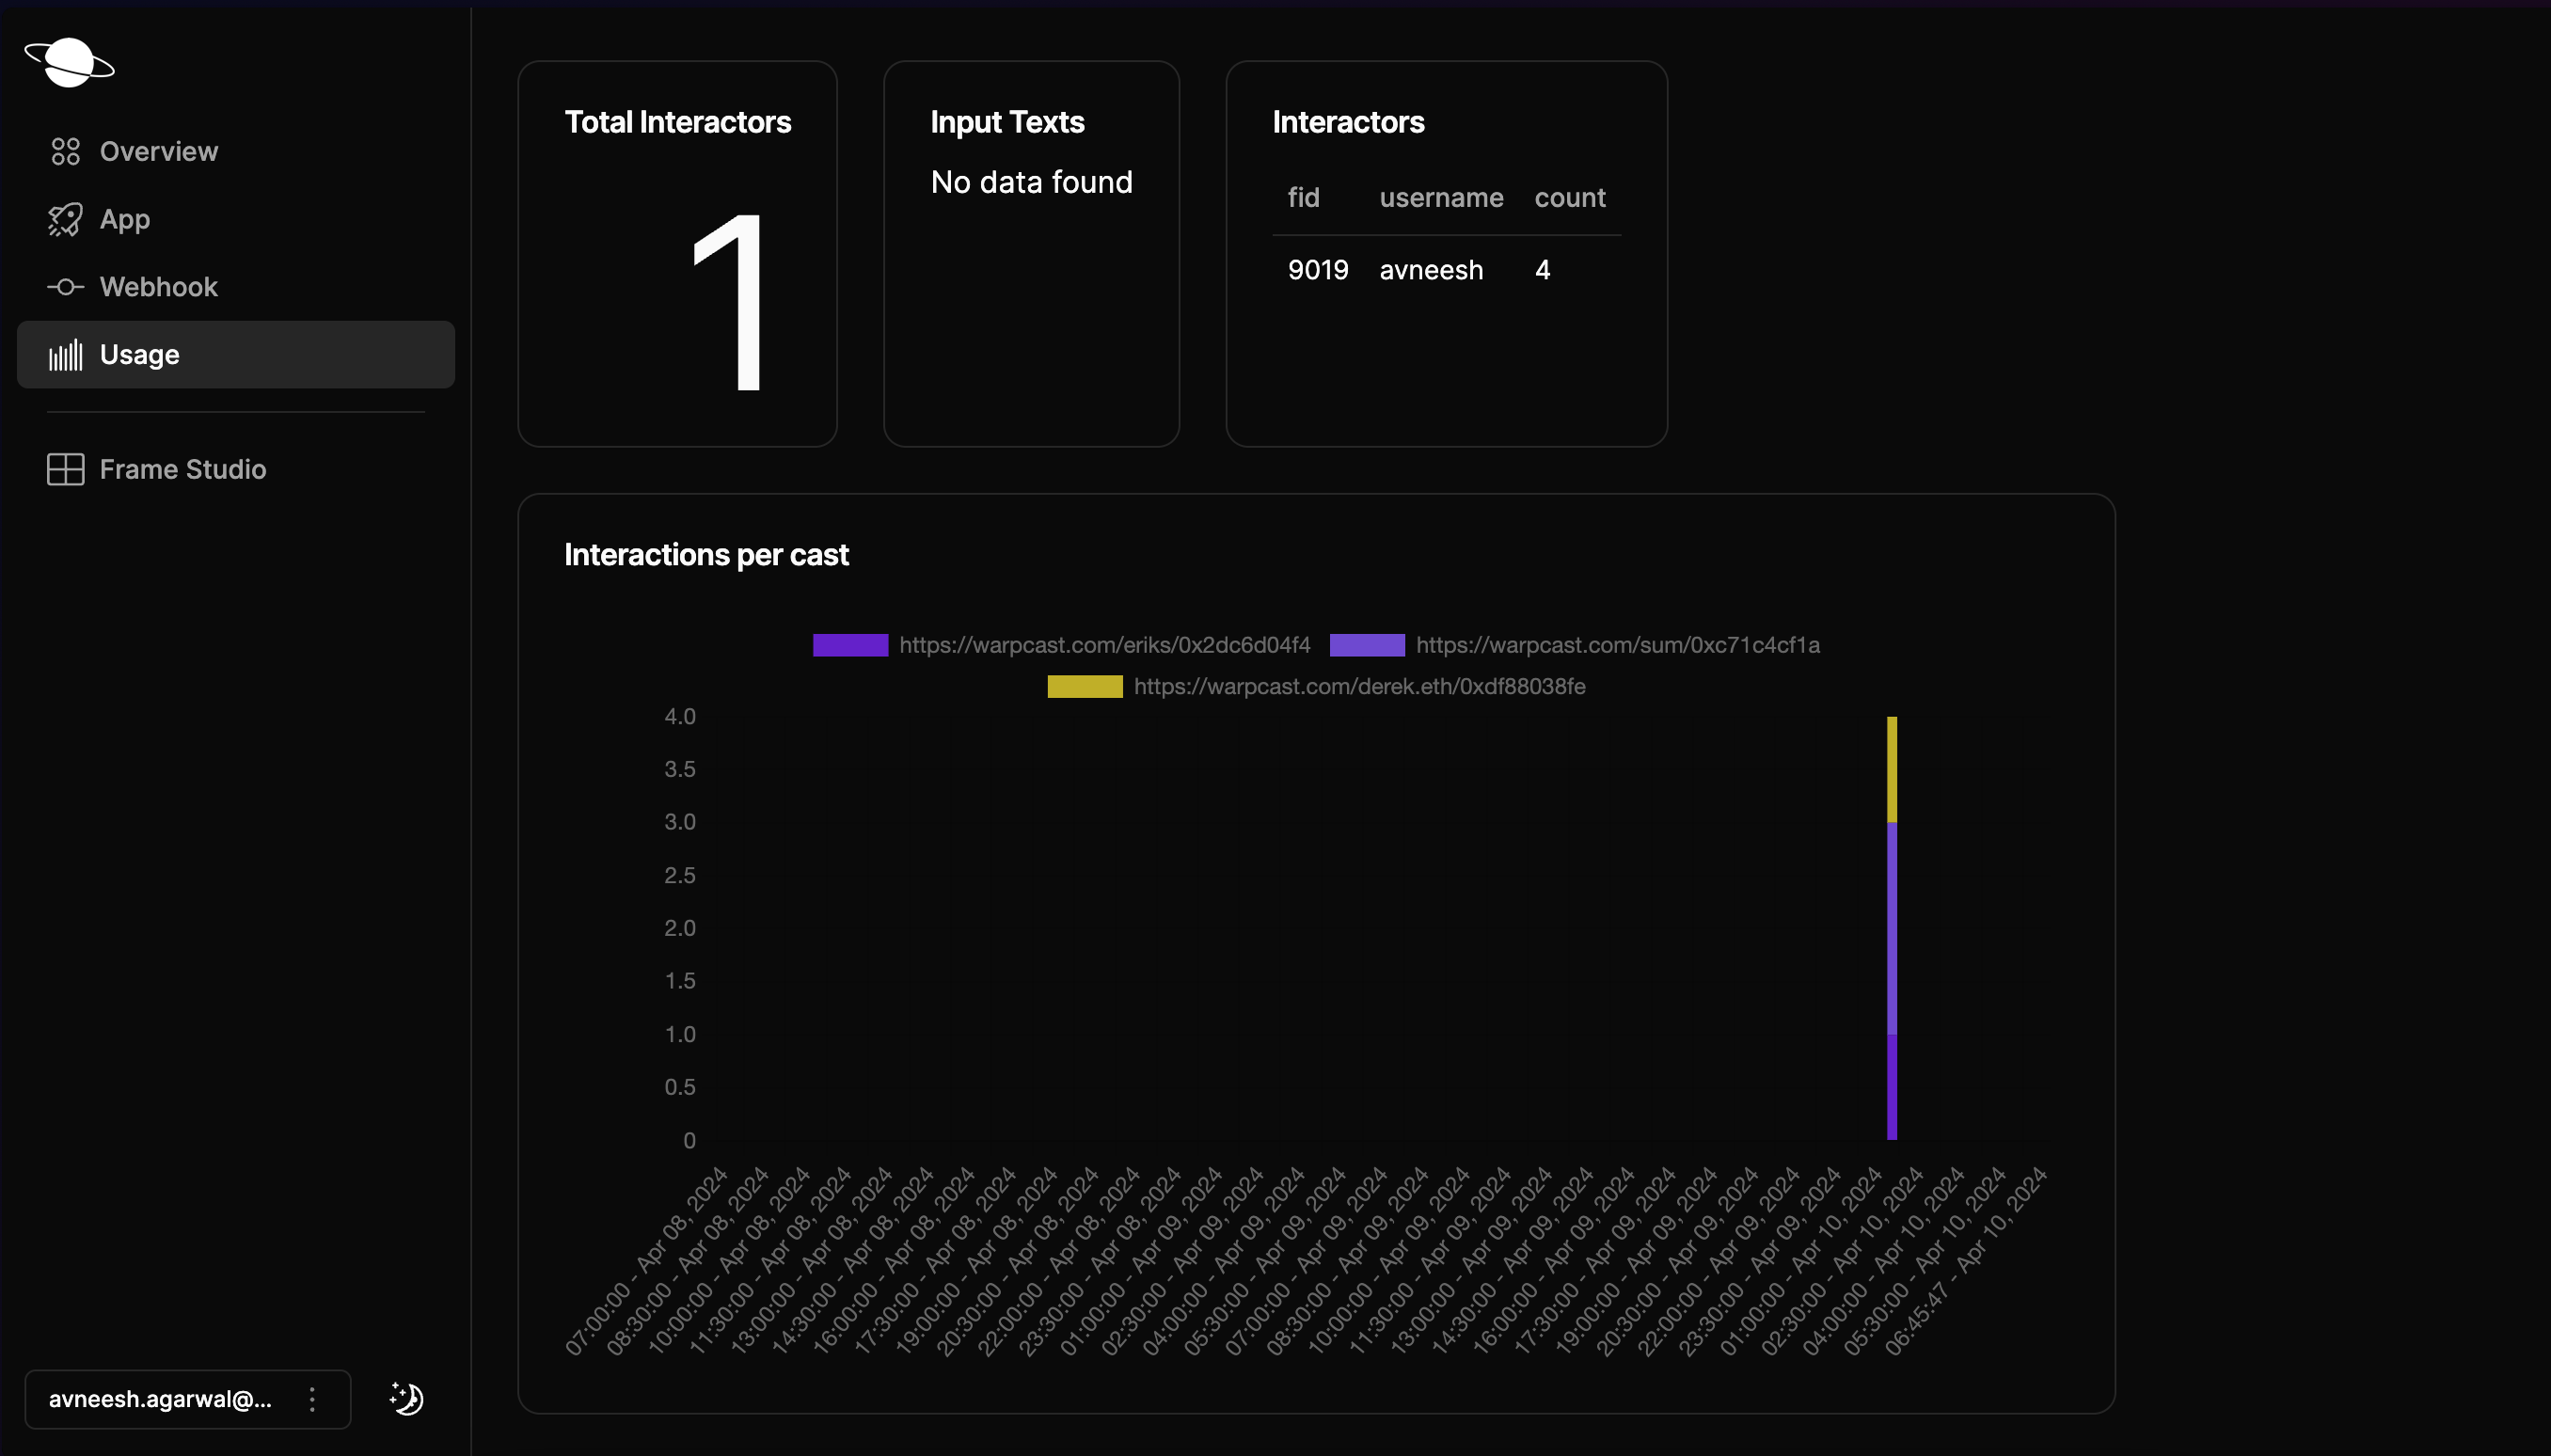
Analytics
Since we are using the validateFrameAction function, we also get analytics out of the box. Head over to the usage tab and click on the frame that you are currently using. It will provide you with various analytics like total interactors, interactions per cast, etc.