Setting up Sign-in with neynar
Building the user feed
Building channels feed
Building user profiles
Creating the app
Setting up the project
Create a new next.js app using the following command: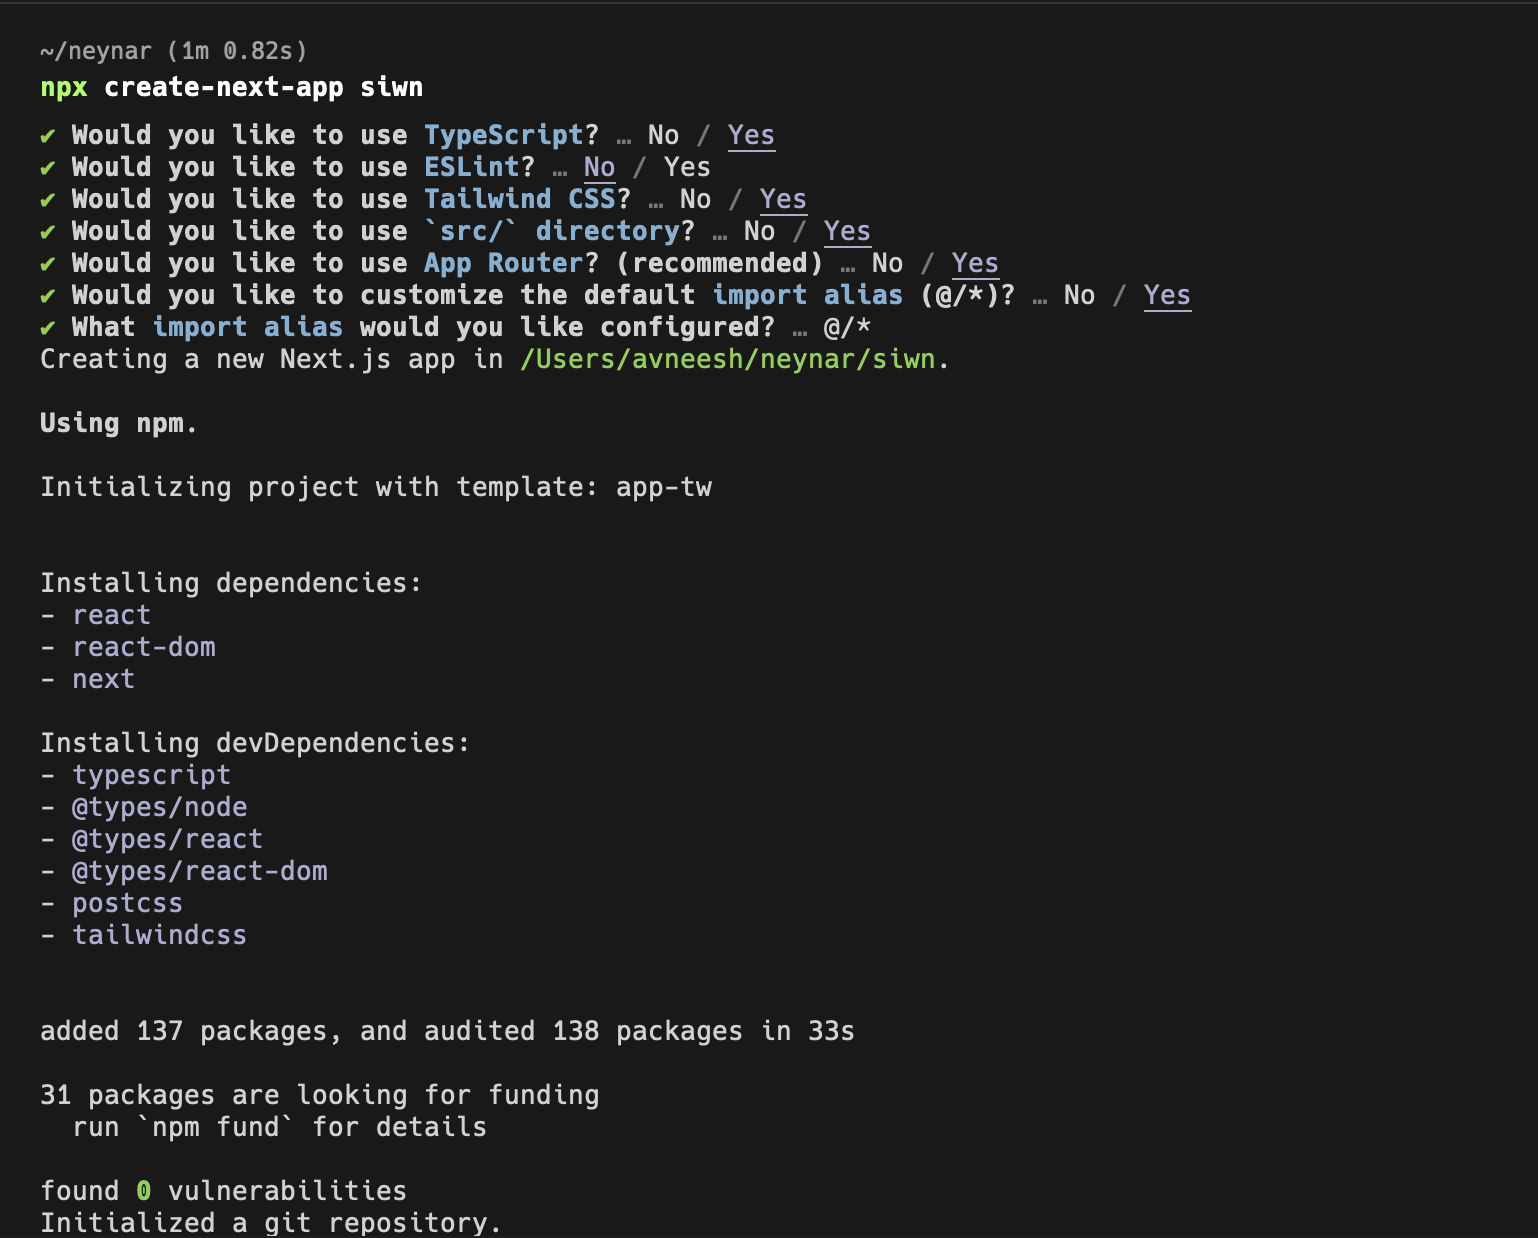
Setting up Sign-in with neynar
Head over to thelayout.tsx file and wrap your app in a NeynarContextProvider like this:
clientId, defaultTheme and eventsCallbacks.
clientId: This is going to be the client ID you get from your neynar, add it to your.env.localfile asNEXT_PUBLIC_NEYNAR_CLIENT_ID.
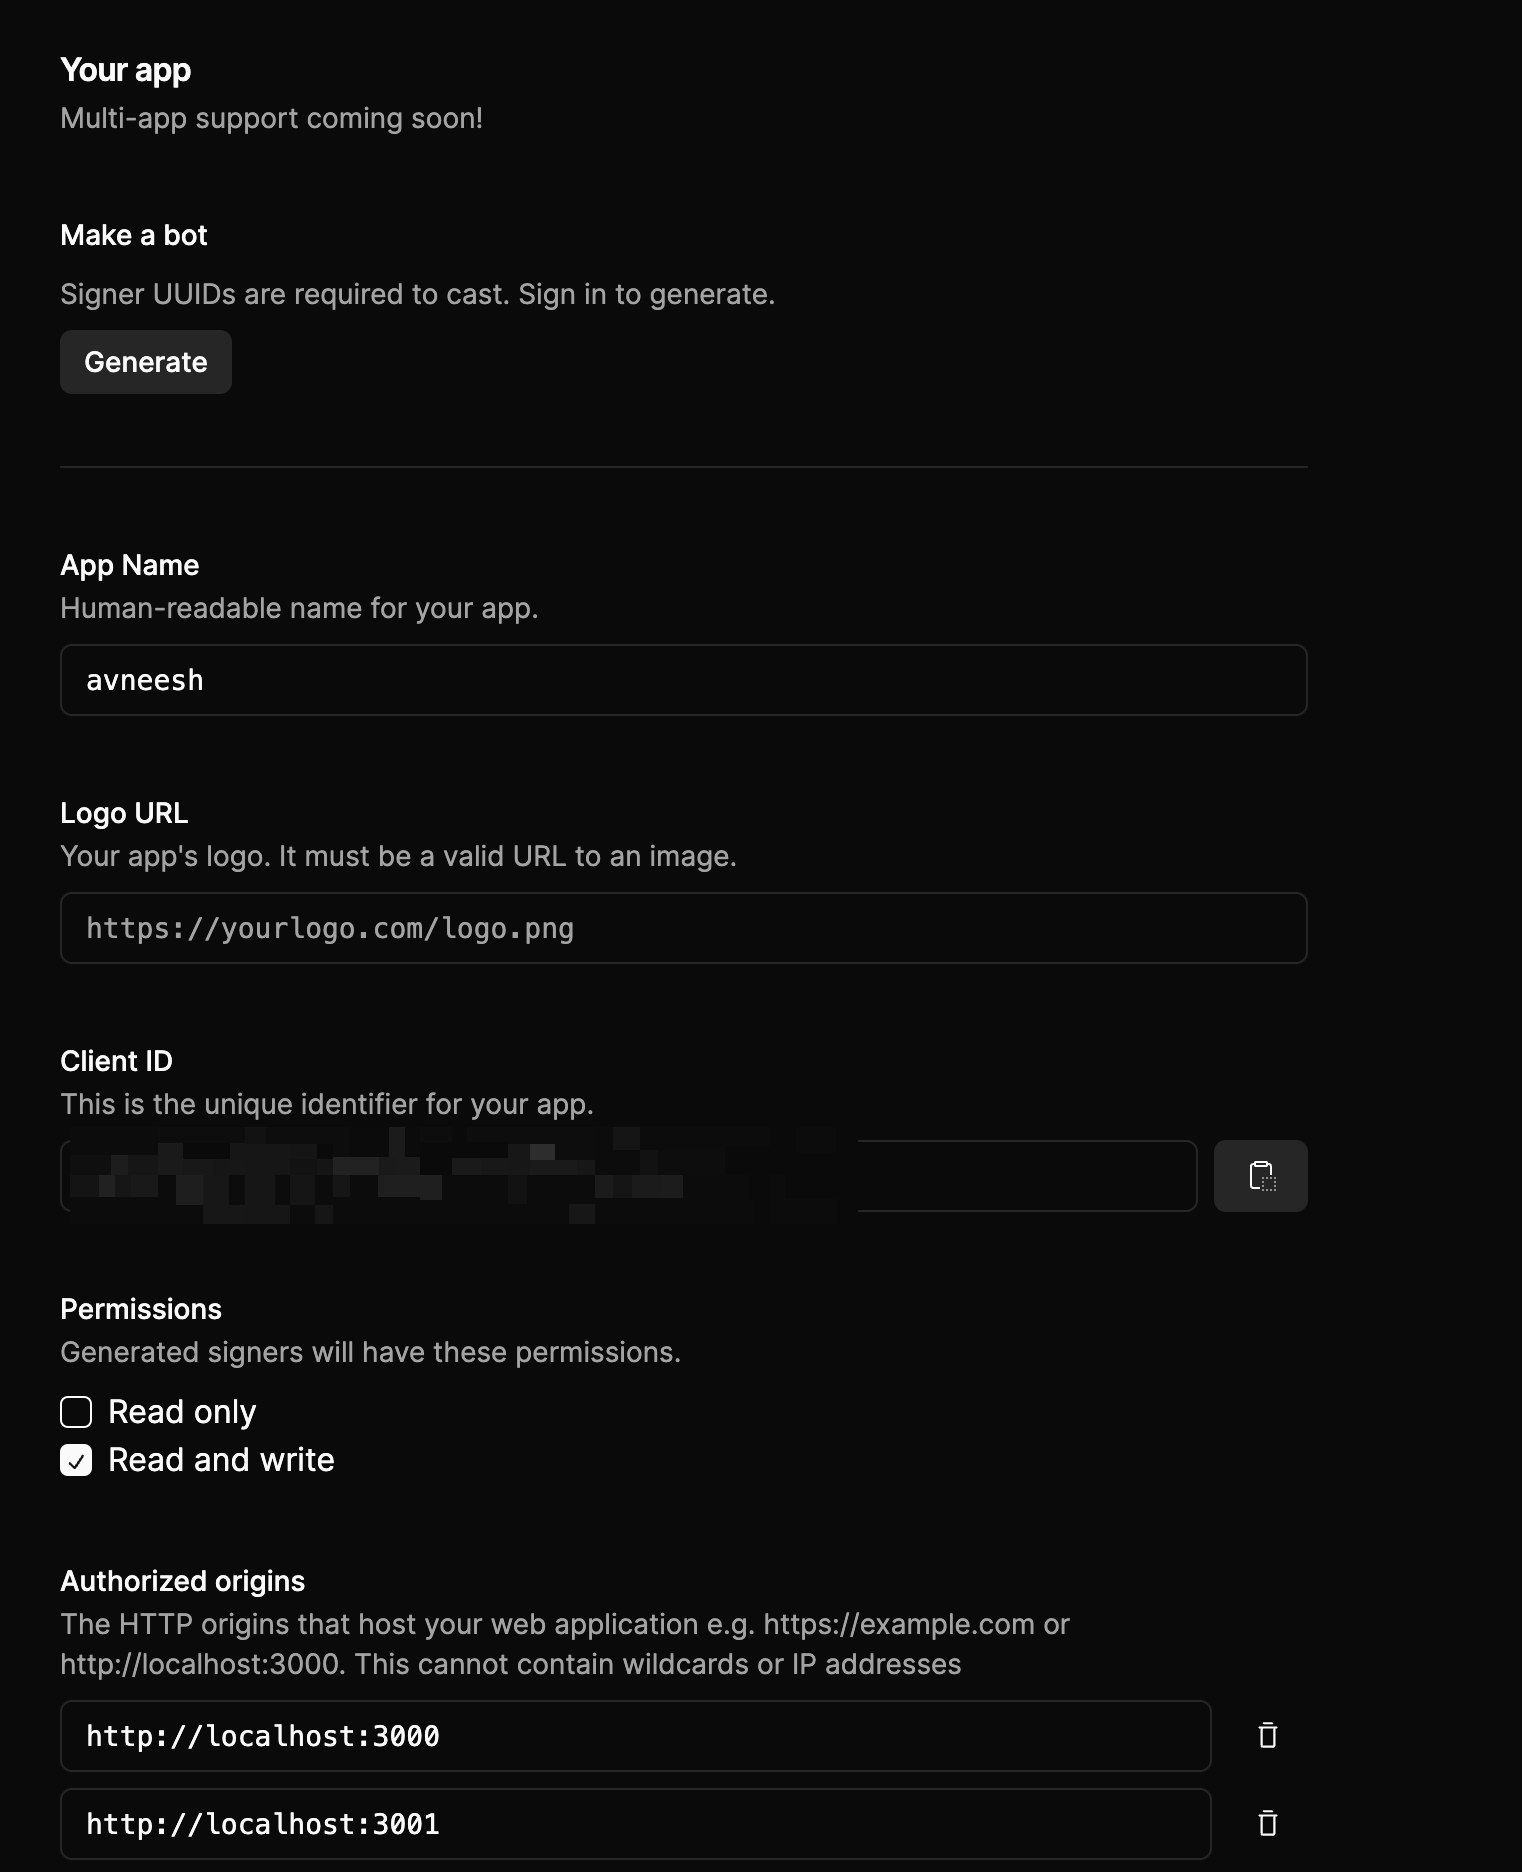
Make sure to add localhost to the authorized origins
defaultTheme: default theme lets you change the theme of your sign-in button, currently, we have only light mode but dark mode is going to be live soon.eventsCallbacks: This allows you to perform certain actions when the user signs out or auth is successful.
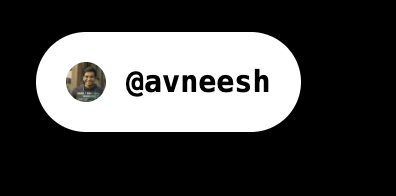
components/Header.tsx file and add the following:
layout.tsx file since we are going to need it on all the pages:
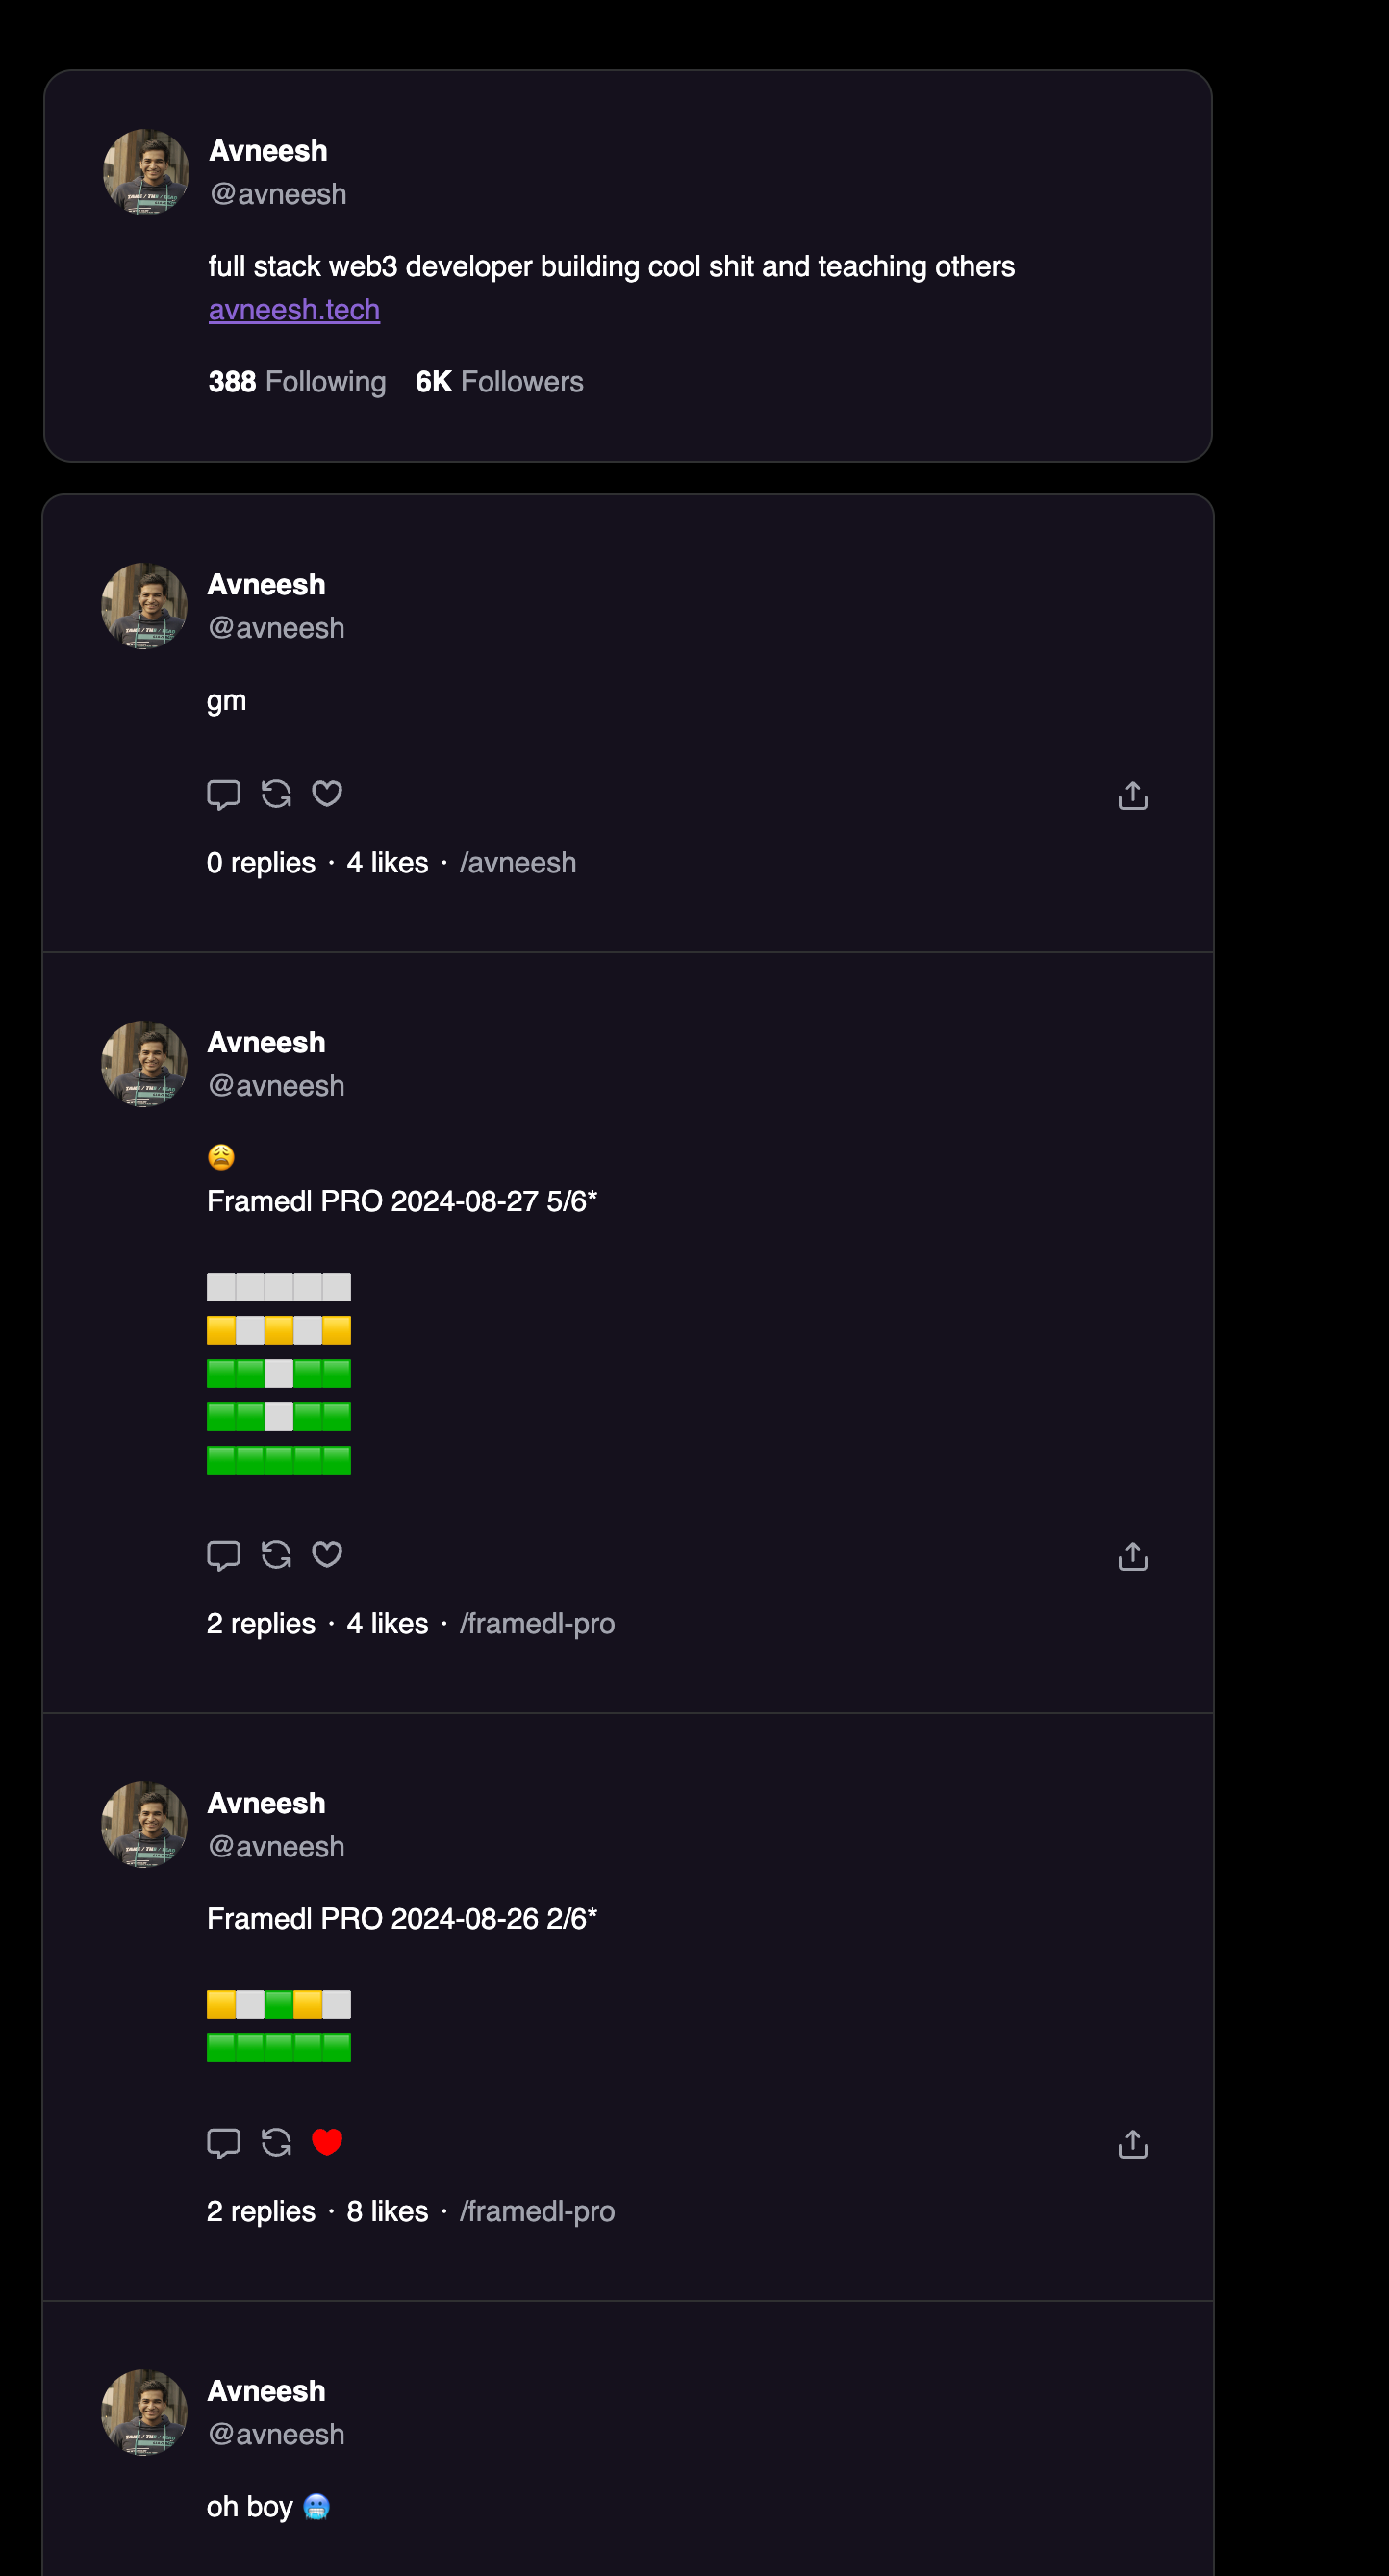
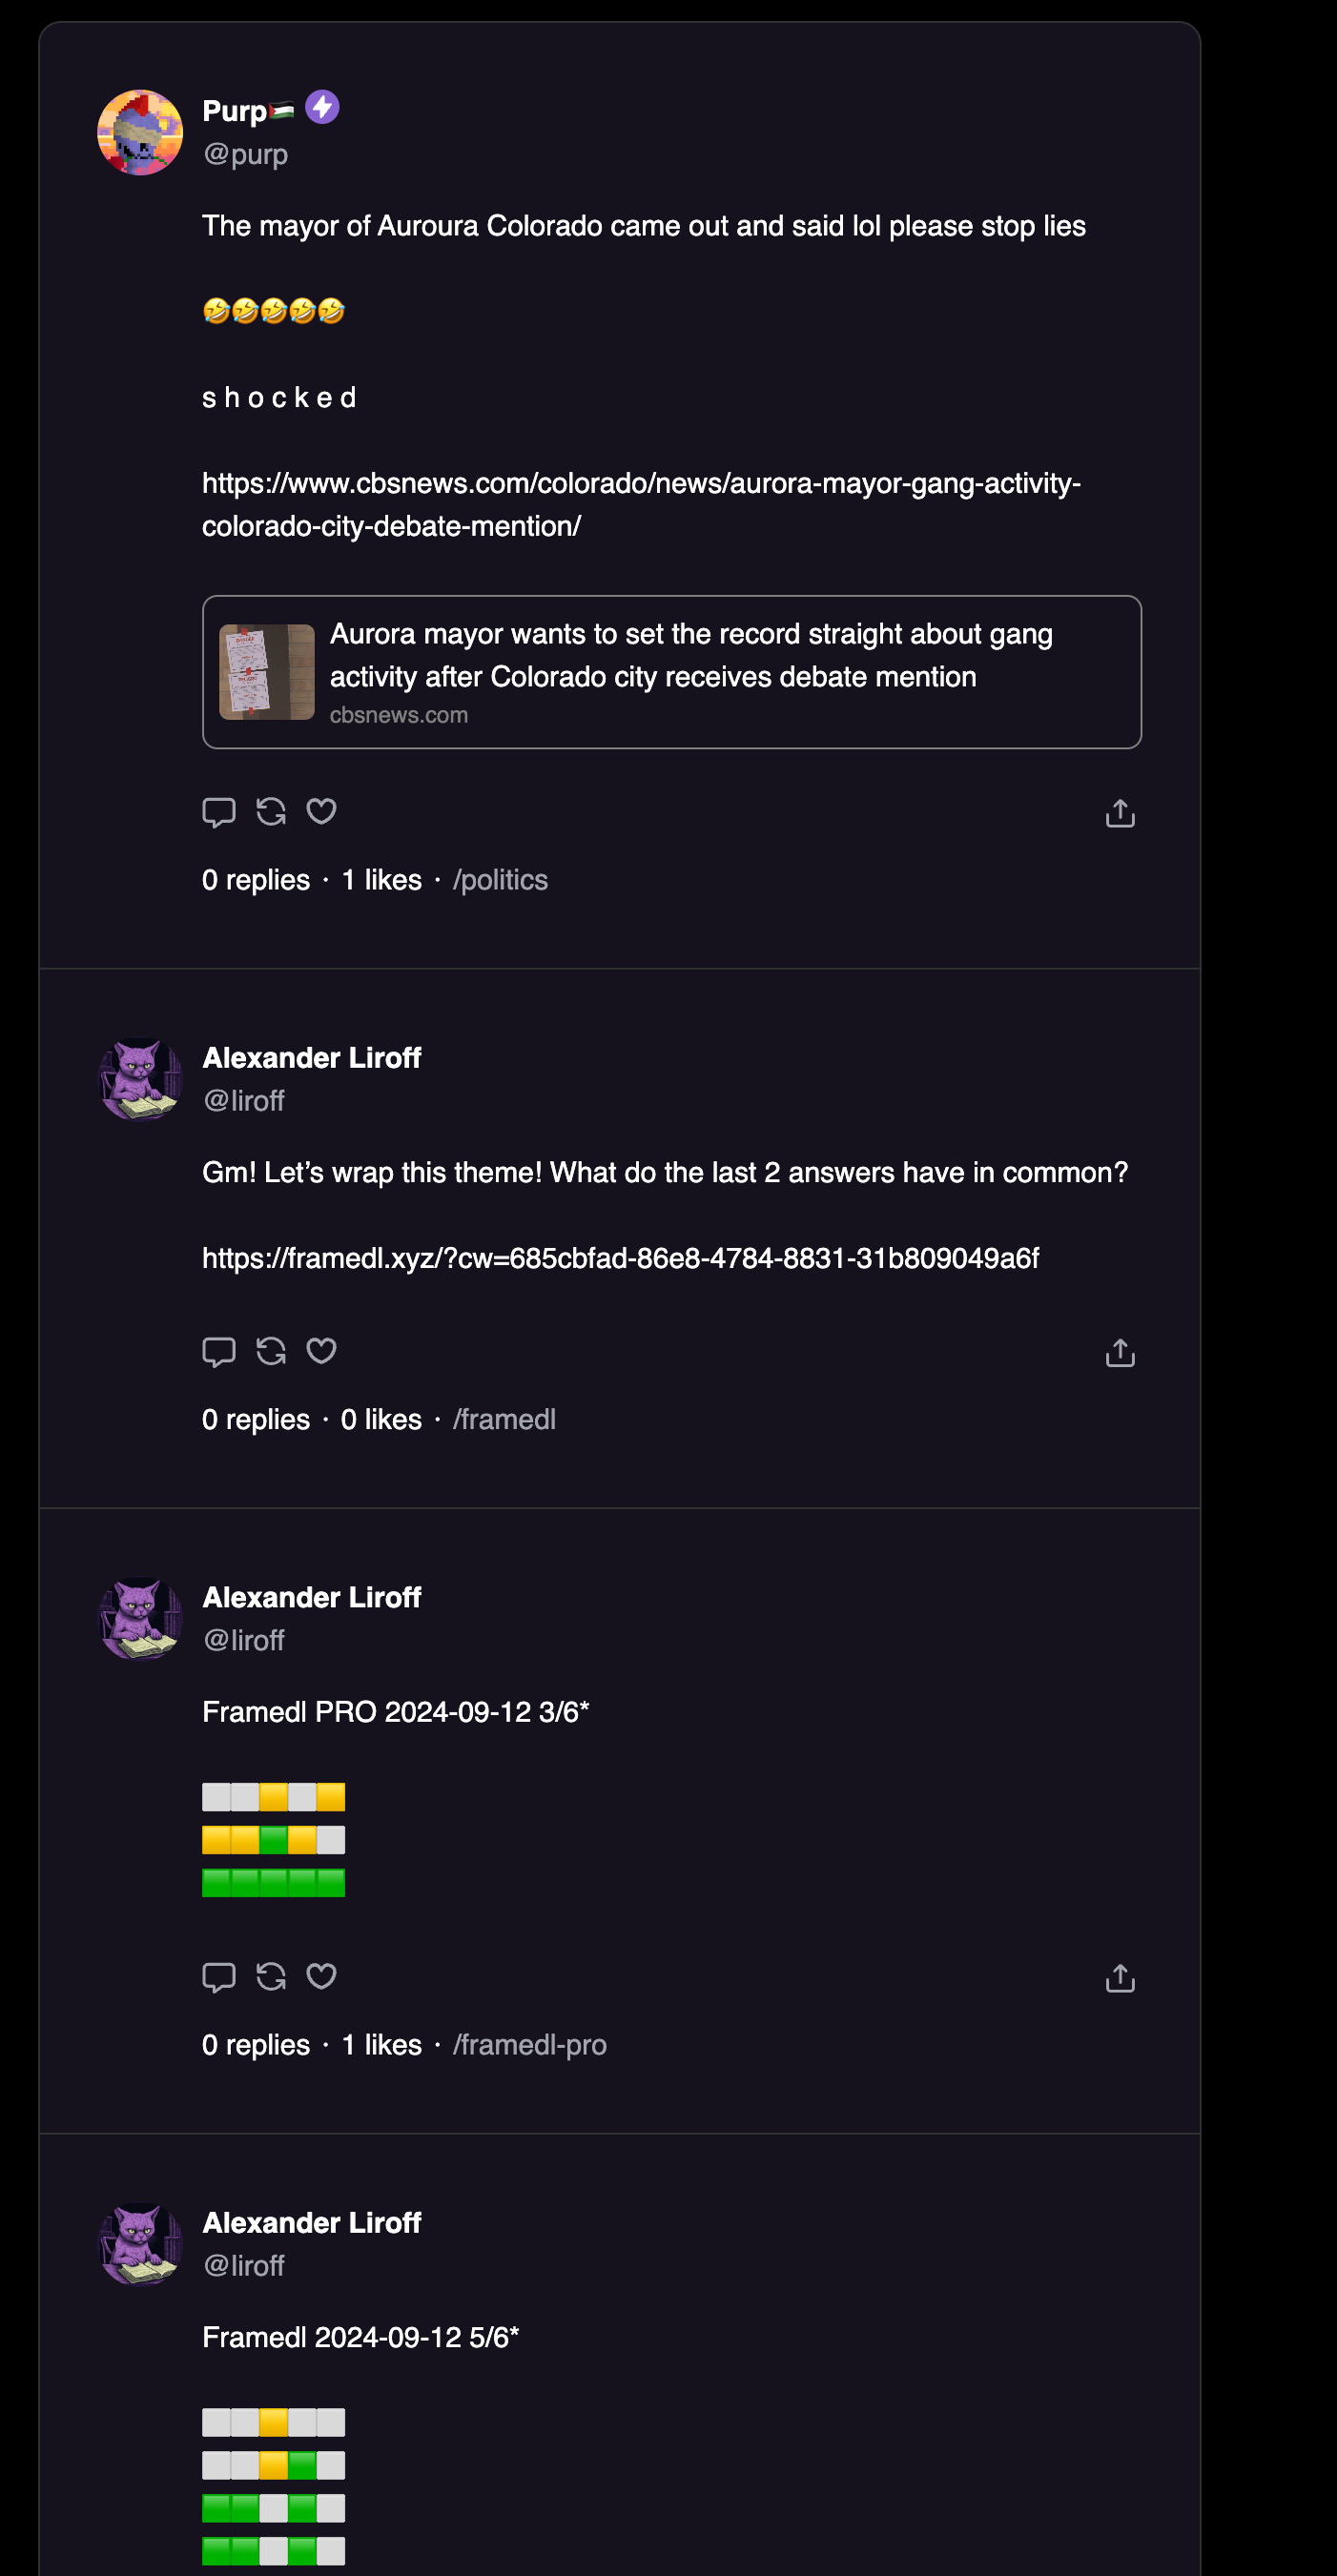
Building the feed
In thepage.tsx file add the following:
NeynarFeedList component to show the trending casts if the user is not signed in, but, if they are signed in we show the following feed based on their fid.
Building the channels list and channel feed
To get the list of channels that a user is following we’ll use the neynar APIs. So, let’s first initialise the client in a newlib/neynarClient.ts file like this:
Make sure to add the NEYNAR_API_KEY to your .env file.
api/channels/route.ts in the app directory and add the following:
page.tsx file and add the following:
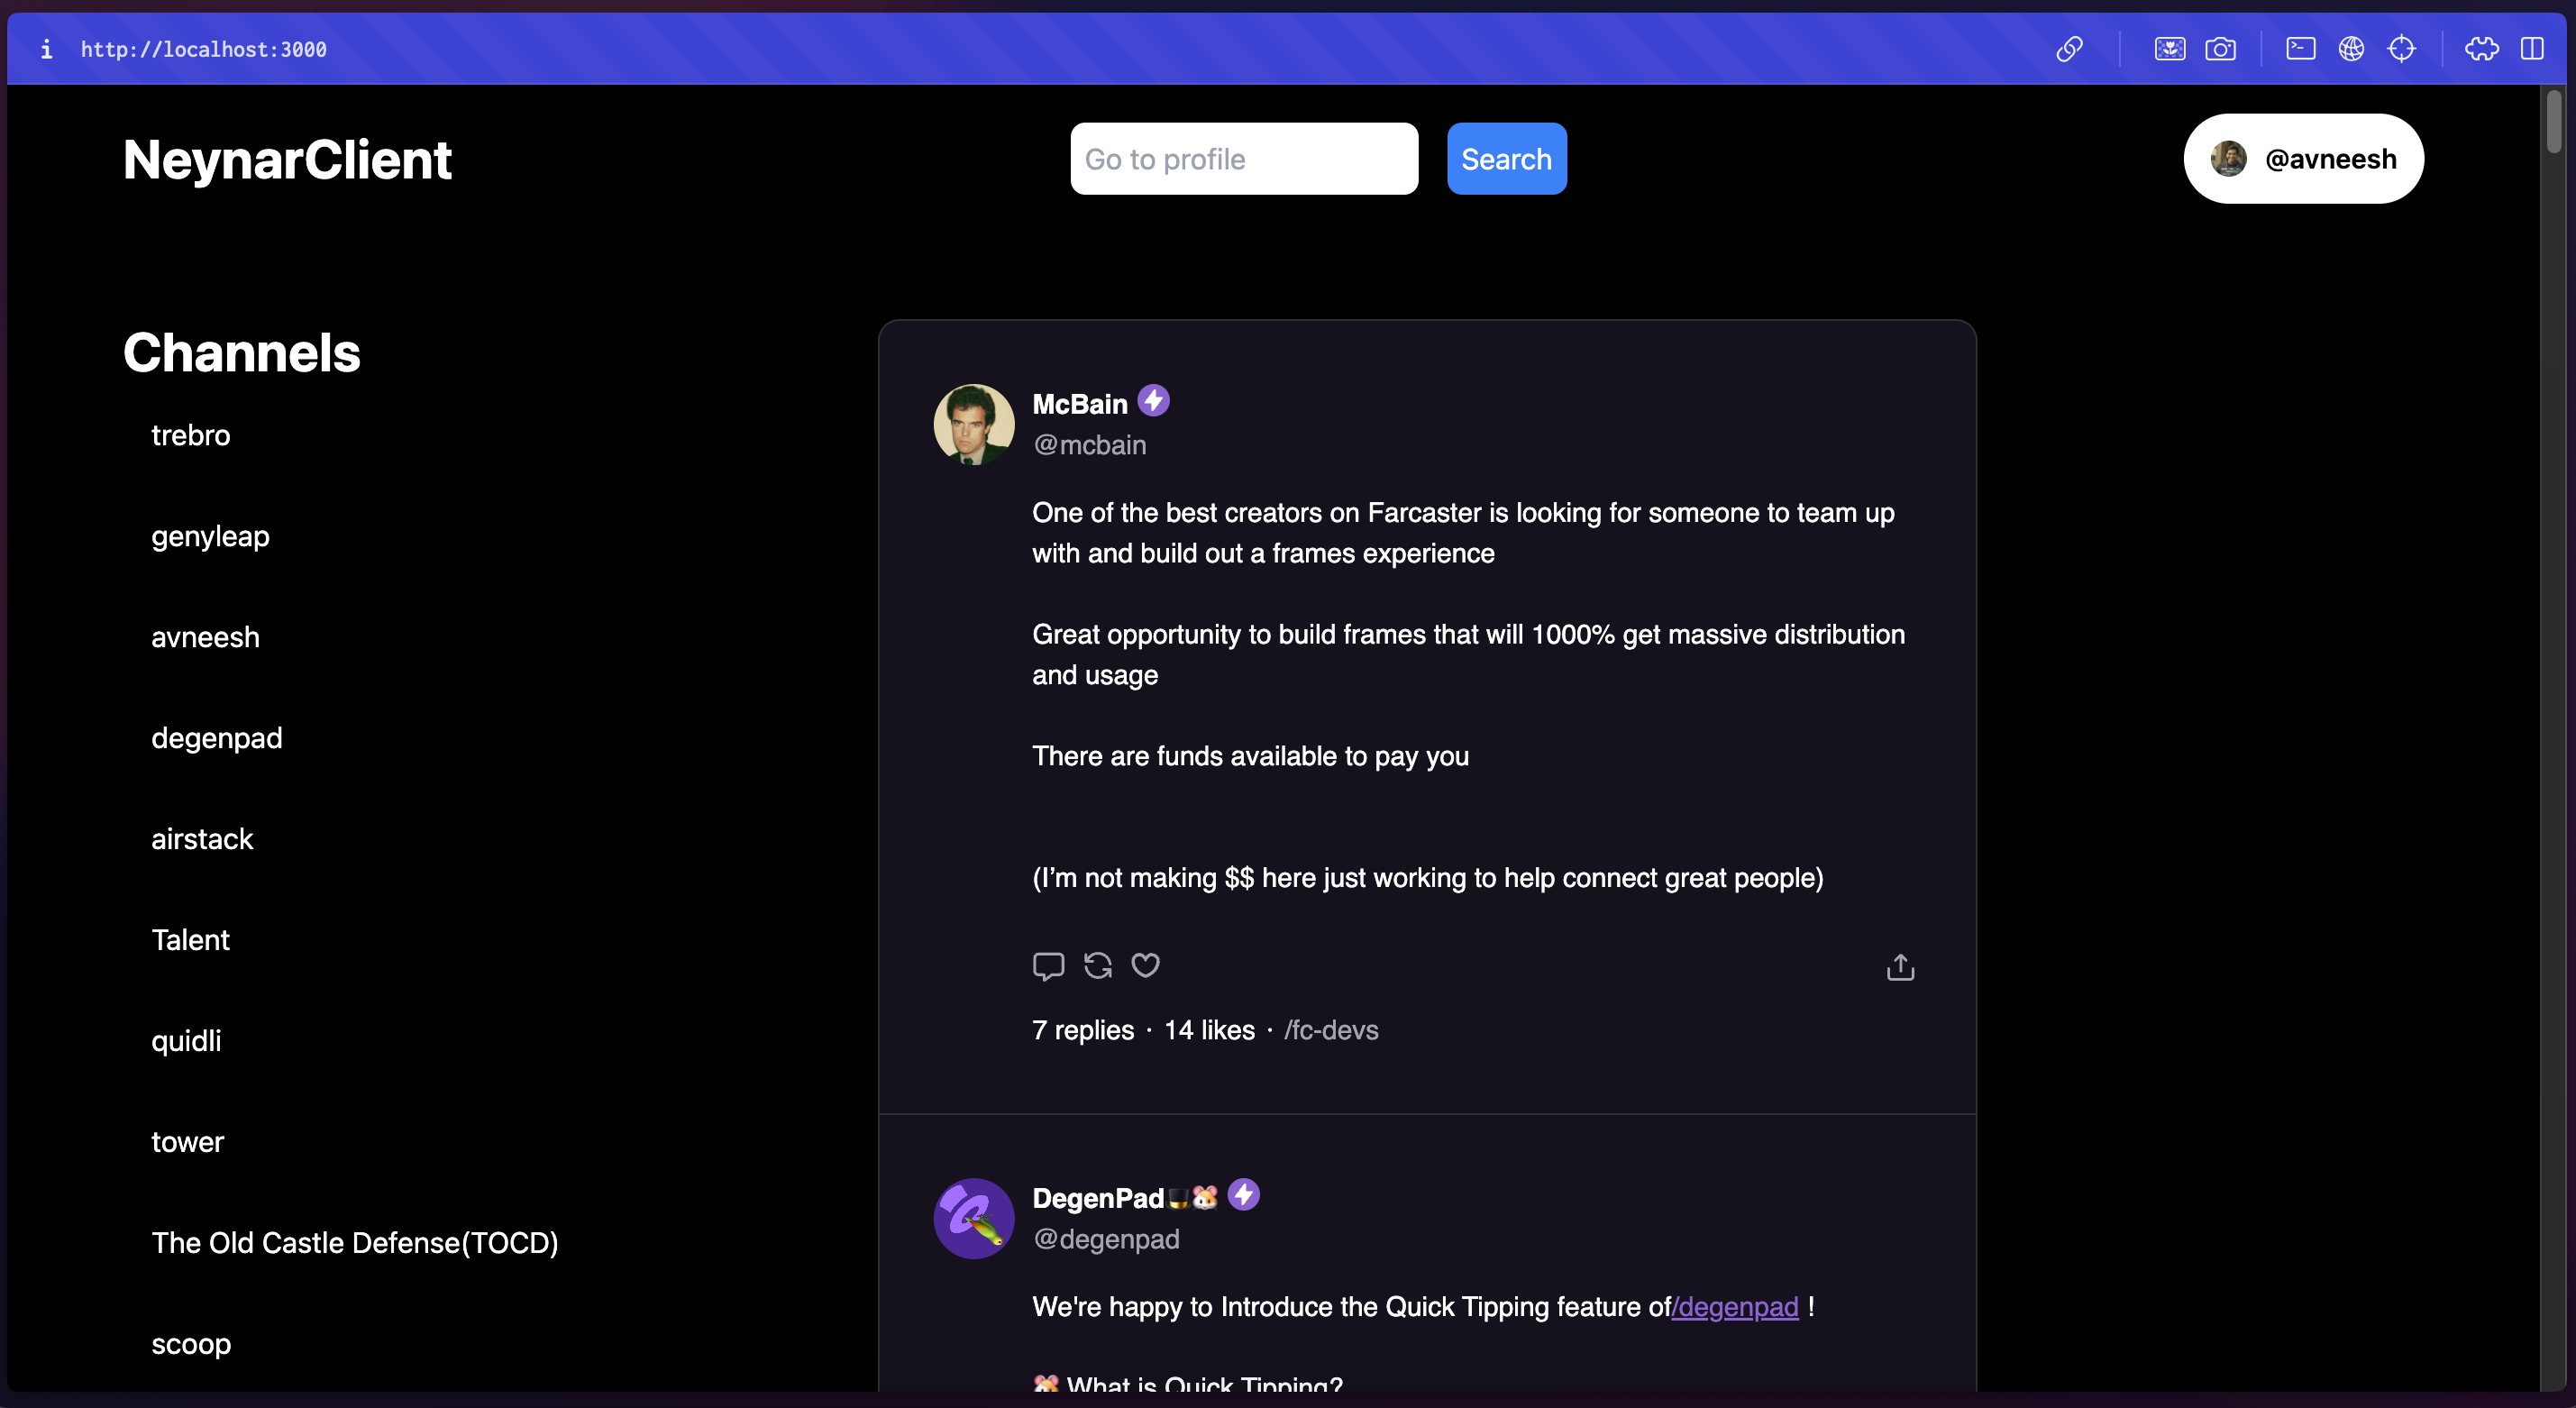
channel/[channelId]/page.tsx file in the app folder and add the following:
@/components/Neynar file and not the package directly because it is a client component. So, create a new components/Neynar.tsx file and add the following:
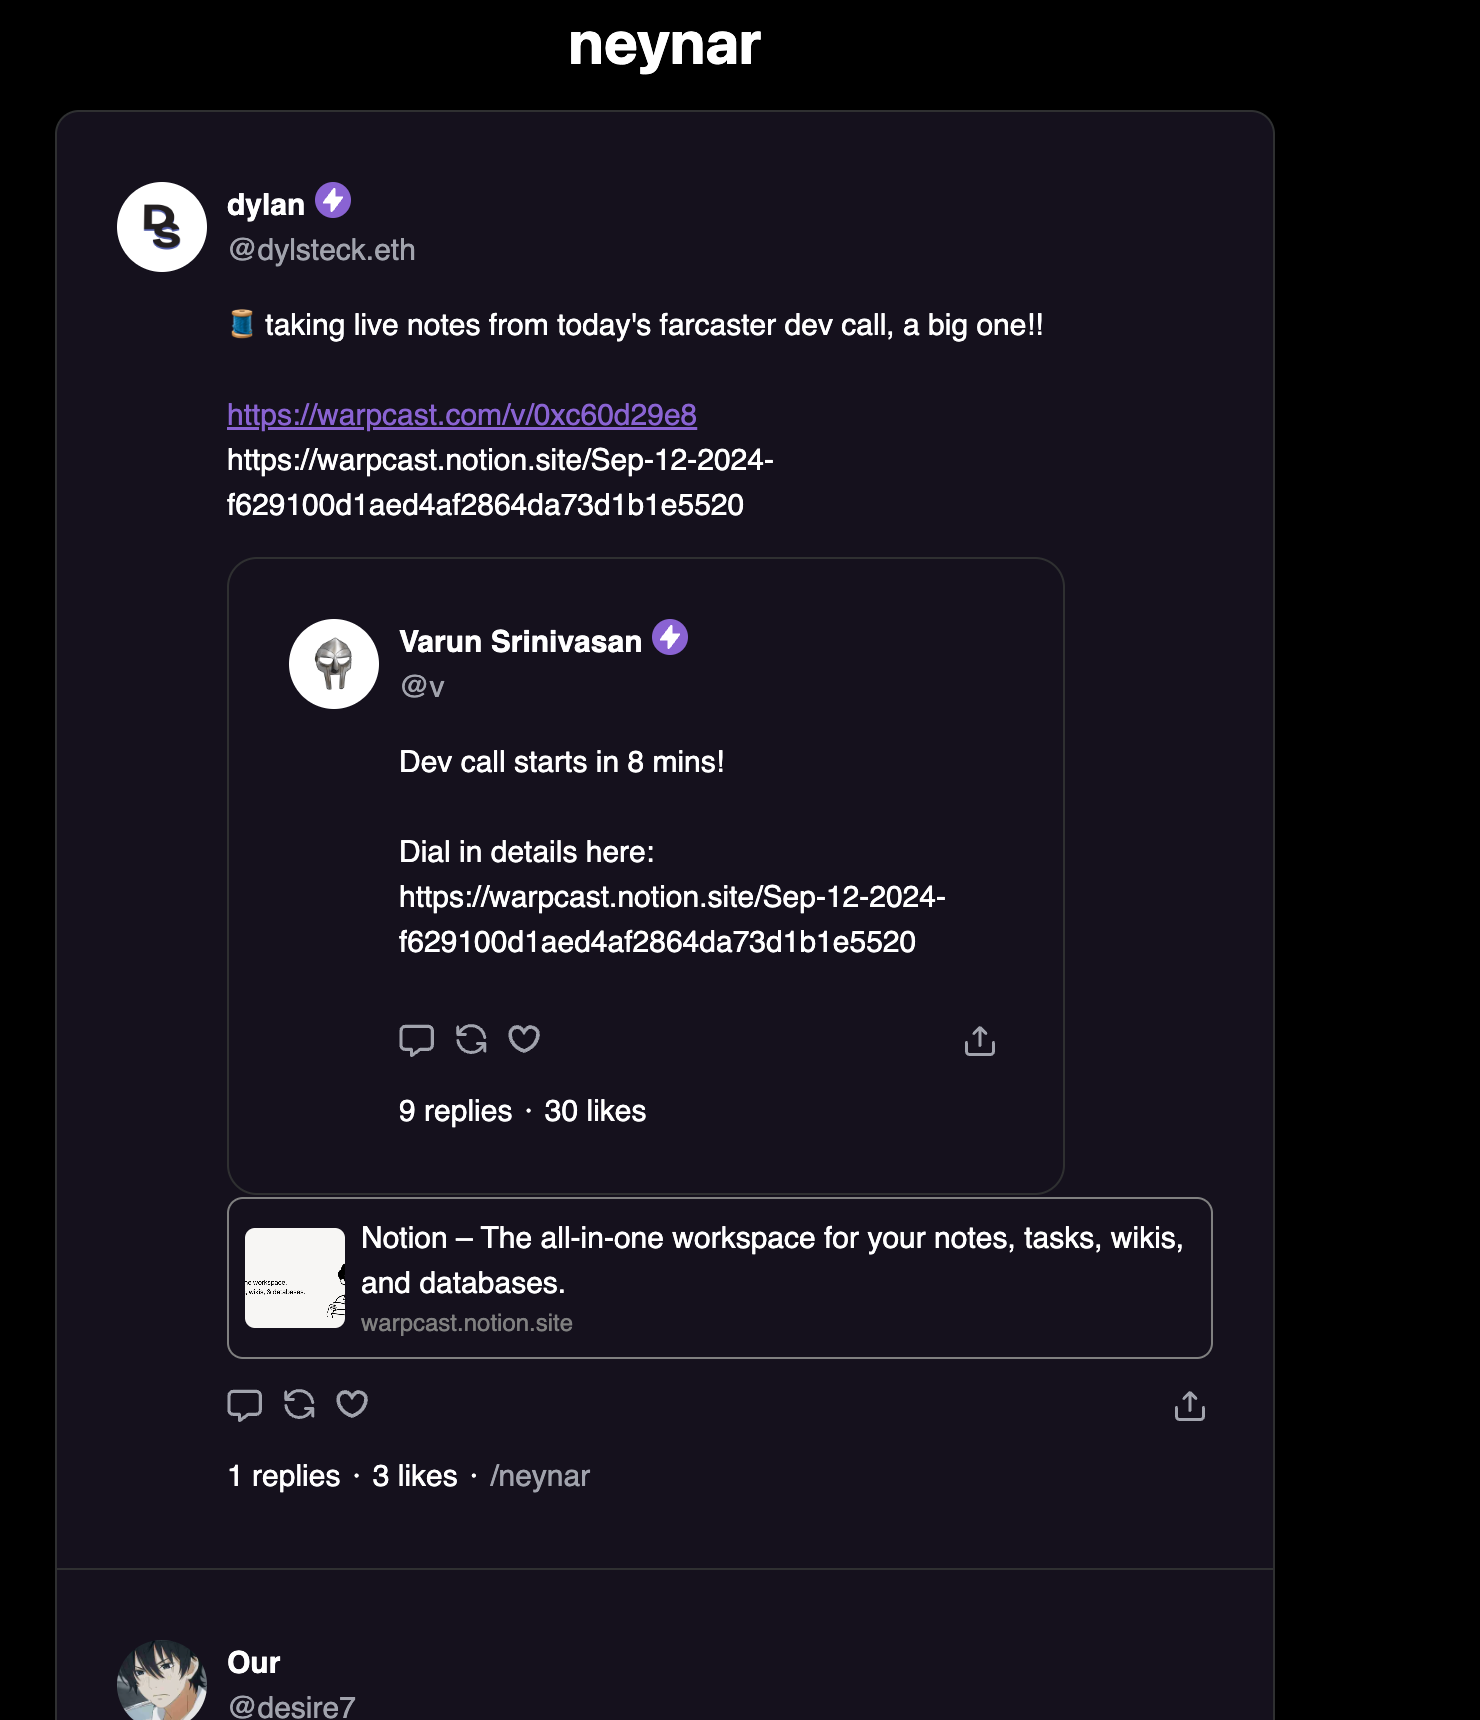
Building user profiles
Let’s also build a profile page for every user which shows their profile card and the casts they have created. Create a new fileprofile/[username]/page.tsx in the app folder and add the following:
ProfileCard and the FeedList filtered based on the user’s fid. If you go to /profile/username then you’ll be able to see the user’s profile!