"use client";
import axios from "axios";
import QRCode from "qrcode.react";
import { useEffect, useState } from "react";
import styles from "./page.module.css";
interface FarcasterUser {
signer_uuid: string;
public_key: string;
status: string;
signer_approval_url?: string;
fid?: number;
}
export default function Home() {
const LOCAL_STORAGE_KEYS = {
FARCASTER_USER: "farcasterUser",
};
const [loading, setLoading] = useState(false);
const [farcasterUser, setFarcasterUser] = useState<FarcasterUser | null>(
null
);
const [text, setText] = useState<string>("");
const [isCasting, setIsCasting] = useState<boolean>(false);
const handleCast = async () => {
setIsCasting(true);
const castText = text.length === 0 ? "gm" : text;
try {
const response = await axios.post("/api/cast", {
text: castText,
signer_uuid: farcasterUser?.signer_uuid,
});
if (response.status === 200) {
setText(""); // Clear the text field
alert("Cast successful");
}
} catch (error) {
console.error("Could not send the cast", error);
} finally {
setIsCasting(false); // Re-enable the button
}
};
useEffect(() => {
    const storedData = localStorage.getItem(LOCAL_STORAGE_KEYS.FARCASTER_USER);
    if (storedData) {
      const user: FarcasterUser = JSON.parse(storedData);
      setFarcasterUser(user);
    }
  }, []);

  useEffect(() => {
    if (farcasterUser && farcasterUser.status === "pending_approval") {
      let intervalId: NodeJS.Timeout;

      const startPolling = () => {
        intervalId = setInterval(async () => {
          try {
            const response = await axios.get(
              `/api/signer?signer_uuid=${farcasterUser?.signer_uuid}`
            );
            const user = response.data as FarcasterUser;

            if (user?.status === "approved") {
              // store the user in local storage
              localStorage.setItem(
                LOCAL_STORAGE_KEYS.FARCASTER_USER,
                JSON.stringify(user)
              );

              setFarcasterUser(user);
              clearInterval(intervalId);
            }
          } catch (error) {
            console.error("Error during polling", error);
          }
        }, 2000);
      };

      const stopPolling = () => {
        clearInterval(intervalId);
      };

      const handleVisibilityChange = () => {
        if (document.hidden) {
          stopPolling();
        } else {
          startPolling();
        }
      };

      document.addEventListener("visibilitychange", handleVisibilityChange);

      // Start the polling when the effect runs.
      startPolling();

      // Cleanup function to remove the event listener and clear interval.
      return () => {
        document.removeEventListener(
          "visibilitychange",
          handleVisibilityChange
        );
        clearInterval(intervalId);
      };
    }
  }, [farcasterUser]);
const handleSignIn = async () => {
setLoading(true);
await createAndStoreSigner();
setLoading(false);
};
const createAndStoreSigner = async () => {
try {
const response = await axios.post("/api/signer");
if (response.status === 200) {
localStorage.setItem(
LOCAL_STORAGE_KEYS.FARCASTER_USER,
JSON.stringify(response.data)
);
setFarcasterUser(response.data);
}
} catch (error) {
console.error("API Call failed", error);
}
};
return (
<div className={styles.container}>
{!farcasterUser?.status && (
<button
className={styles.btn}
onClick={handleSignIn}
disabled={loading}
>
{loading ? "Loading..." : "Sign in with farcaster"}
</button>
)}
{farcasterUser?.status == "pending_approval" &&
farcasterUser?.signer_approval_url && (
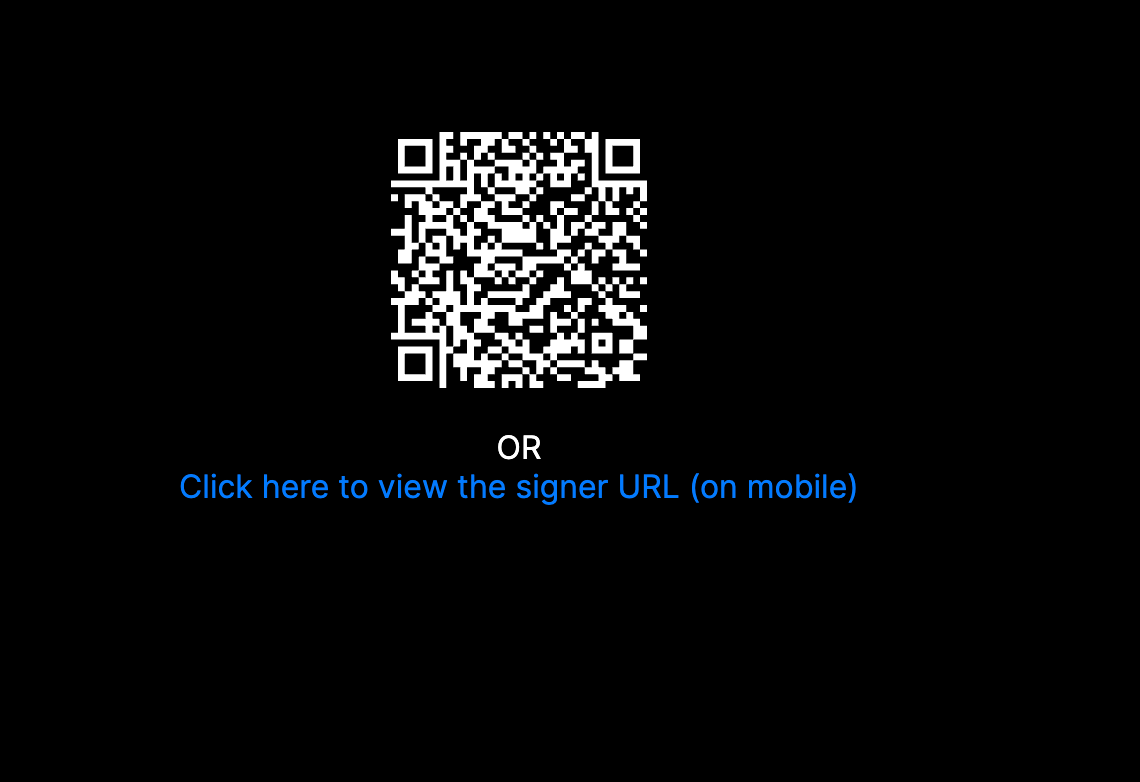
<div className={styles.qrContainer}>
<QRCode value={farcasterUser.signer_approval_url} />
<div className={styles.or}>OR</div>
<a
href={farcasterUser.signer_approval_url}
target="_blank"
rel="noopener noreferrer"
className={styles.link}
>
Click here to view the signer URL (on mobile)
</a>
</div>
)}
 {farcasterUser?.status == "approved" && (
        <div className={styles.castSection}>
          <div className={styles.userInfo}>Hello {farcasterUser.fid} 👋</div>
          <div className={styles.castContainer}>
            <textarea
              className={styles.castTextarea}
              placeholder="What's on your mind?"
              value={text}
              onChange={(e) => setText(e.target.value)}
              rows={5}
            />

            <button
              className={styles.btn}
              onClick={handleCast}
              disabled={isCasting}
            >
              {isCasting ? <span>🔄</span> : "Cast"}
            </button>
          </div>
        </div>
      )}
</div>
);
}


