Adding sign-in with neynar
Storing signers in a DB
Using the signer to create casts
Setting up
App
We’re going to use next.js so that we can have everything from our login page to our frame in the same project. So, create a new project using the following command: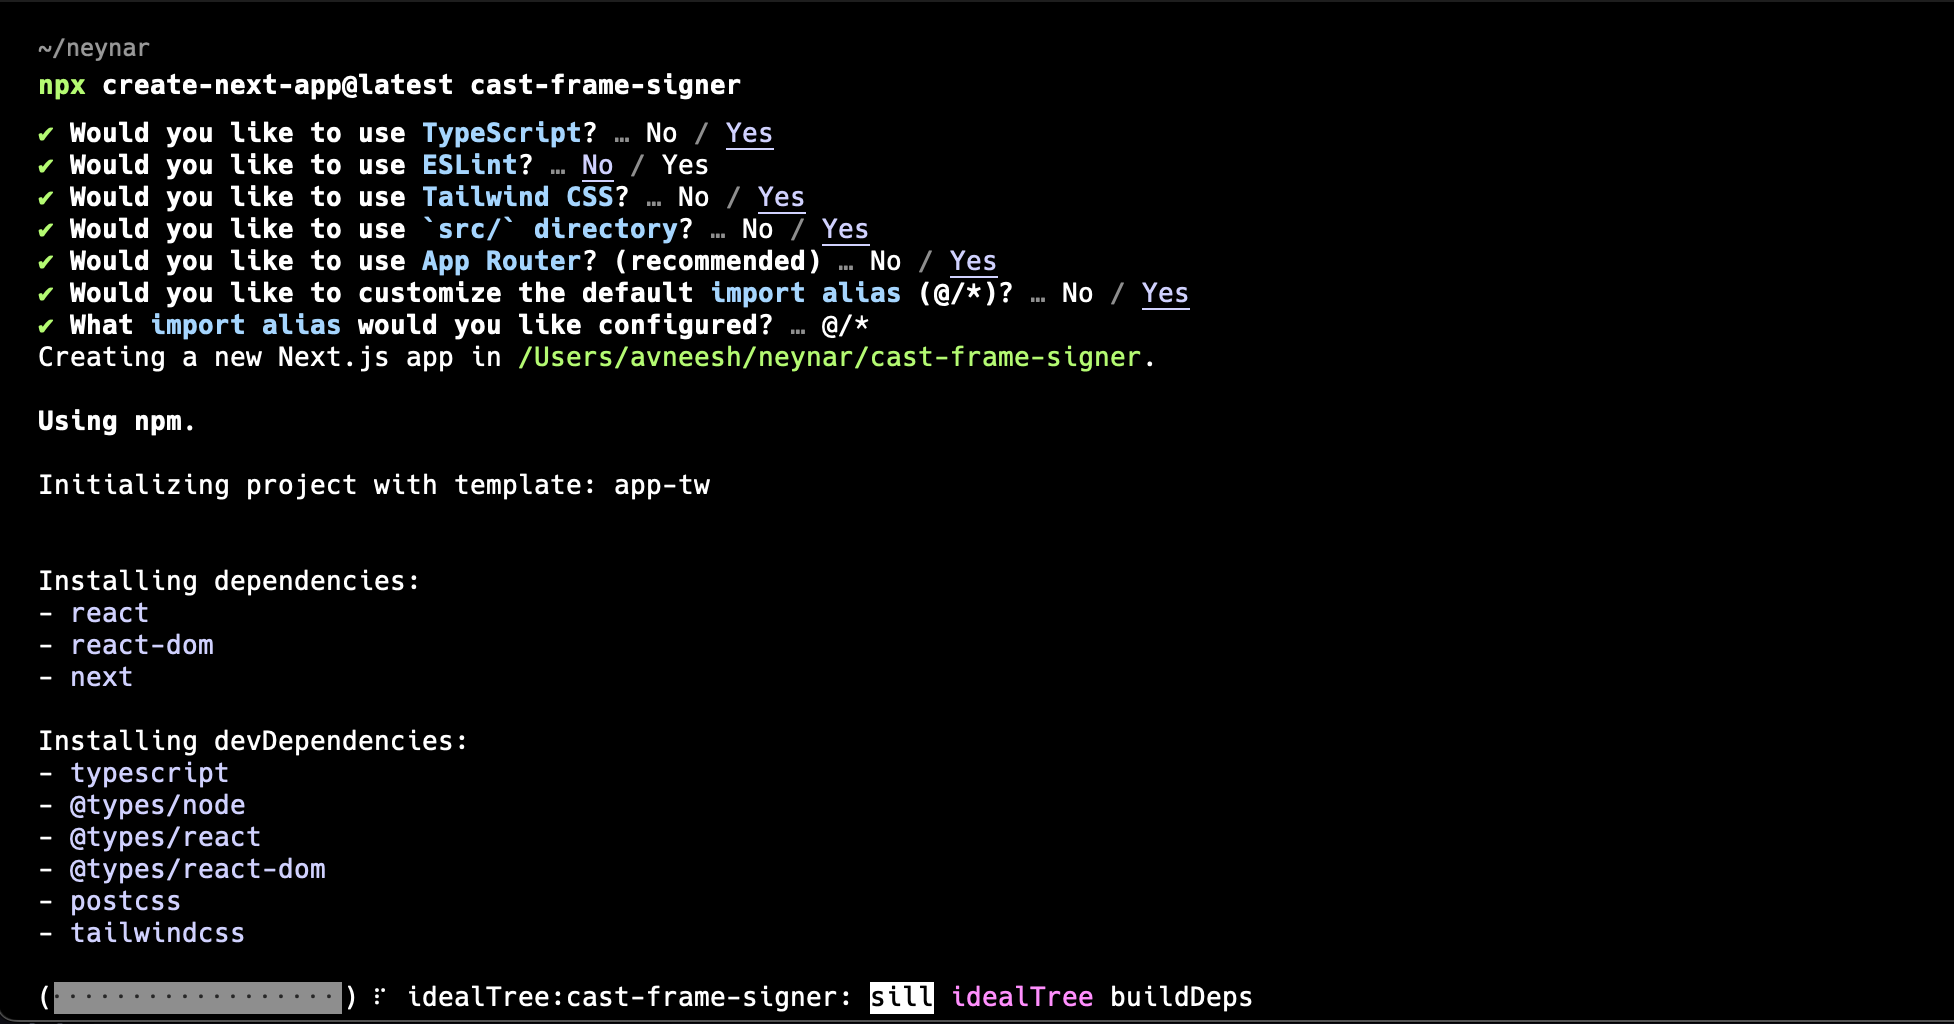
Database
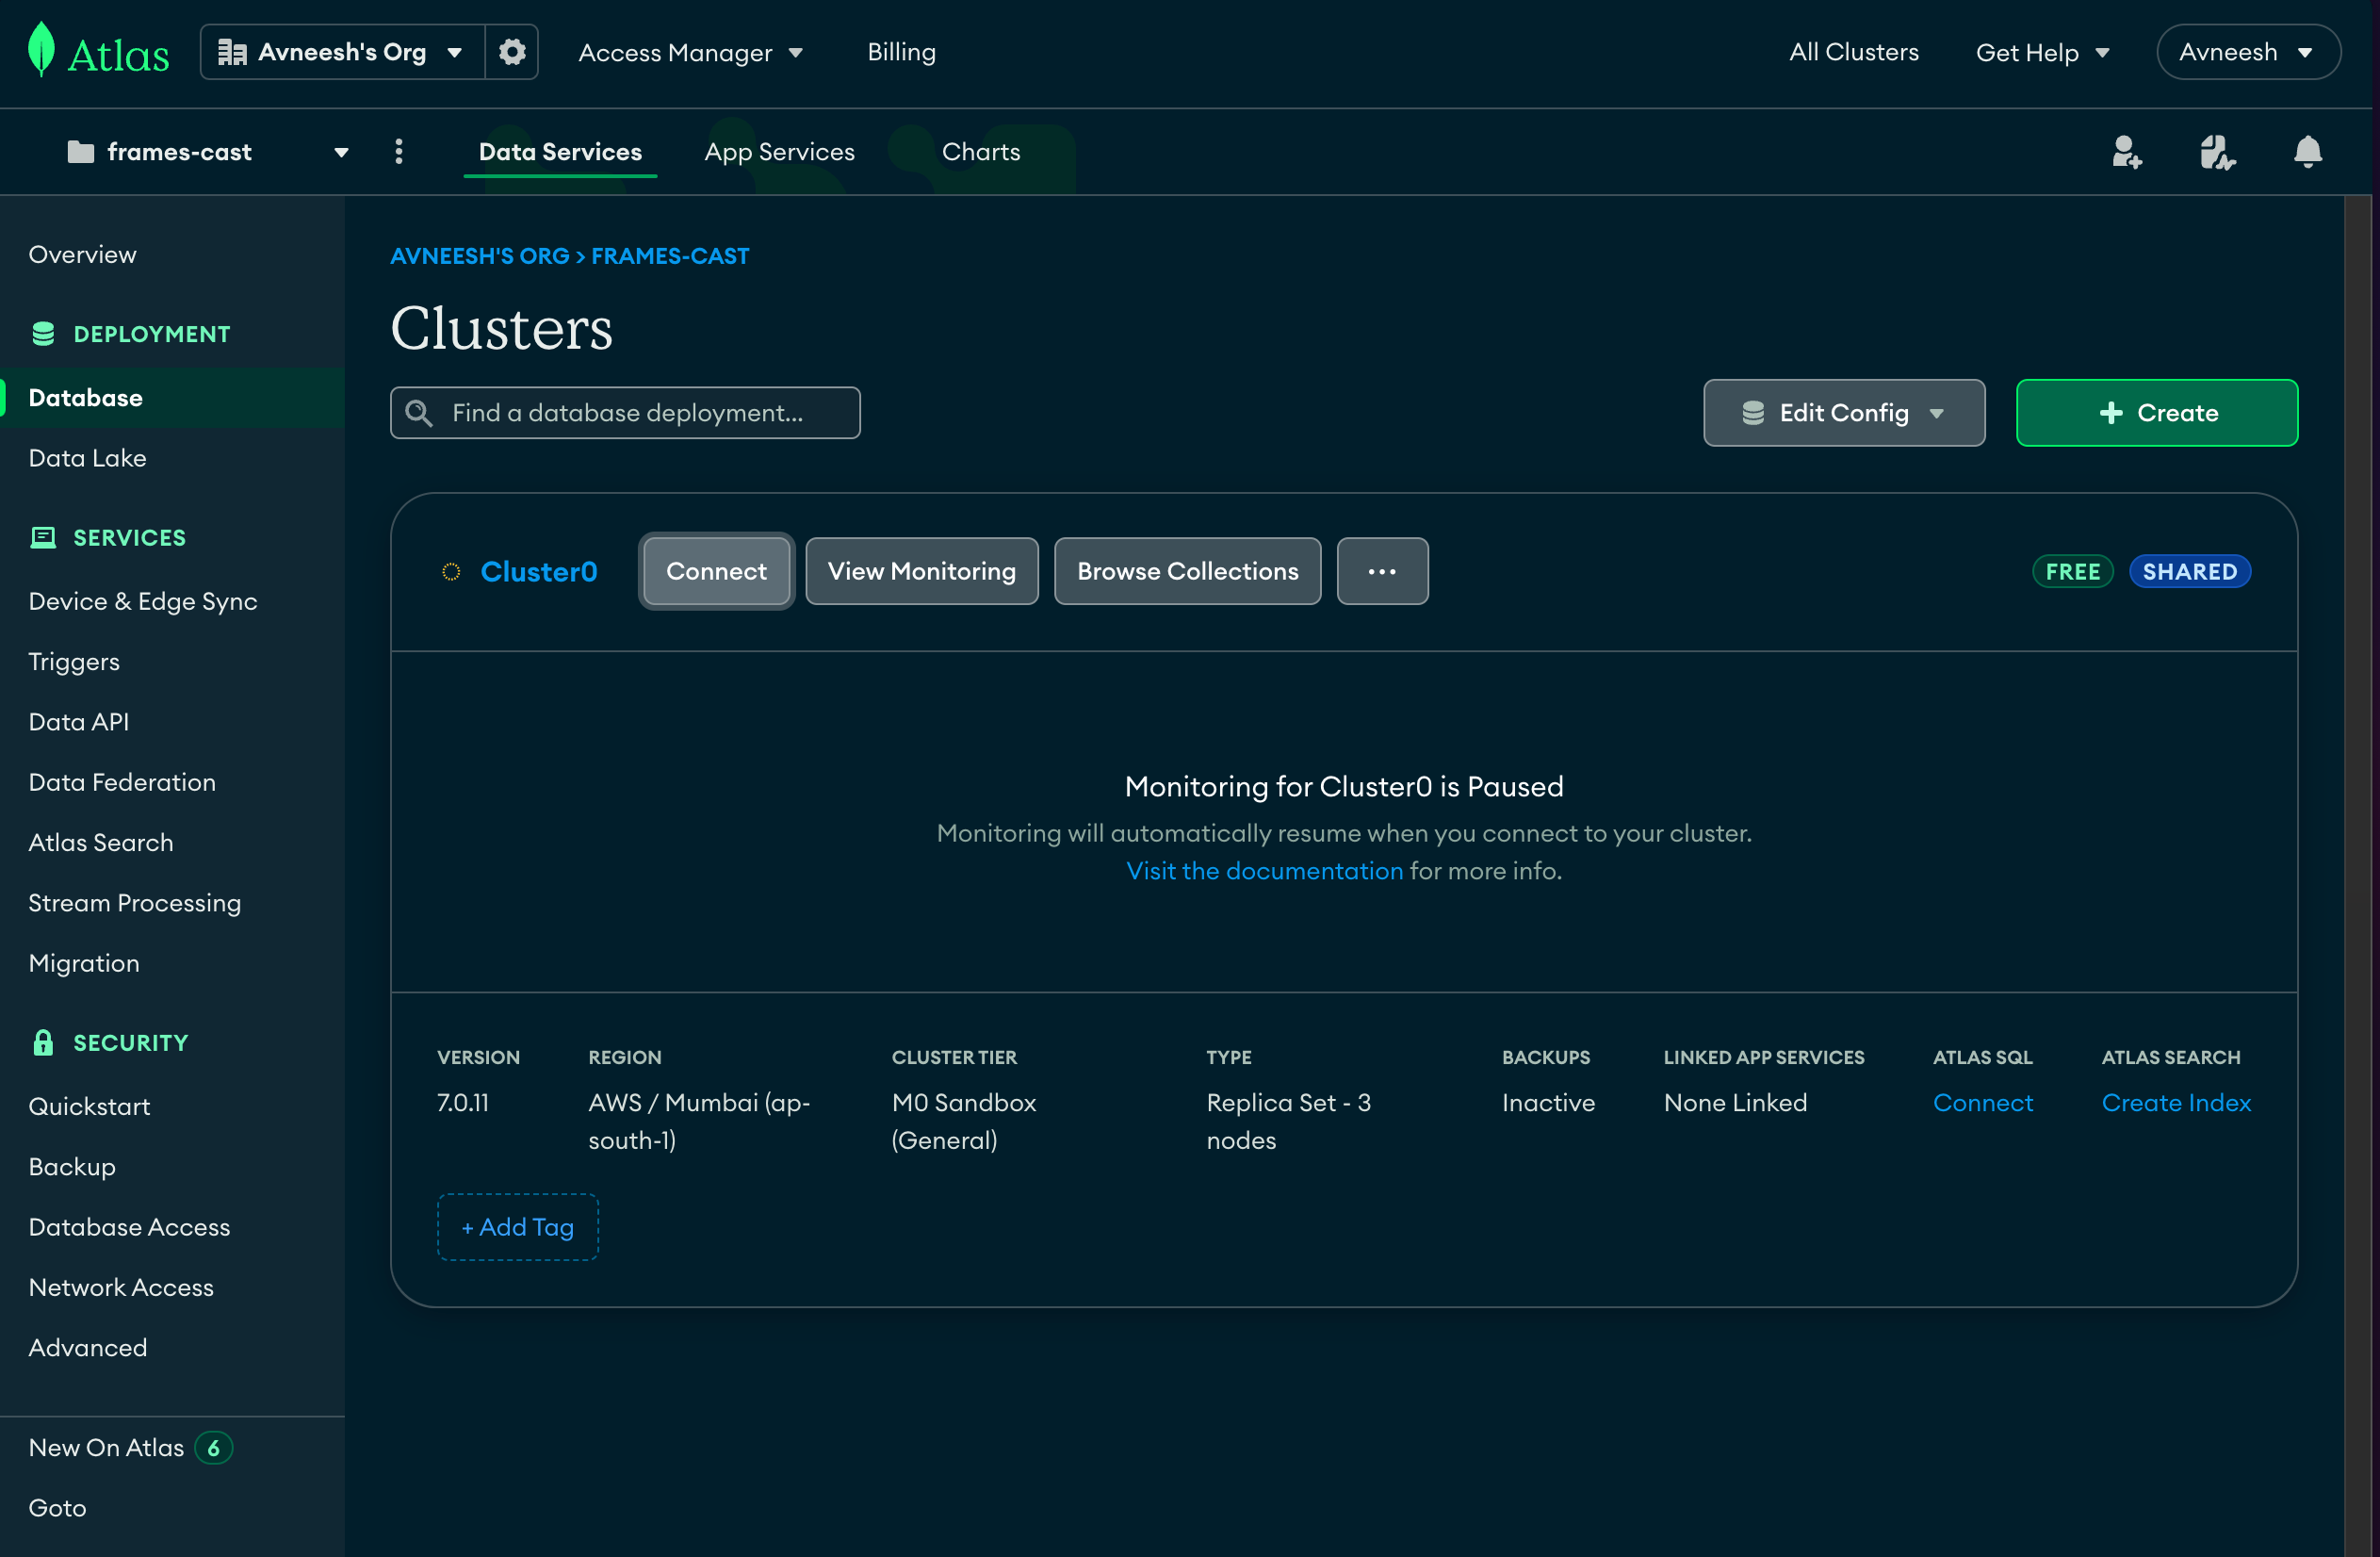
We’re also going to need a database to store all the signers so that we can later access it to create casts and perform other actions on the user’s behalf. I am going to use MongoDB as the database, and prisma as an ORM. So, go ahead and create an account/sign into your MongoDB account here. Once you’ve signed up go ahead and setup a new cluster on Mongodb. You can follow this guide to do it. Once you’ve setup your cluster follow these steps to get your connection URL:1
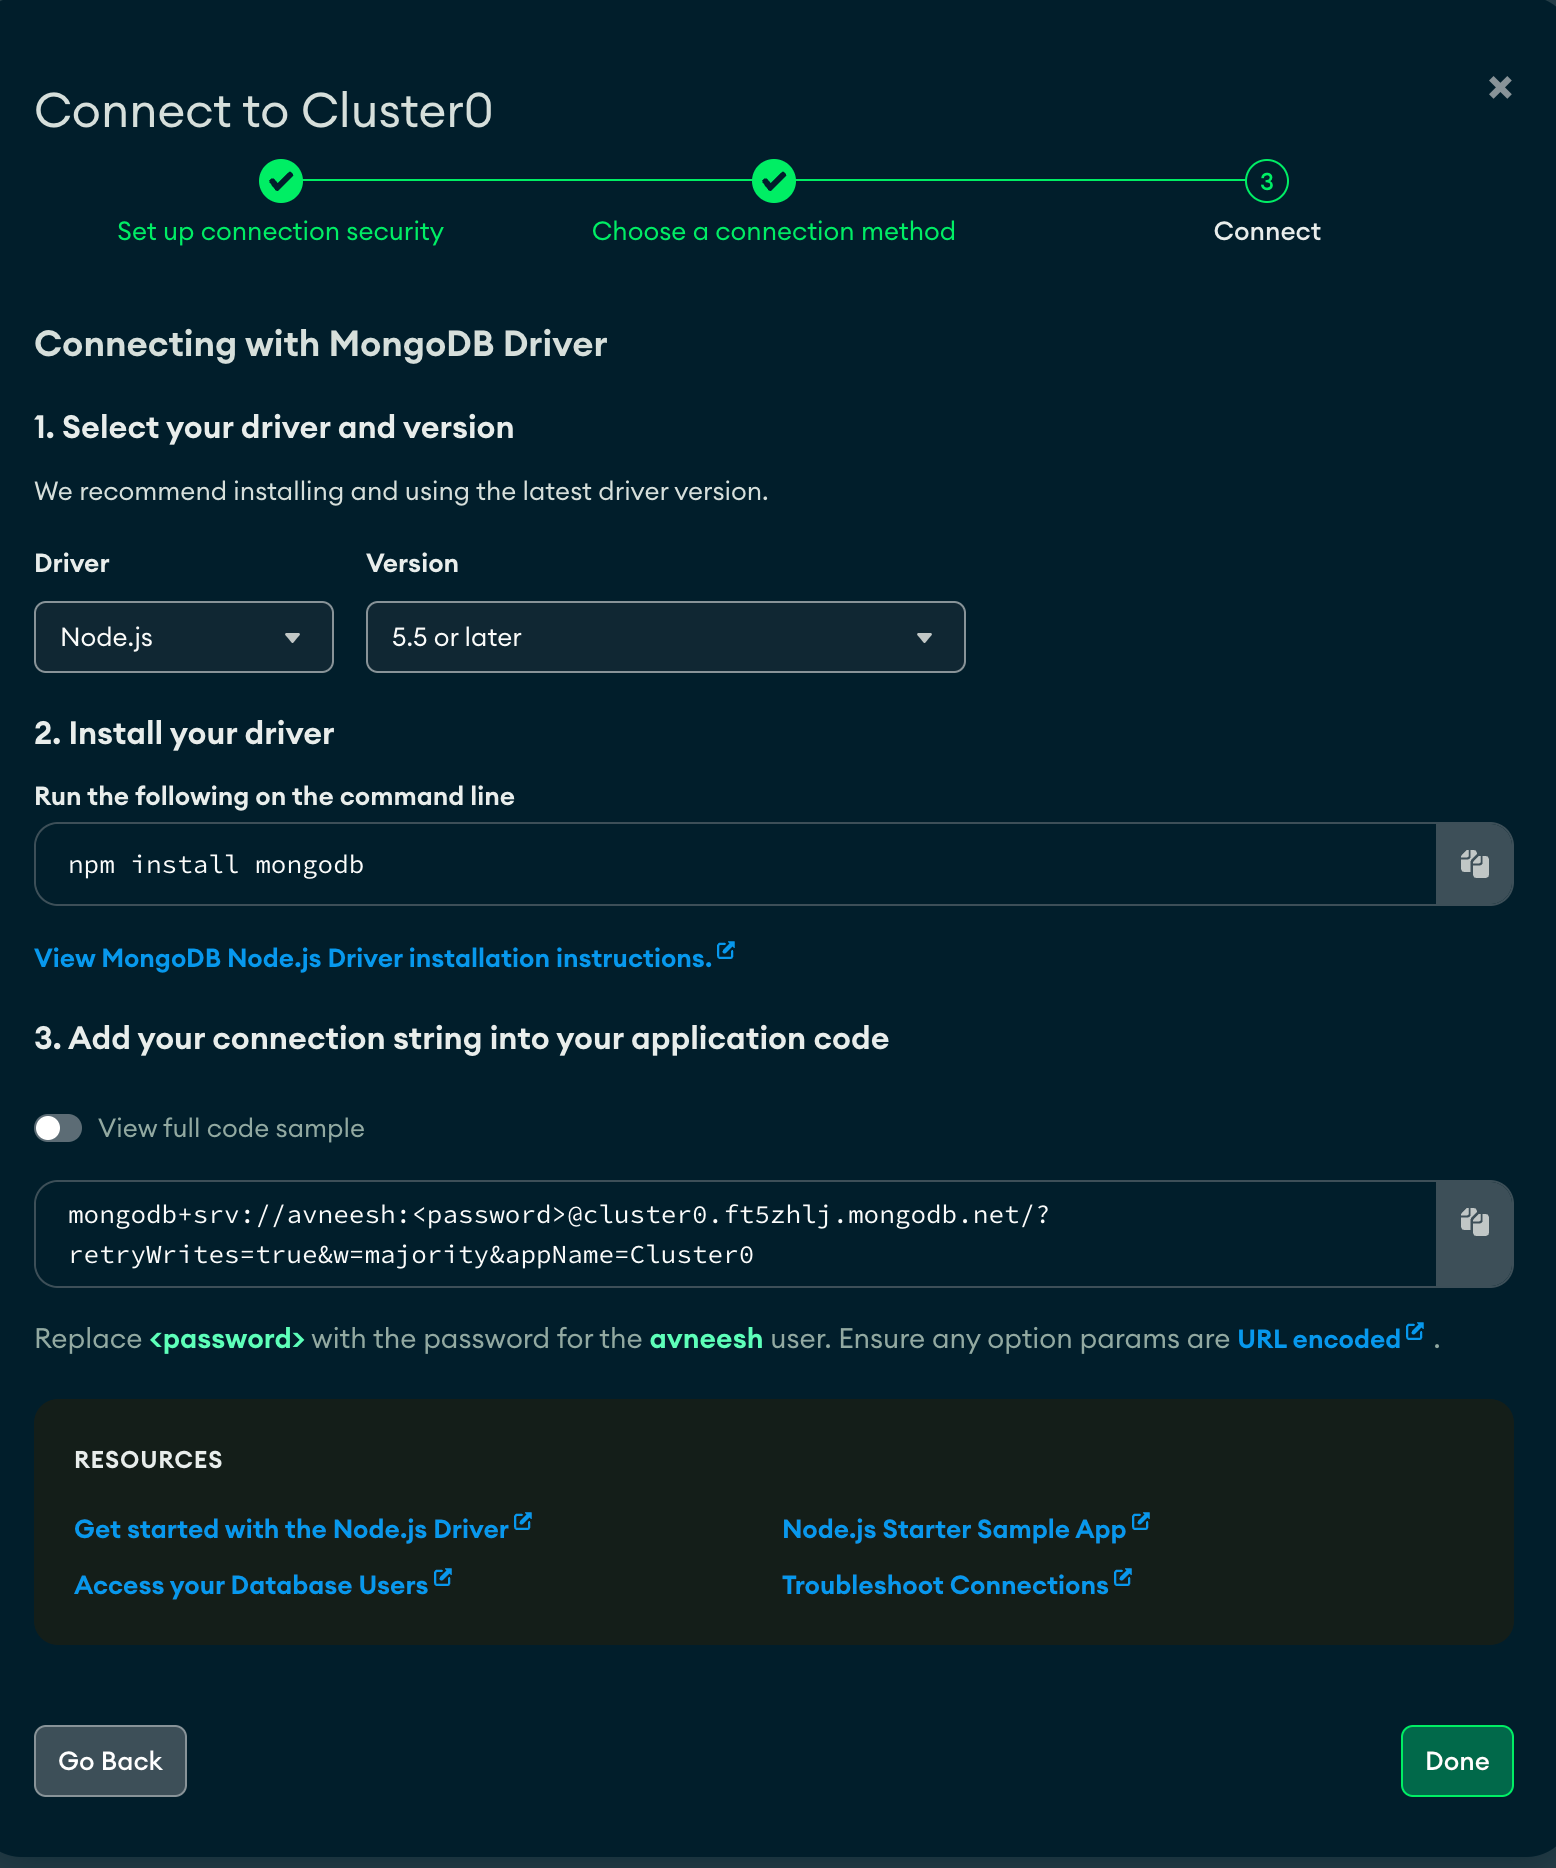
Click on Connect in the dashboard tab
2
In the modal select drivers as the connection method
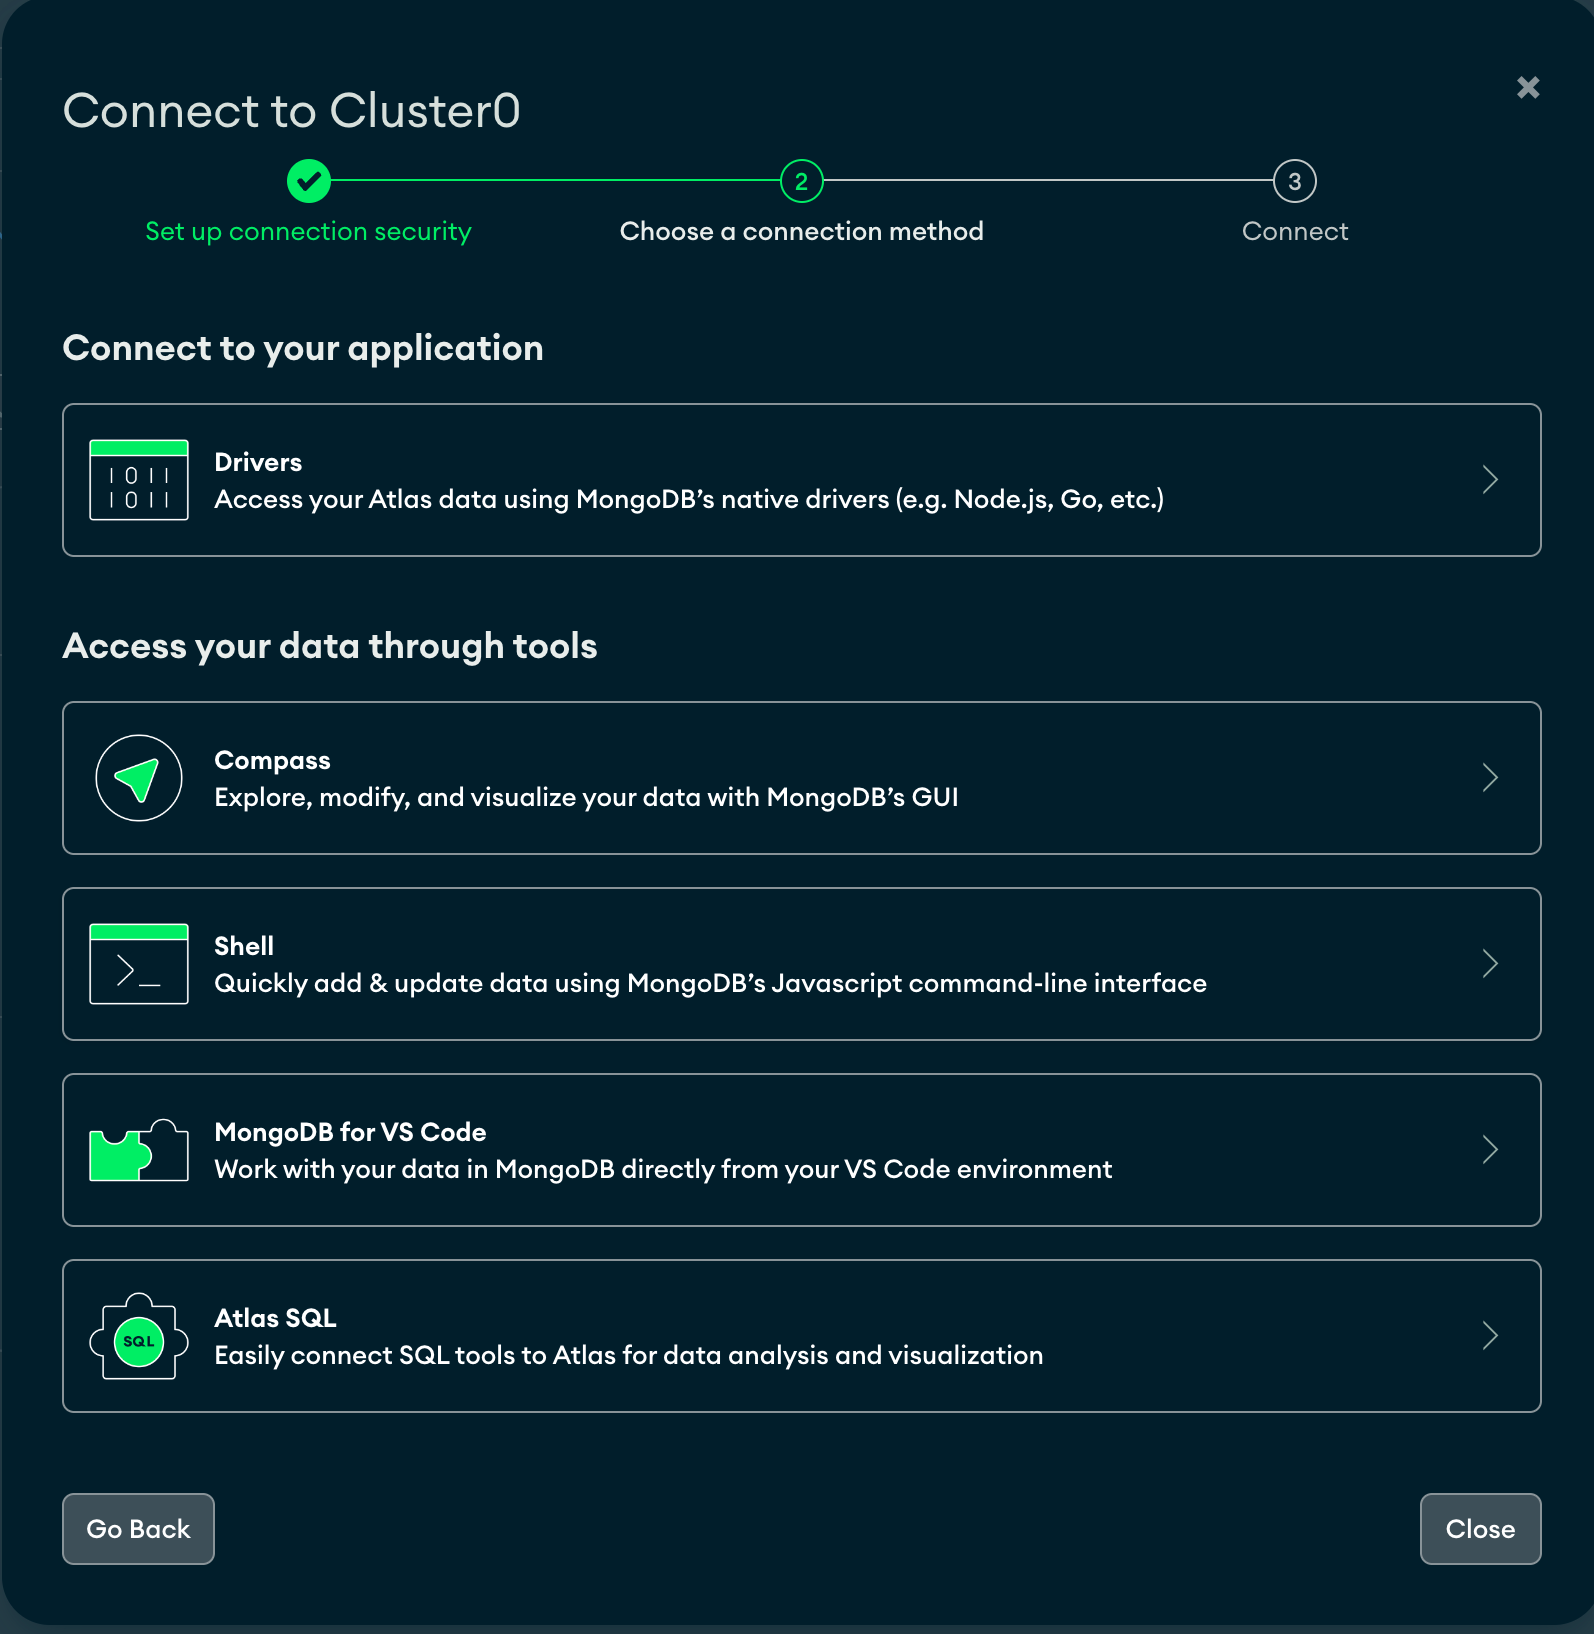
3
Copy the connection string from here and replace `<password>` with your user password
.env file and add the connection url that you just copied and replace the part after .mongodb.net/ with /db?retryWrites=true&w=majority.
Firstly, let’s first define our database schema. Head over to prisma/schema.prisma and add a user model like this:
lib/prisma.ts file in the src folder and add the following:
Adding sign-in with neynar
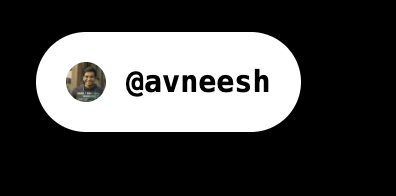
Now that we’ve setup all the boilerplate let’s start coding the actual part. We’ll first go ahead and add sign in with neynar. To do that we need to wrap our app in a provider, so, head over to thelayout.tsx file and wrap your app in a NeynarContextProvider like this:
clientId, defaultTheme and eventsCallbacks.
clientId: This is going to be the client ID you get from your neynar, add it to your.env.localfile asNEXT_PUBLIC_NEYNAR_CLIENT_ID.
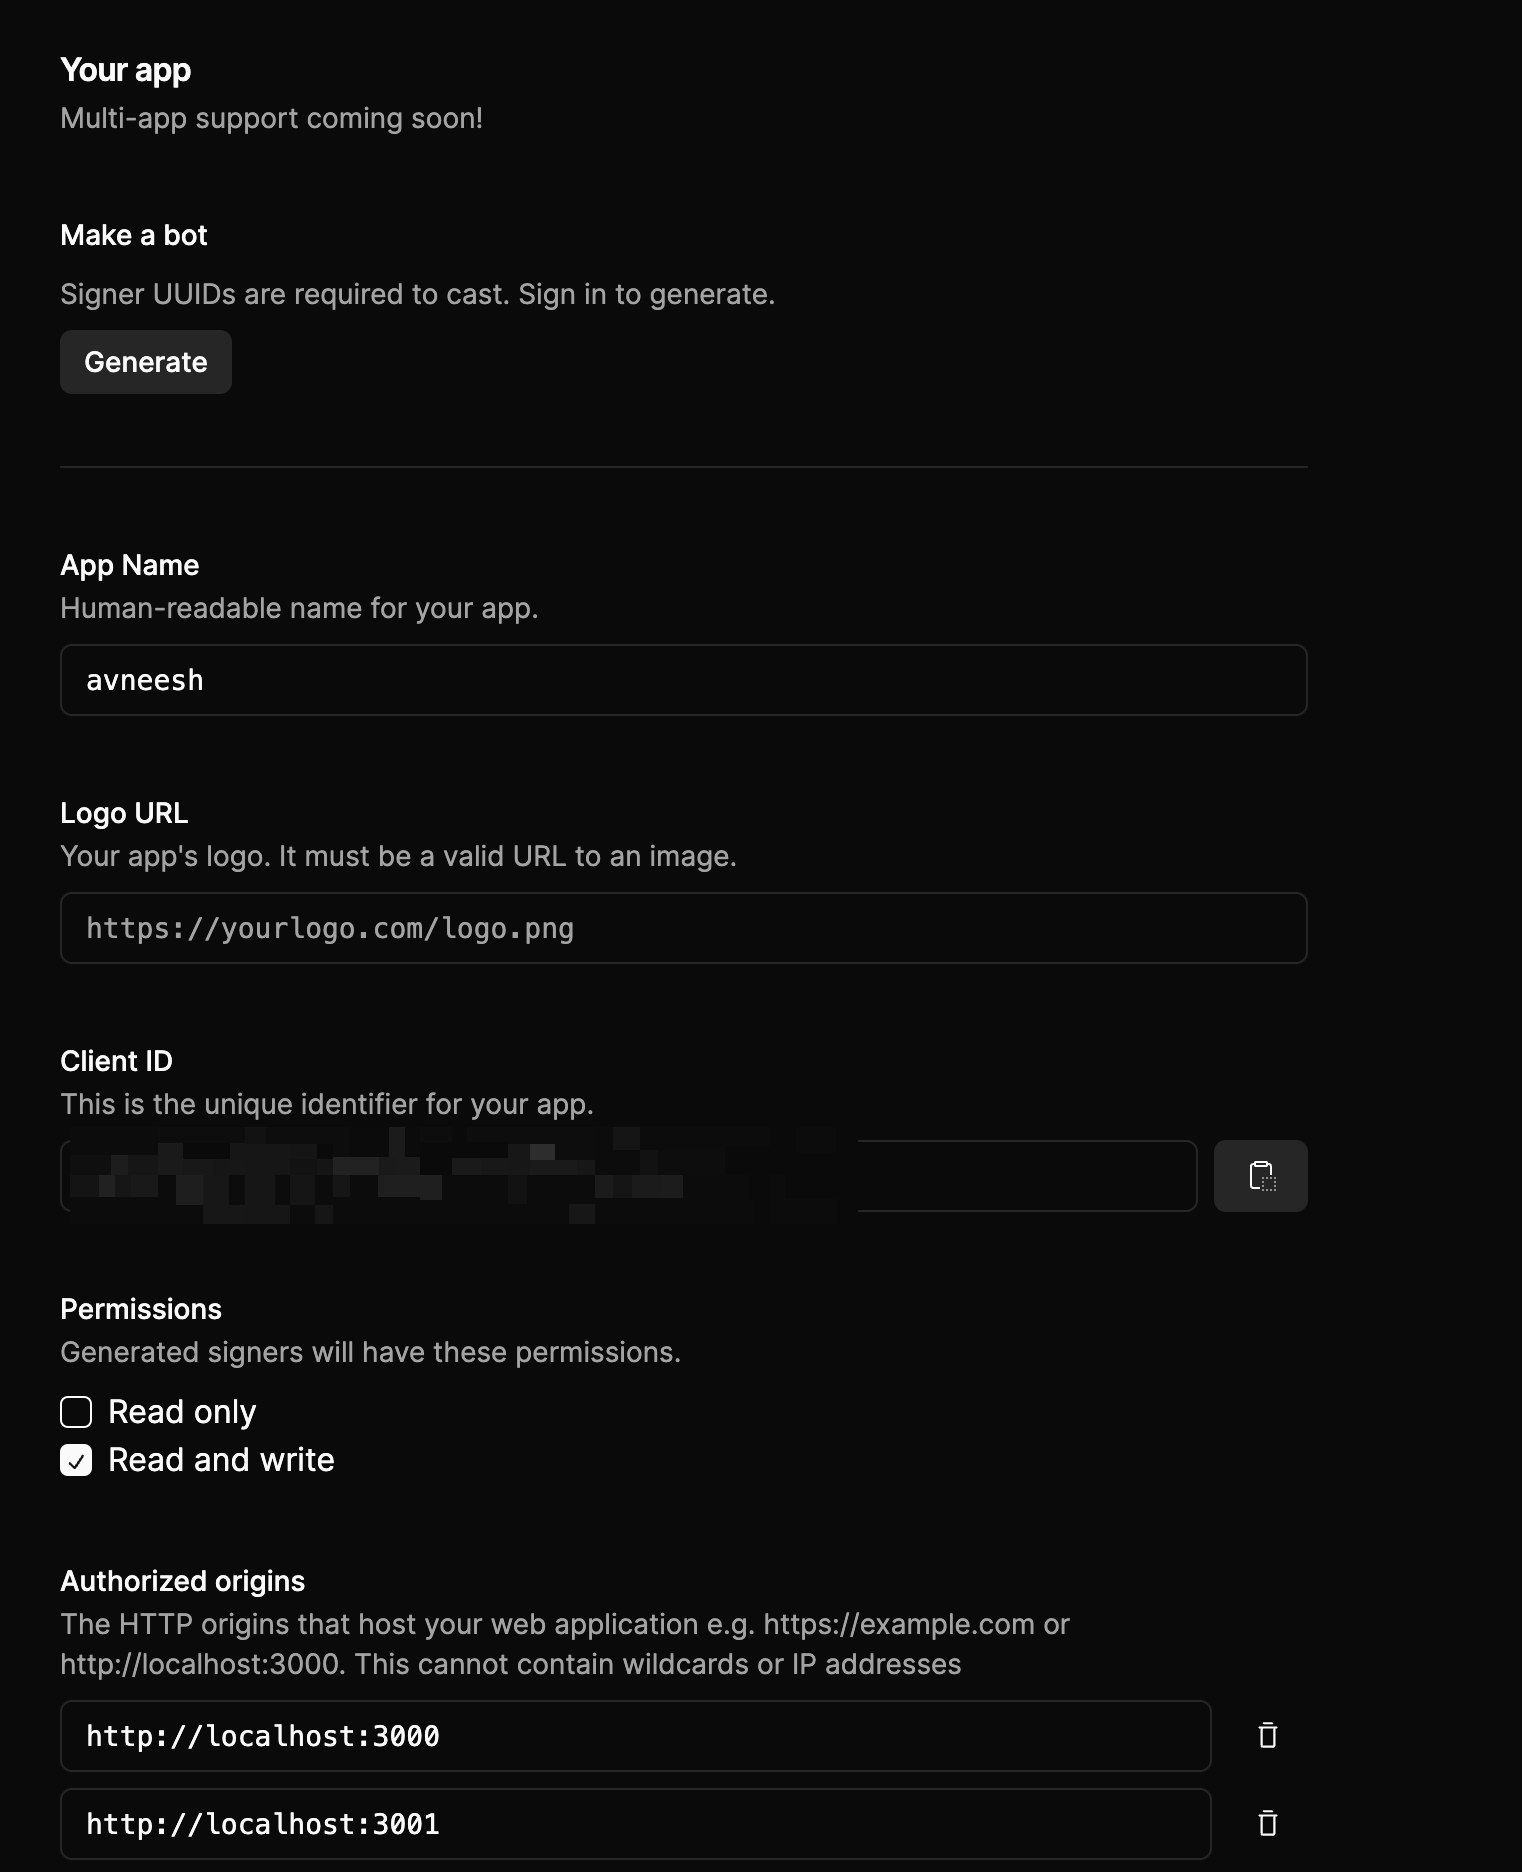
Make sure to add localhost to the authorized origins
defaultTheme: default theme lets you change the theme of your sign-in button, currently, we have only light mode but dark mode is going to be live soon.eventsCallbacks: This allows you to perform certain actions when the user signs out or auth is successful.
page.tsx file like this:
layout.tsx add this to the onAuthSuccess function in NeynarContextProvider’s settings:
/api/add-userAPI route which we are yet to create with the user’s signer and fid every time a user successfully signs in.
Now, create a new /api/add-user/route.ts file in the app folder and add the following:
neynarClient function which we have not yet created so we have to do that. Create a new lib/neynarClient.ts file and add the following:
Creating the frame
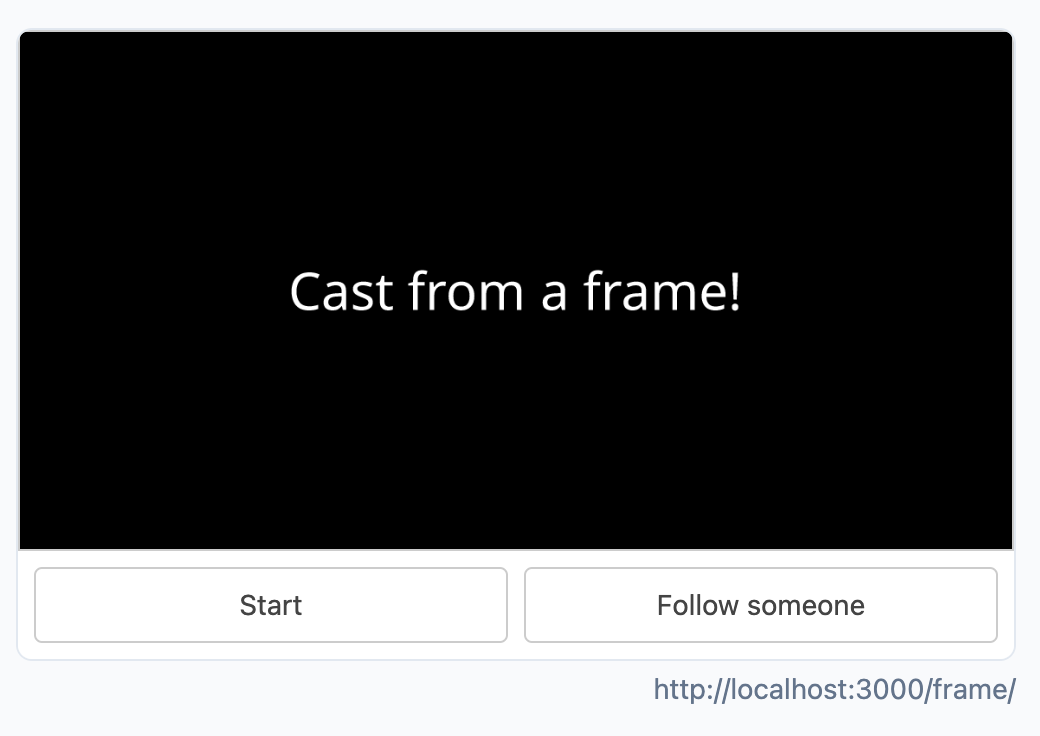
Firstly, let’s create the homescreen of the frame which will be a simple frame with a few buttons and a simple text. So, create a new fileframe/route.tsx file in the app folder and add the following:
start/route.tsx in the frame folder and add the following:
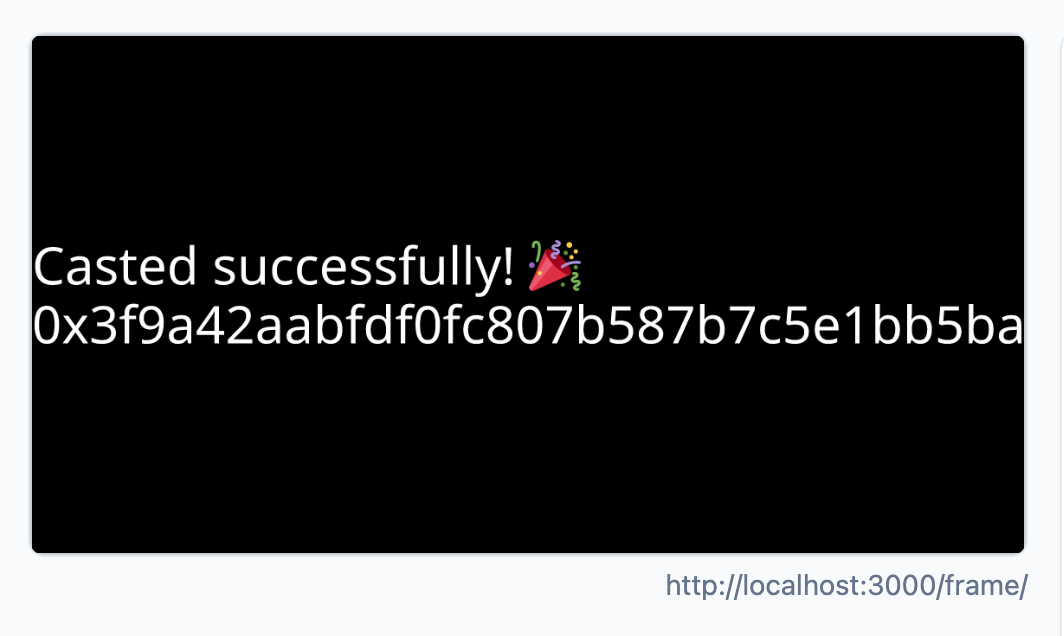
/frame/publish route where the cast is made using the text that the user entered on the home screen.
Create a new file route.tsx in the frame/publish/ folder and add the following:
publishCast function from the client we initialised. If you try publishing a new cast on the frame it will create the cast and show you something like this.