- Setting up auth using the Neynar React SDK
- Using the signer to create casts
Creating the app
Setting up the project
Create a new next.js app using the following command: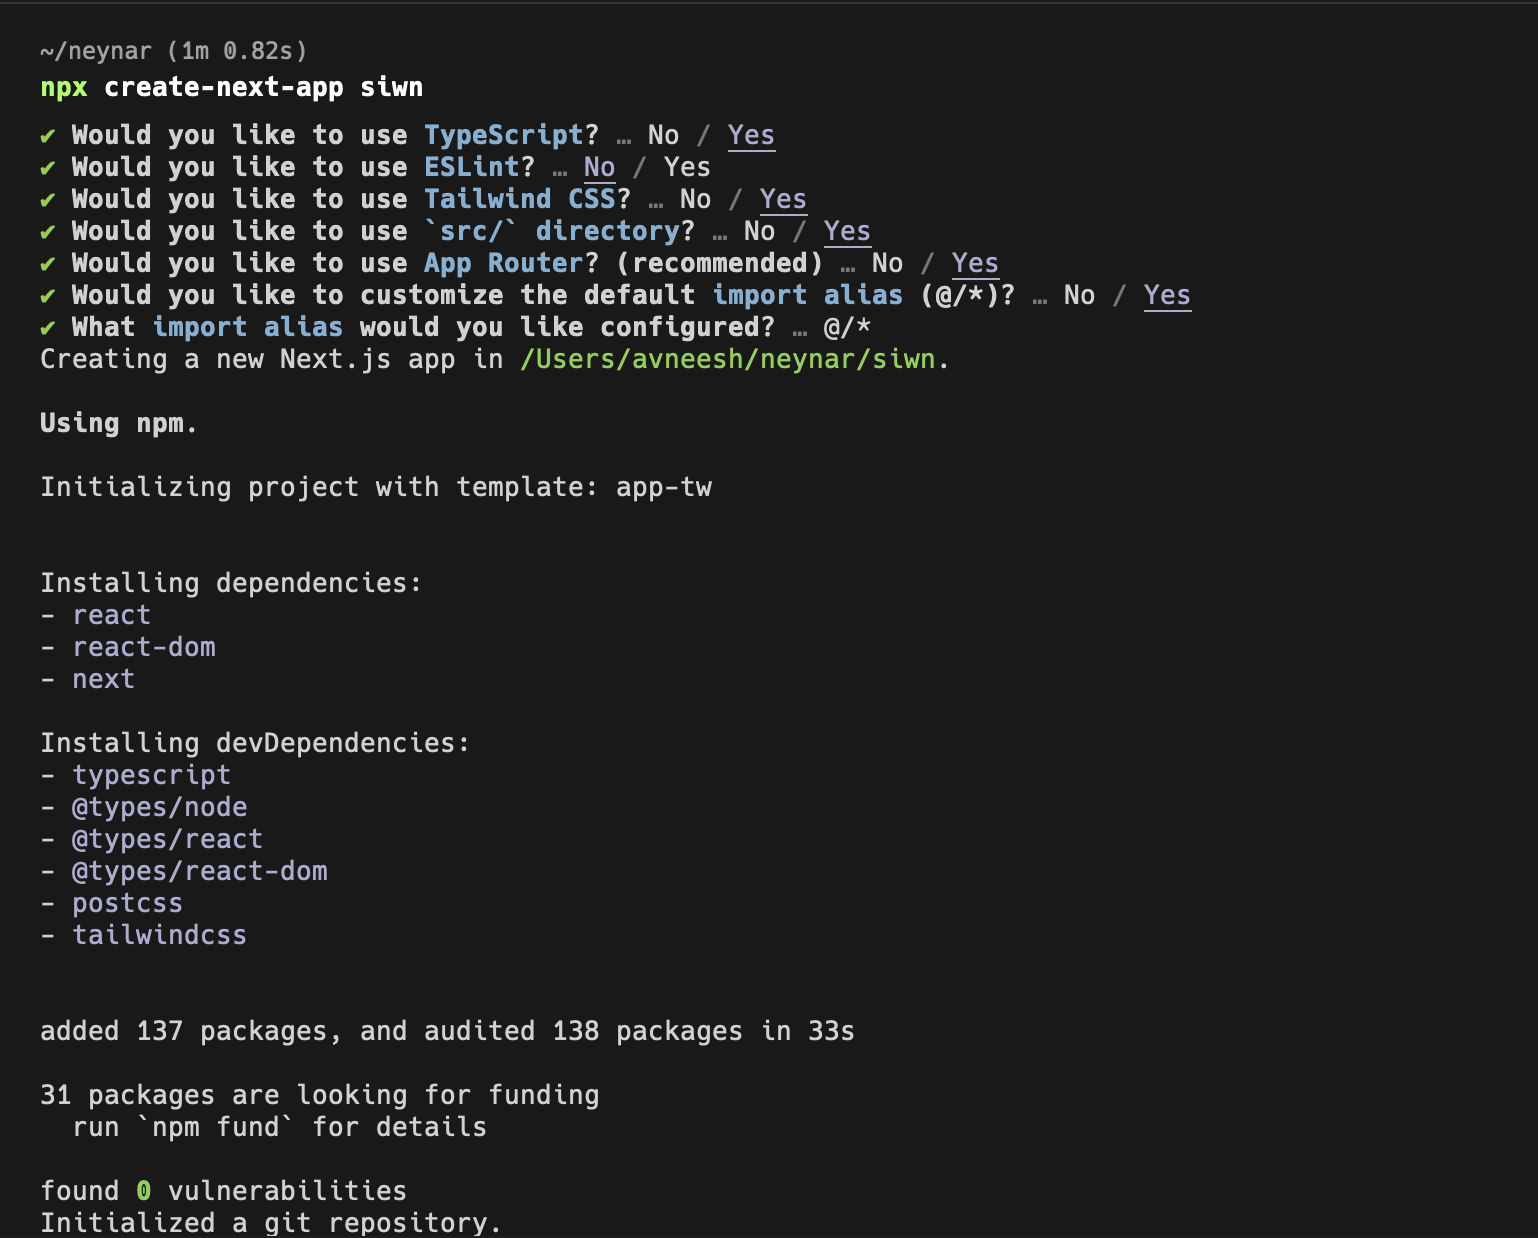
@neynar/react
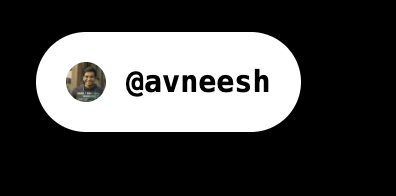
Adding the sign-in button
Head over to thelayout.tsx file and wrap your app in a NeynarContextProvider like this:
clientId, defaultTheme and eventsCallbacks.
clientId: This is going to be the client ID you get from your neynar, add it to your.env.localfile asNEXT_PUBLIC_NEYNAR_CLIENT_ID.
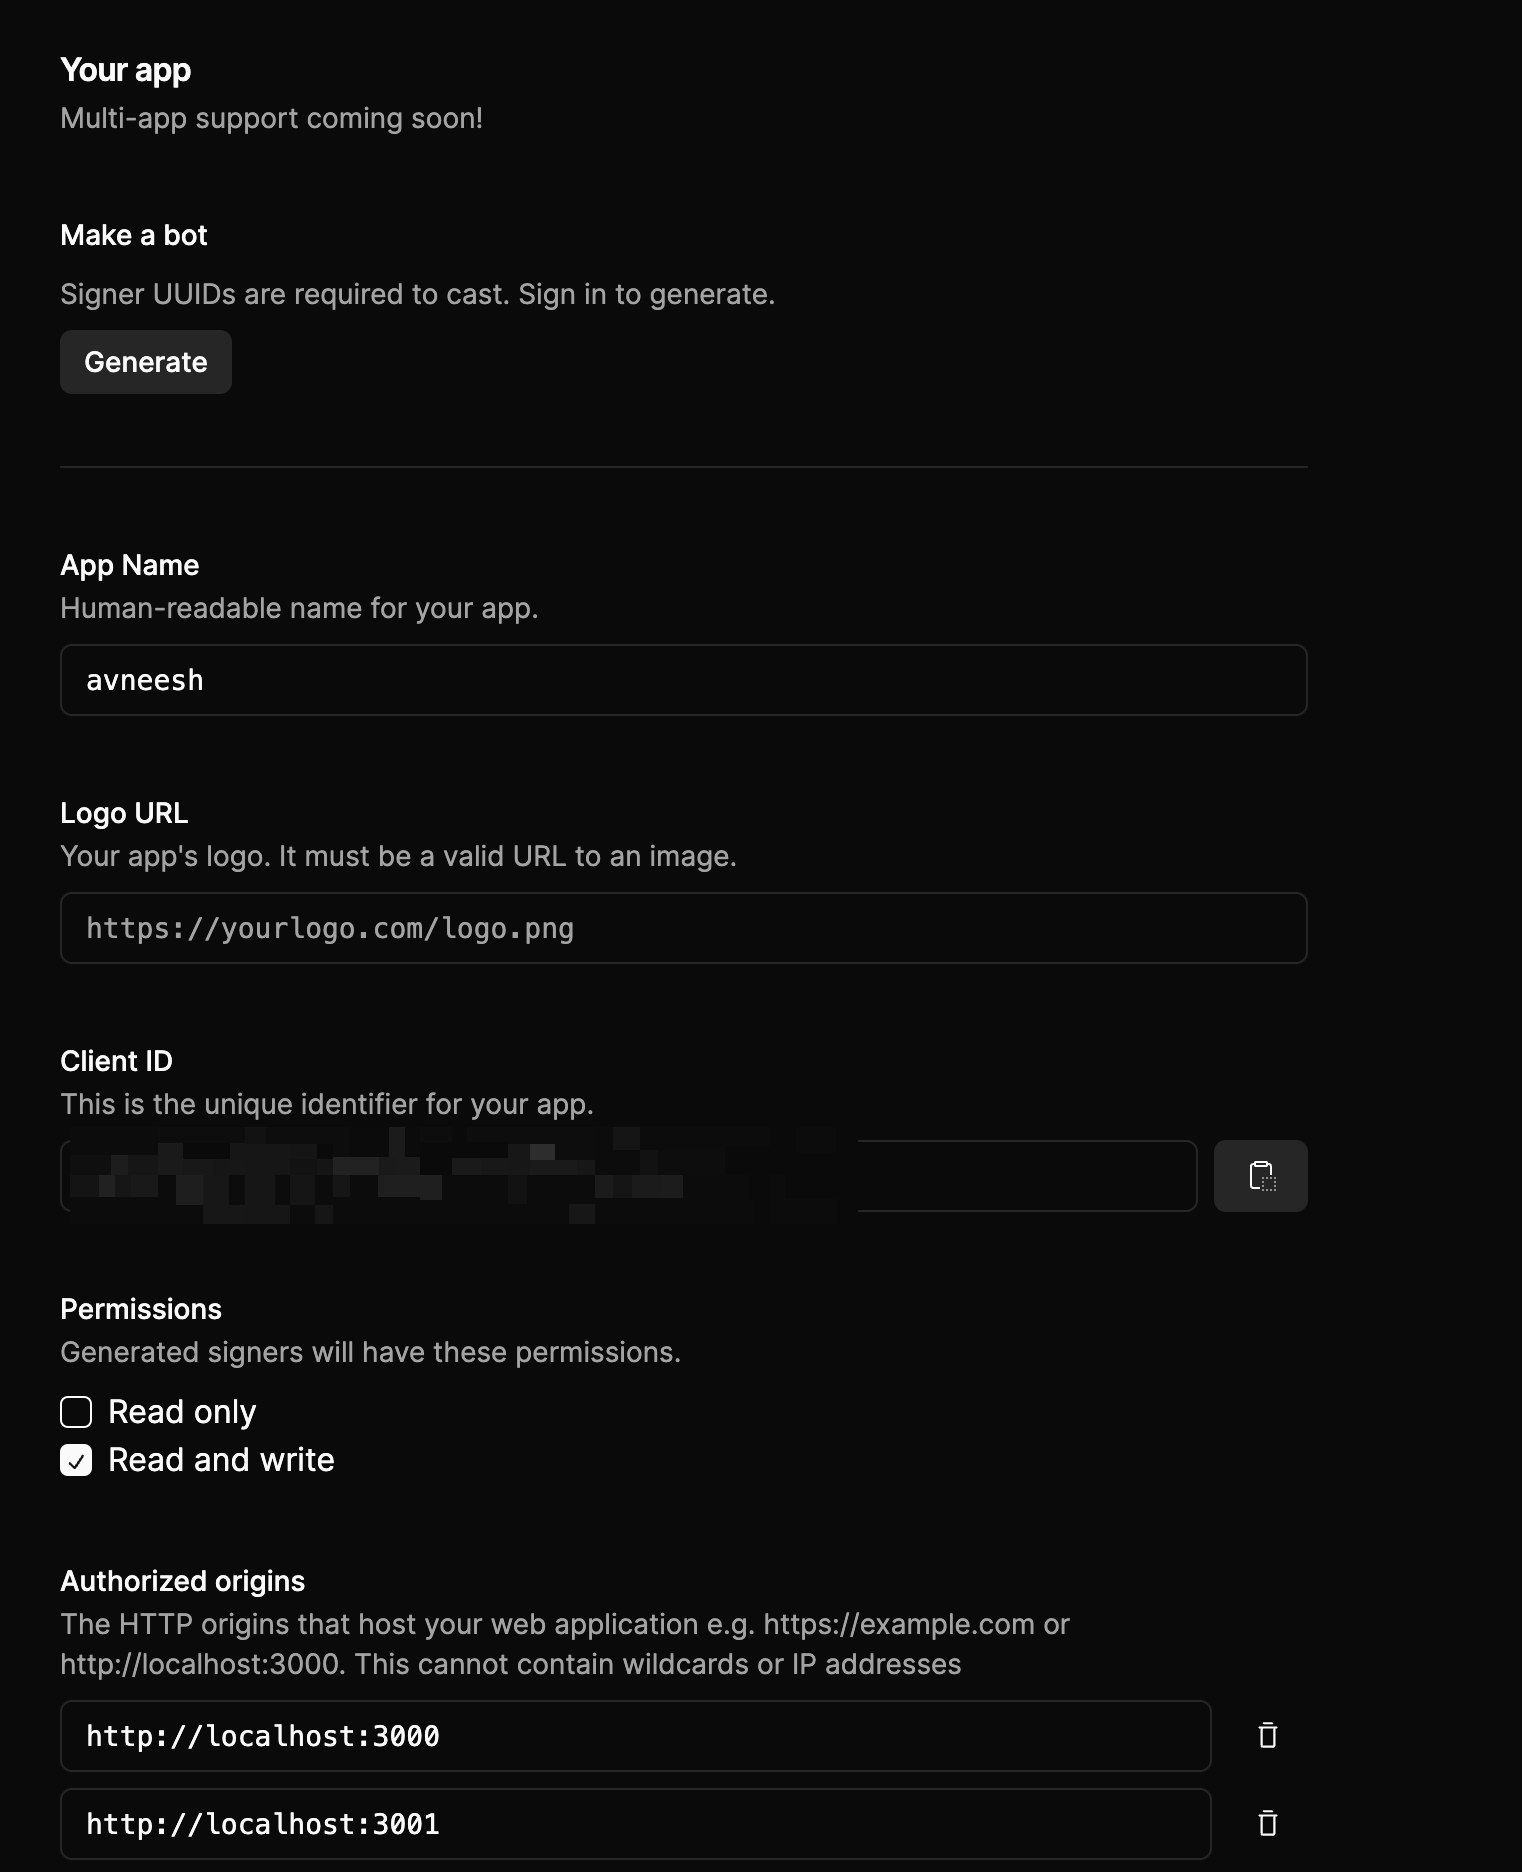
Make sure to add localhost to the authorized origins
defaultTheme: default theme lets you change the theme of your sign-in button, currently, we have only light mode but dark mode is going to be live soon.eventsCallbacks: This allows you to perform certain actions when the user signs out or auth is successful.
page.tsx file like this:
Using the signer UUID to publish casts
In thepage.tsx file access the user data using the useNeynarContext hook like this:
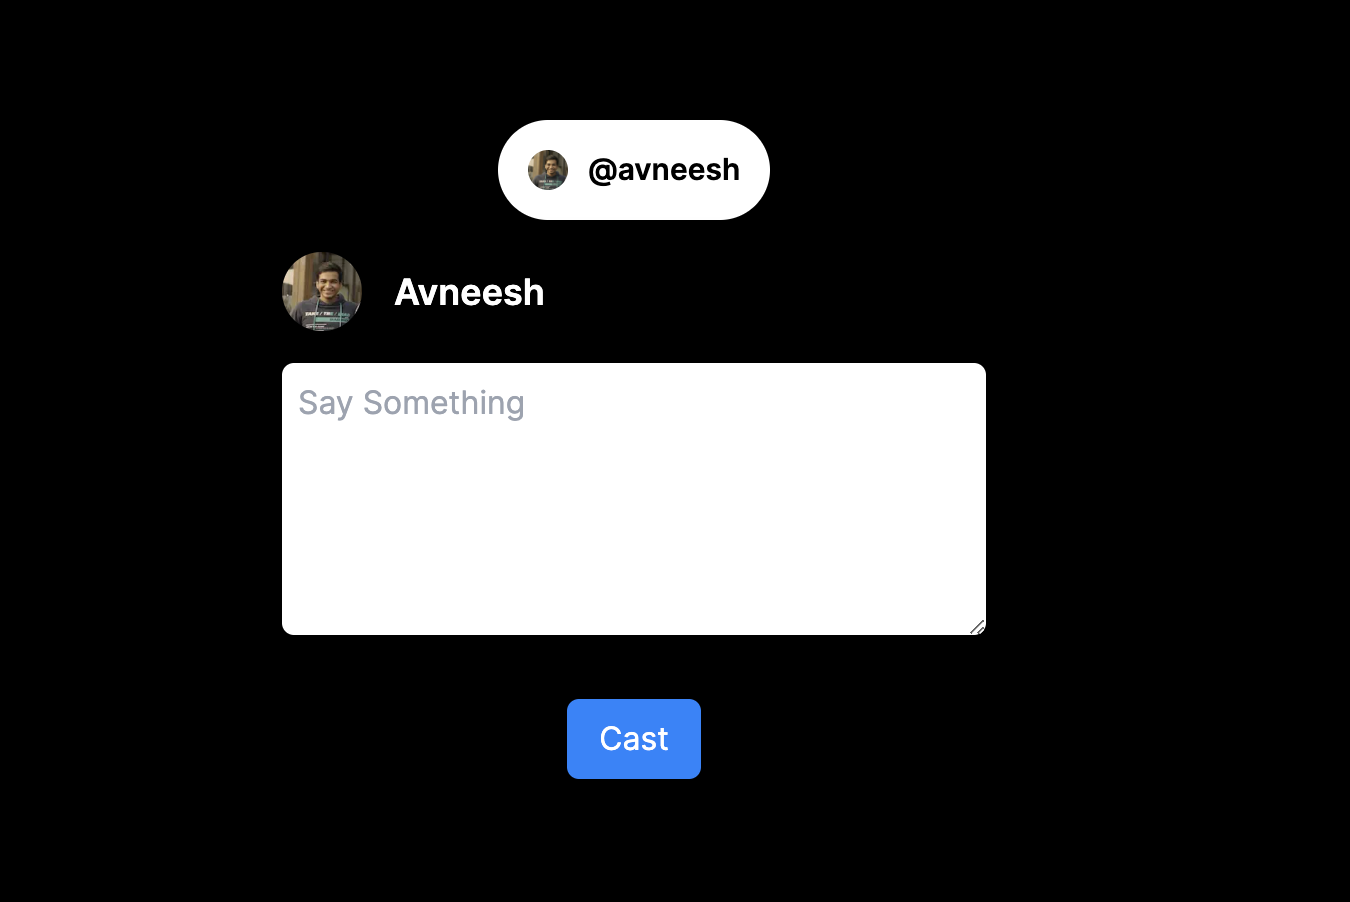
handlePublishCast function but we have not yet created it. So, let’s create that and also add the text useState that we are using in the textarea:
/api/cast route with the signer uuid and text.
Finally, we need to create the api route which will create casts. Create a new file api/cast/route.ts in the app folder and add the following: