Setting up your application
Prerequisites
- Node.js: A JavaScript runtime built on Chrome’s V8 JavaScript engine. Ensure you have Node.js installed on your system.
- Expo Go: Install Expo Go on your phone
Cloning the repo
Clone the repo from GitHub using the following command and open it up in your favourite code editor using the following commands:Server
1
Navigate to server directory
Navigate to the server directory
2
Install Project Dependencies
Based on the package manager run one of the following commands to install all required dependencies:
3
Configure Environment Variables
Copy the example environment file:Edit 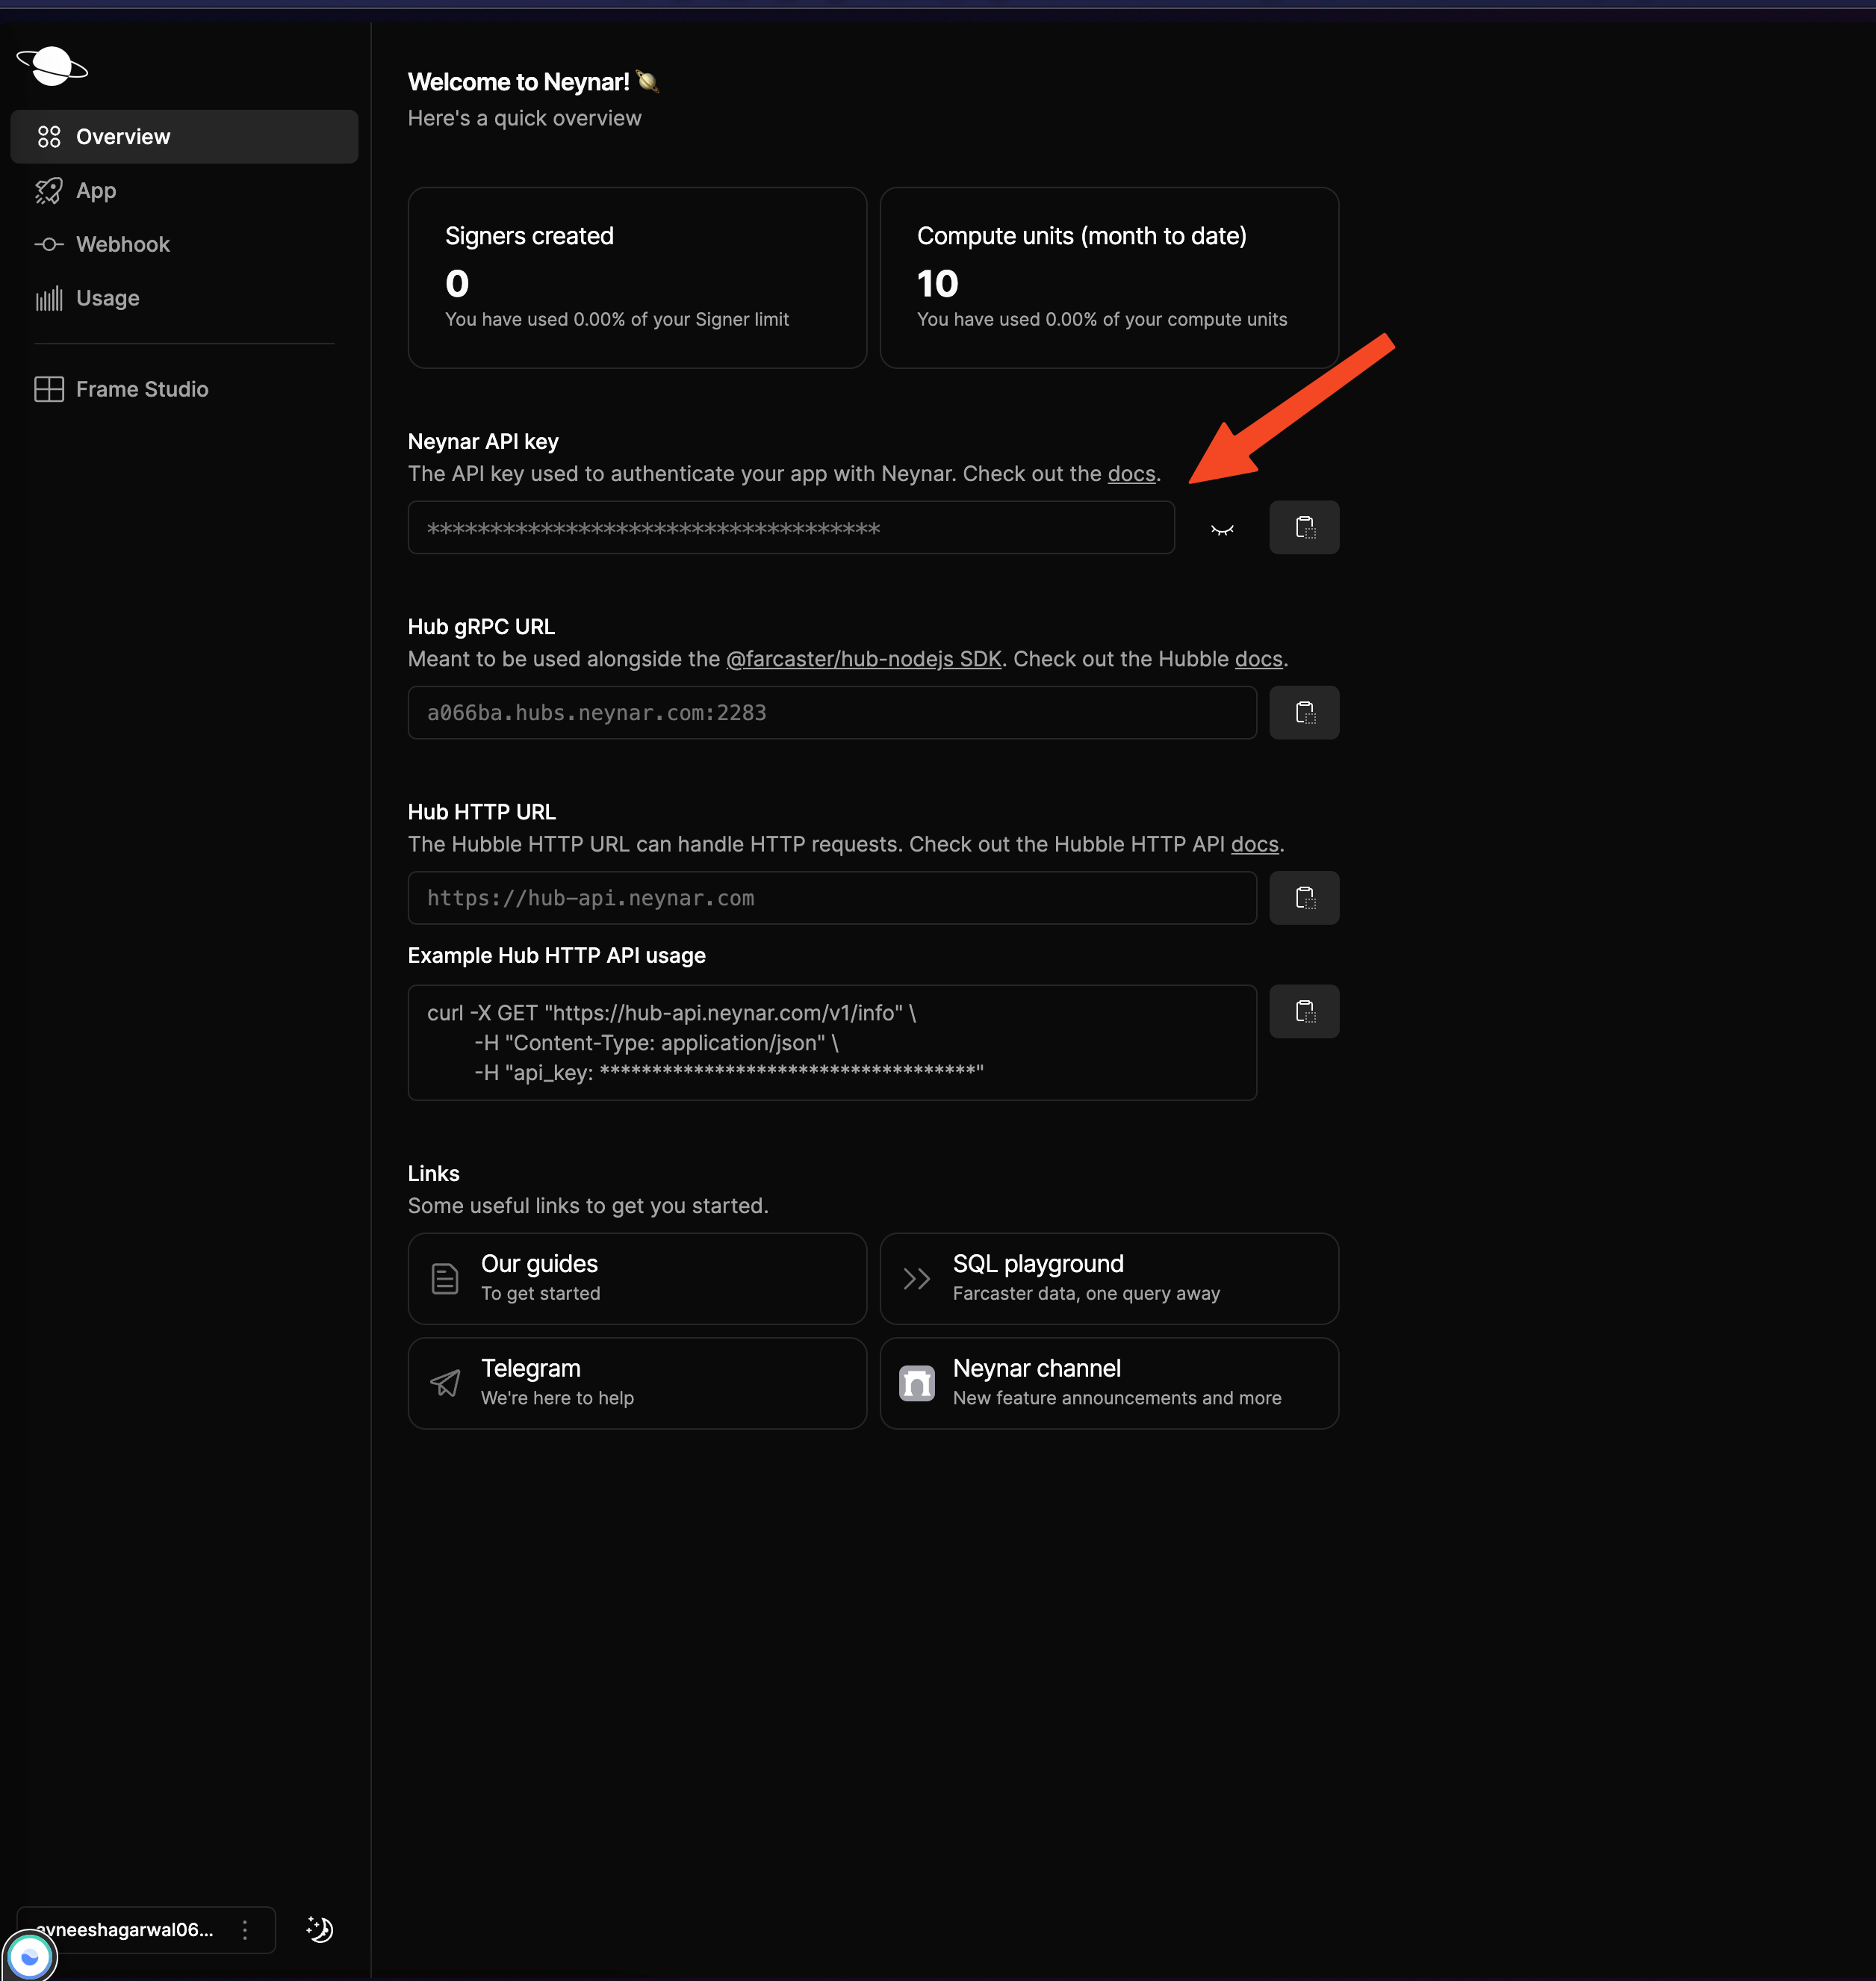
.env to add your NEYNAR_API_KEY and NEYNAR_CLIENT_ID. You can find them in your dashboard4
Start the server
Start the server:
Client
Open new terminal1
Navigate to client directory
Navigate to the client directory
2
Install Project Dependencies
Based on the package manager run one of the following commands to install all required dependencies:For yarnFor npm
3
Configure Environment Variables
Copy the example environment file:
- Edit
.envto add yourCOMPUTER_IP_ADDRESS. Refer find-IP-address article to get the IP address of your Computer.
4
Start the app
Make sure your phone and computer is connected to the same networkFor yarnFor npmyou’ll see a QR Code
5
Run App
Open the Expo Go app on your phone and scan the QR Code. You should now be able to see a button to sign in with neynar in your app!
How does it work?
You’re probably wondering how it all works, so let’s break it down!Server
In our server, we have 3 API routes, you can take a look at them inserver/index.js:
/get-auth-url(GET): This API route gets the authorization URL using thefetchAuthorizationUrlfunction from the neynar client./user(GET): This API route takes in the fid as a query parameter and returns the user data like display name and pfp url using thefetchBulkUsersfunction./cast(POST): This API route takes in the signer UUID and text in the body and publishes the cast on behalf of the user using thepublishCastfunction.
Client
On the client side, we use theNeynarSigninButton component from the @neynar/react-native-signin package and pass in a bunch of props like fetchAuthorizationUrl, successCallback, errorCallback, and redirectUrl.
- For
fetchAuthorizationUrlwe fetch the url from our server and then pass it. - For
successCallbackwe are creating a functionContext/AppContext.tsthat fetches the user info from the backend and safely stores it. - For
errorCallBackwe simply just console log the error. - For
redirectURLwe are using a URL of the formatexp://${COMPUTER_IP_ADDRESS}:8081. TheCOMPUTER_IP_ADDRESSis the one you added in your.envfile - There are also a lot of customisation options that you can find commented out in the
Signin.tsxfile.